How to use Inventory Tracking in the GRUBBRR Portal
Last updated: August 5, 2026
Before we can manage and track a location's inventory through the GRUBBRR portal, we need tell the system which items it needs to track. This is an item-level setting which can be enabled for location-level or company-level menus.
In this guide, we'll show you how to turn on inventory tracking for menu items at the location level.
Go to portal.grubbrr.com
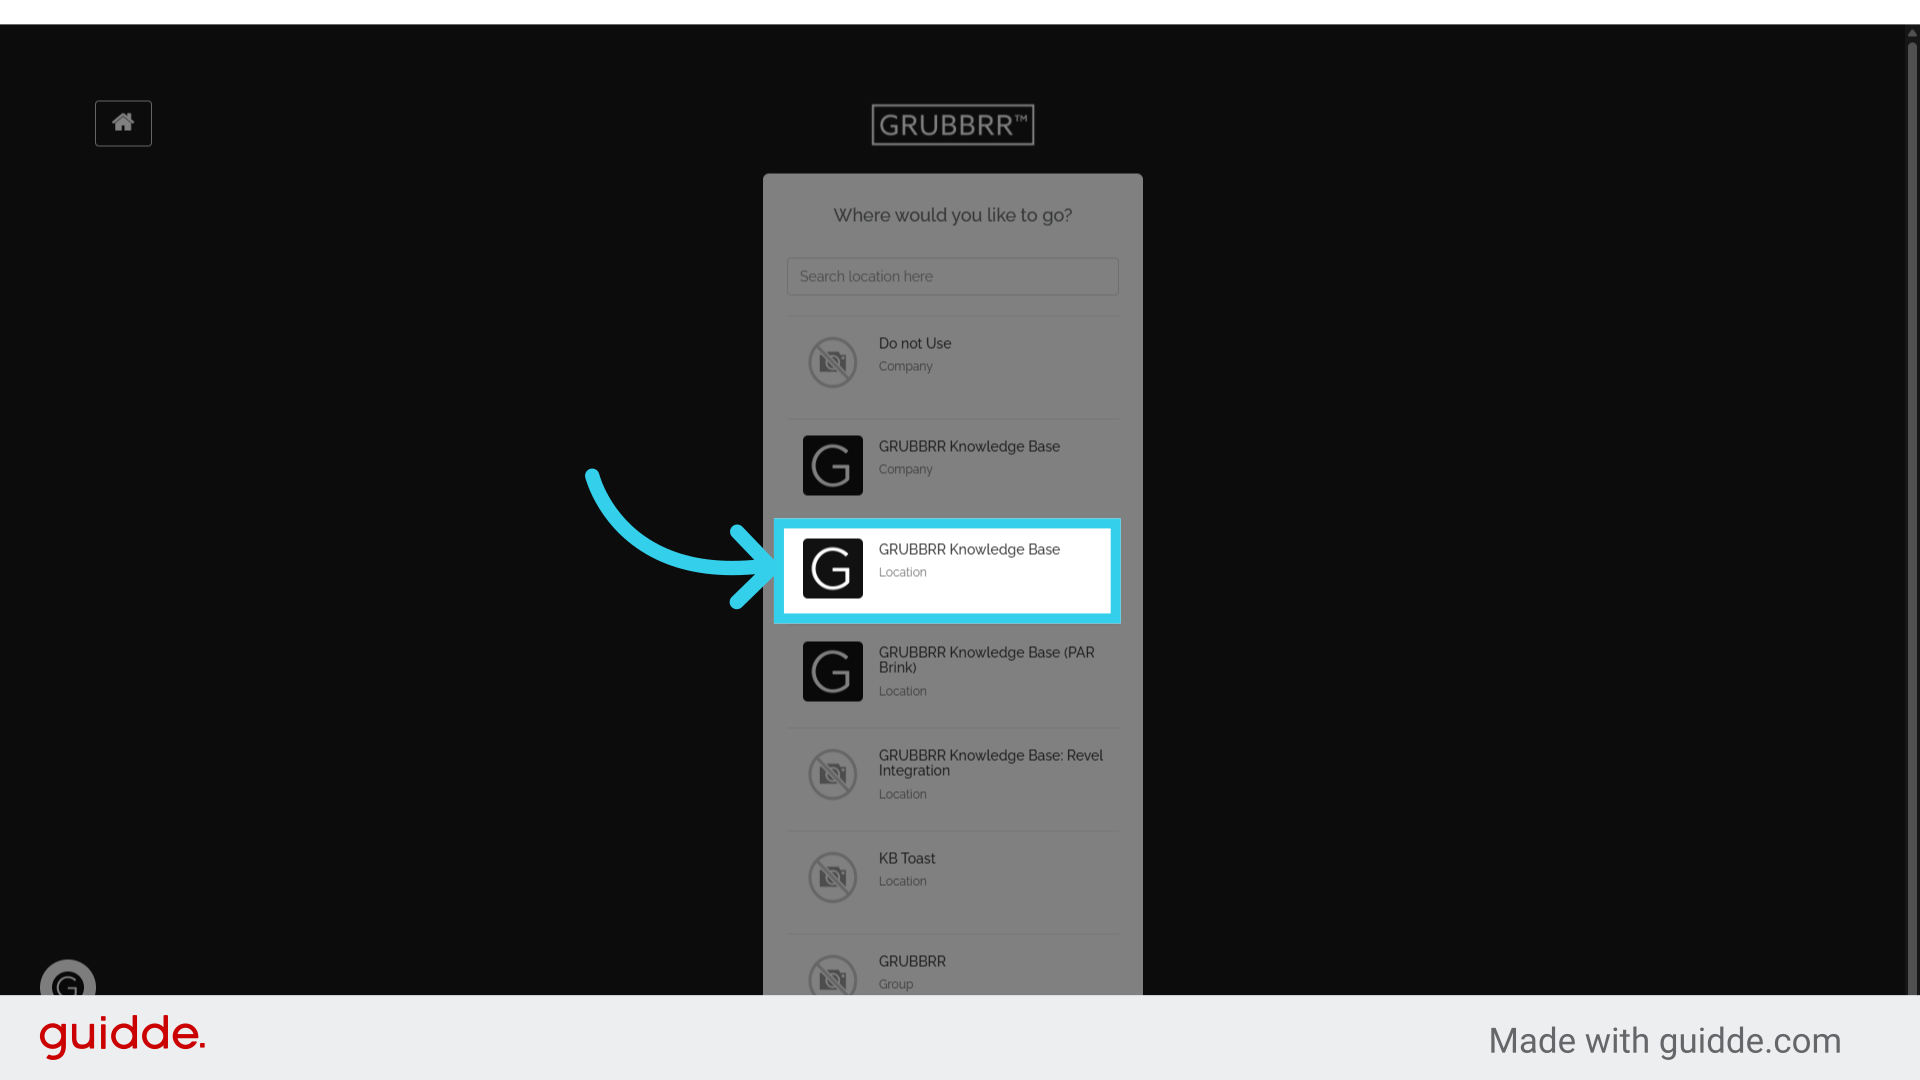
1. Start by signing in to the location that you want to update
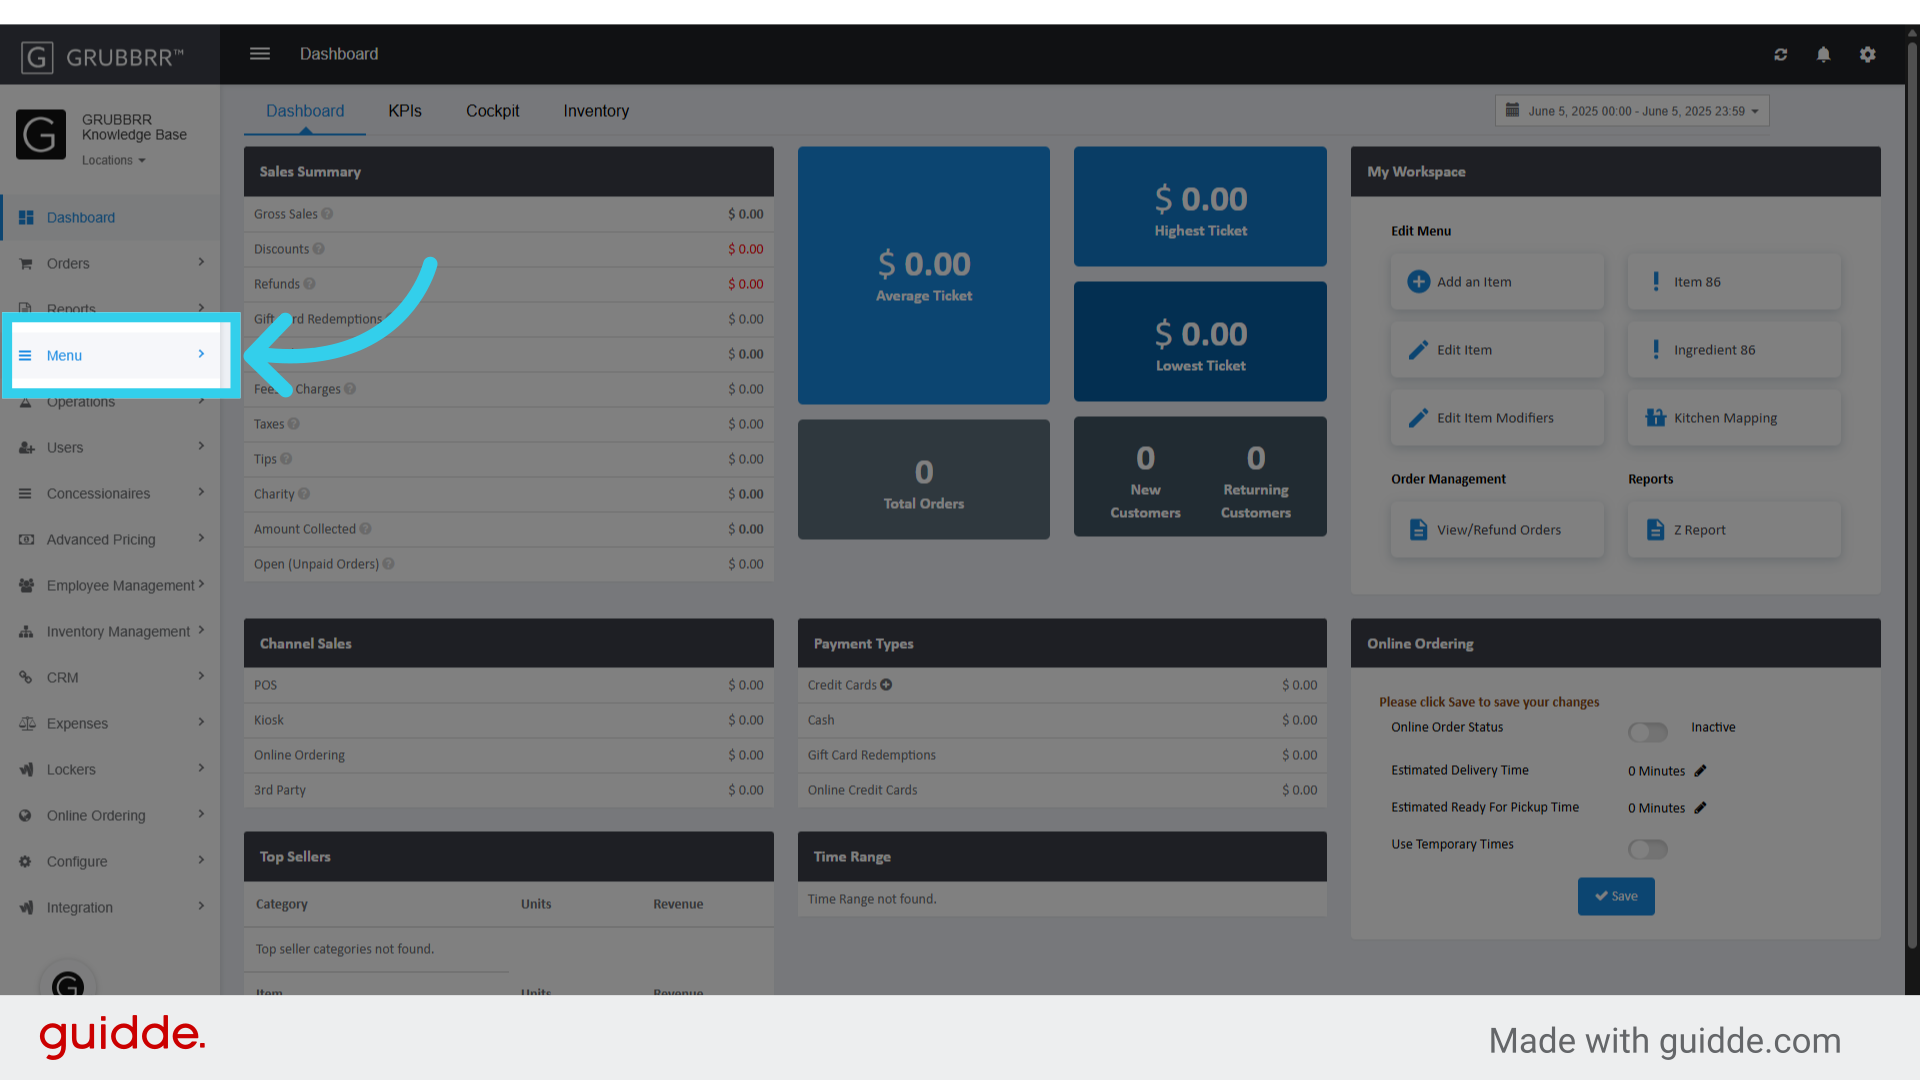
2. Click "Menu"
3. Click "Catalog Management"

4. Click "Items"

5. Find the item you want to update, and click the "Edit" in the action column of the item listing

6. Click here to open the Additional Settings menu

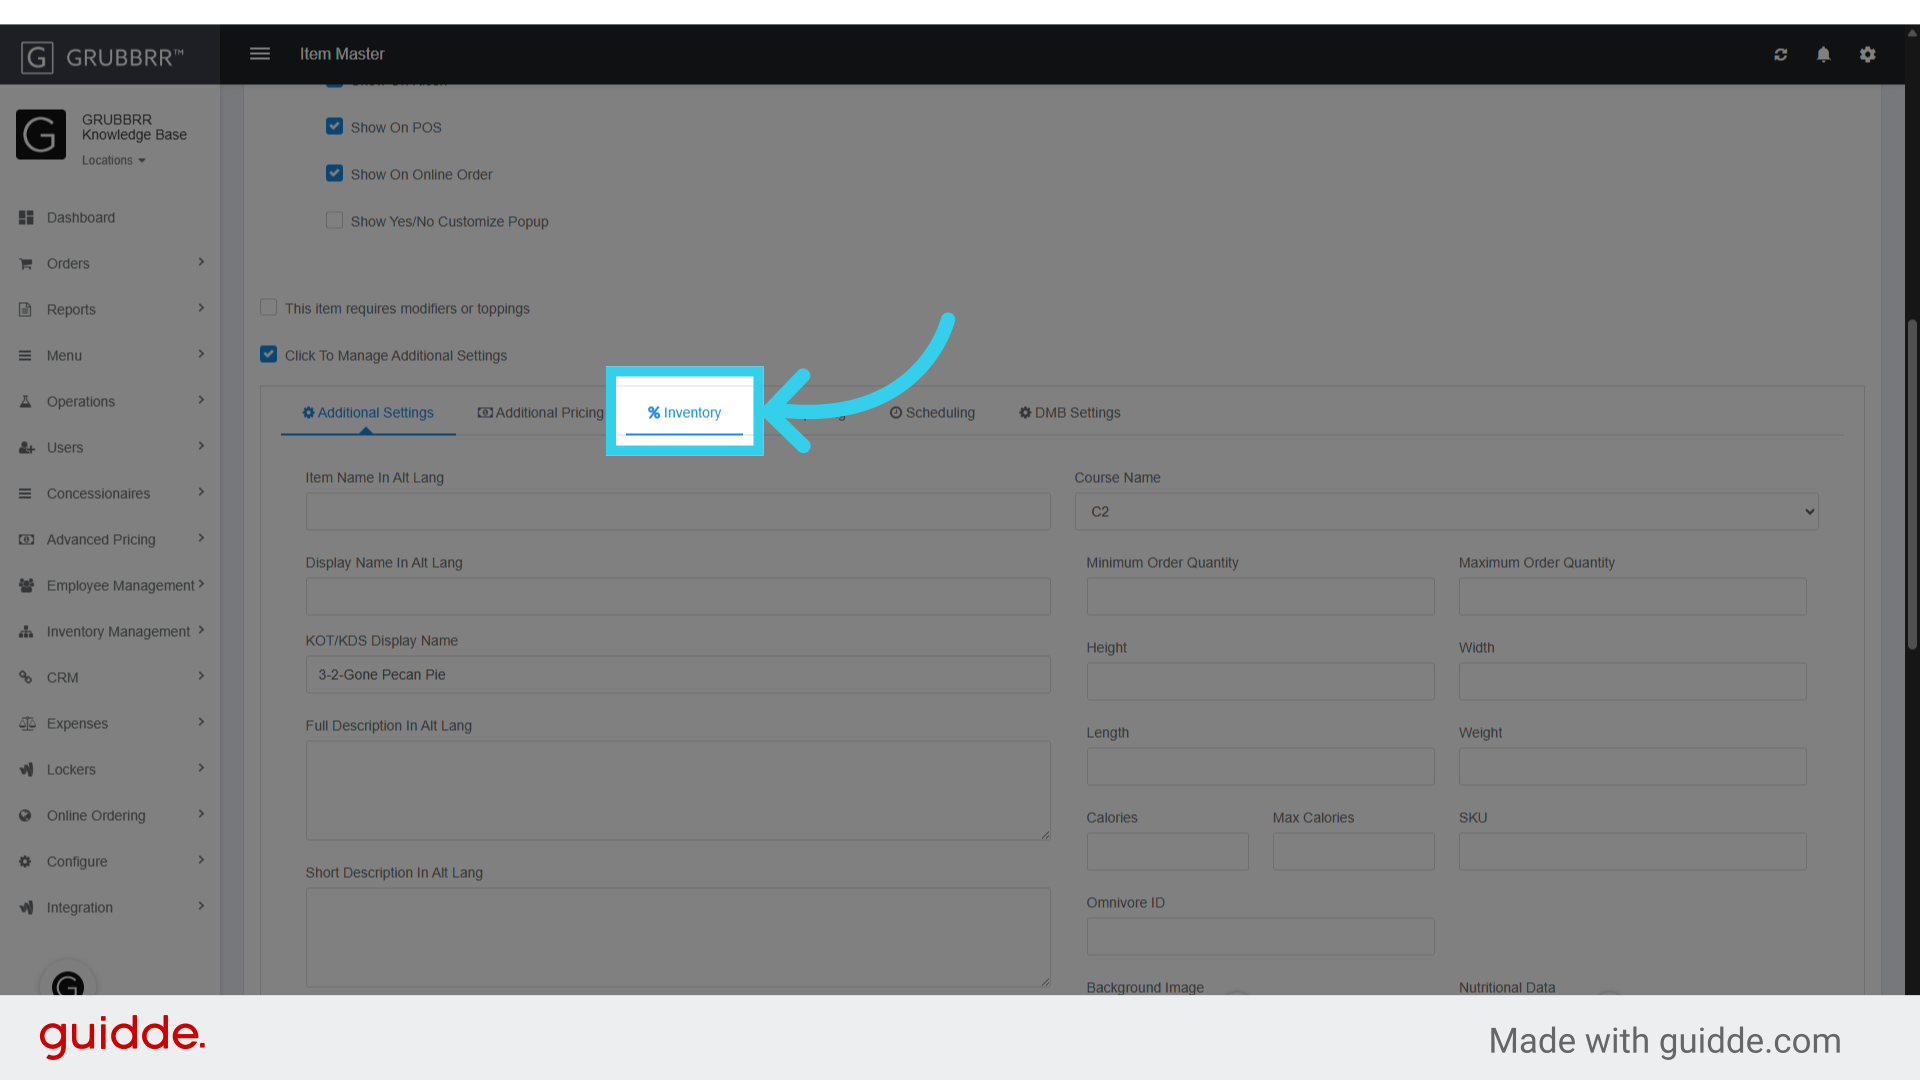
7. Click "Inventory"
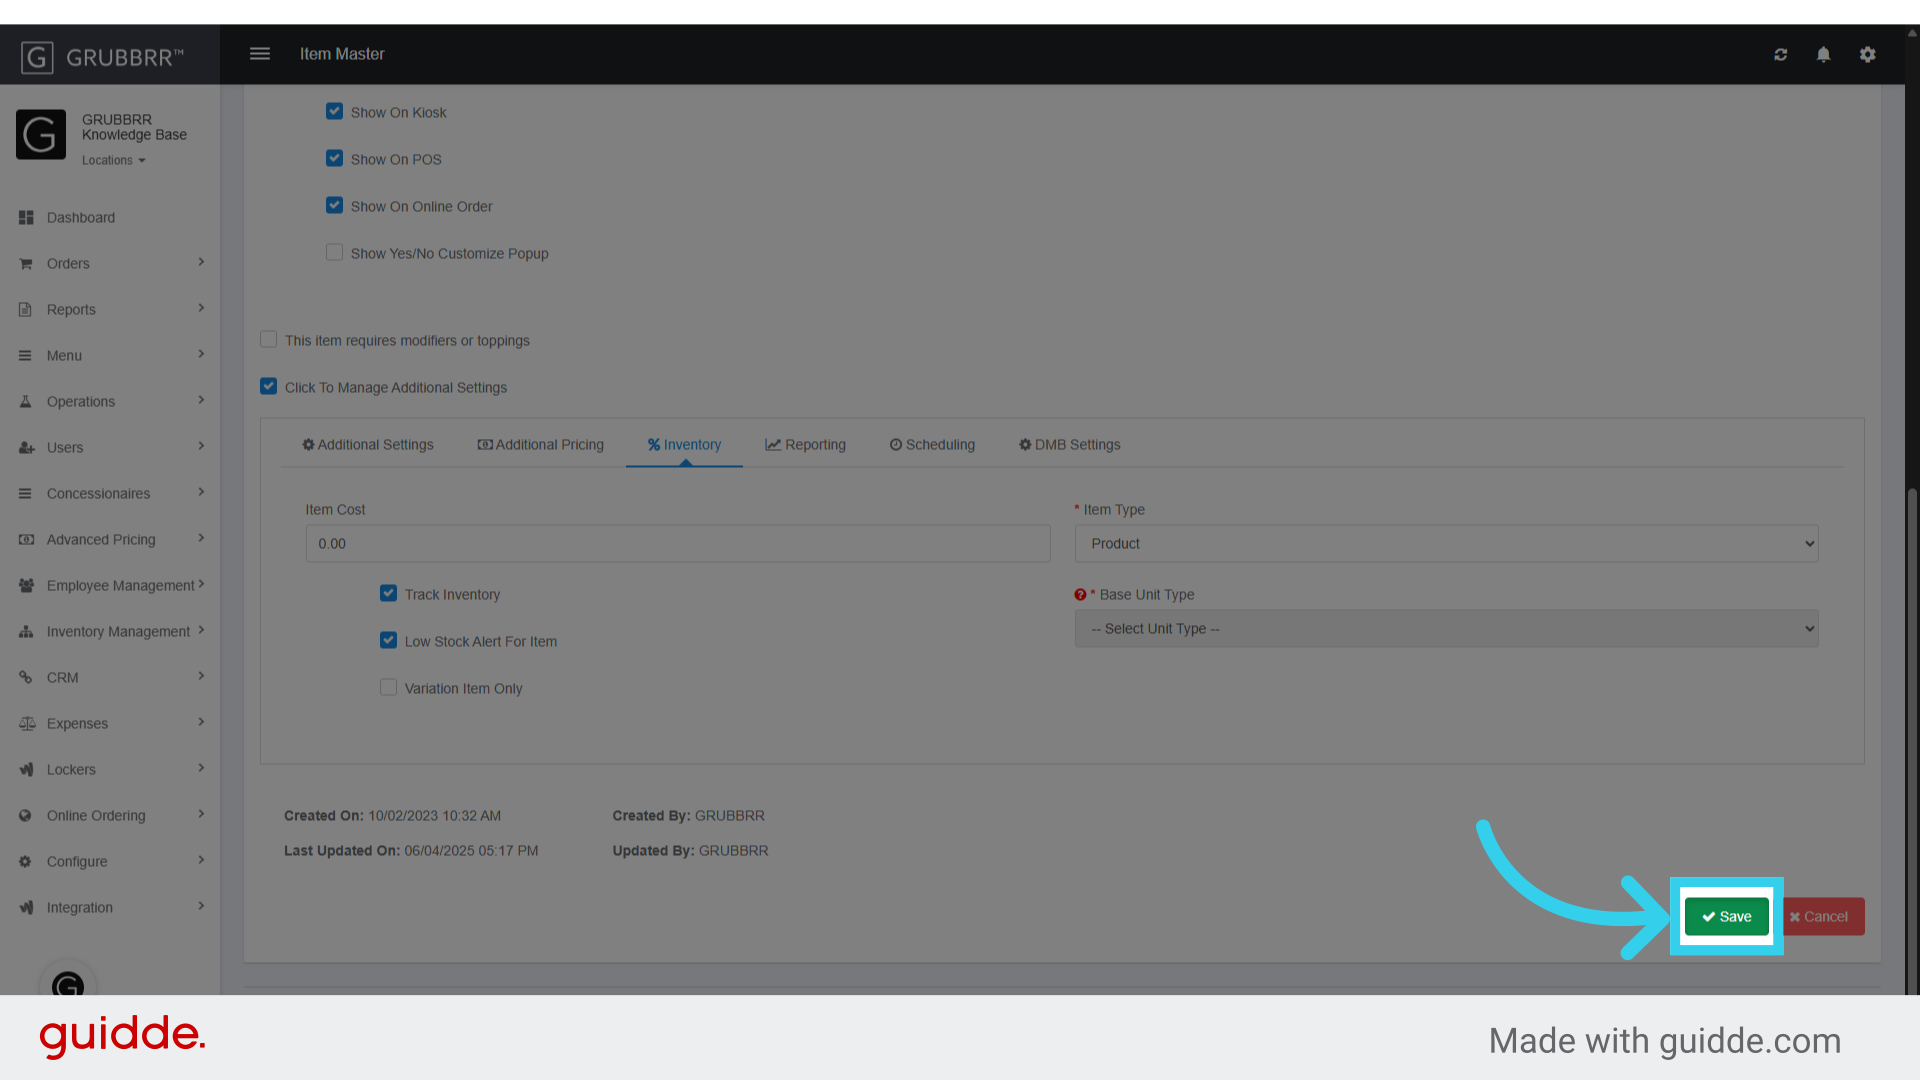
8. Click "Track Inventory"

9. Click "Save" to apply your changes
Repeat this process as needed for all menu items you want to track.
Once you've enabled inventory tracking for your menu items, our next step is to manually update your "on hand" stock. The GRUBBRR portal will automatically begin subtracting sold items from this listing, so it's best to update these settings outside of normal business hours. This will ensure that your records are accurate and up to date when your location opens.
In this guide, we'll show you how you can manually add items to, and remove items from, the "on hand" stock for a location in the GRUBBRR Portal.
Go to portal.grubbrr.com
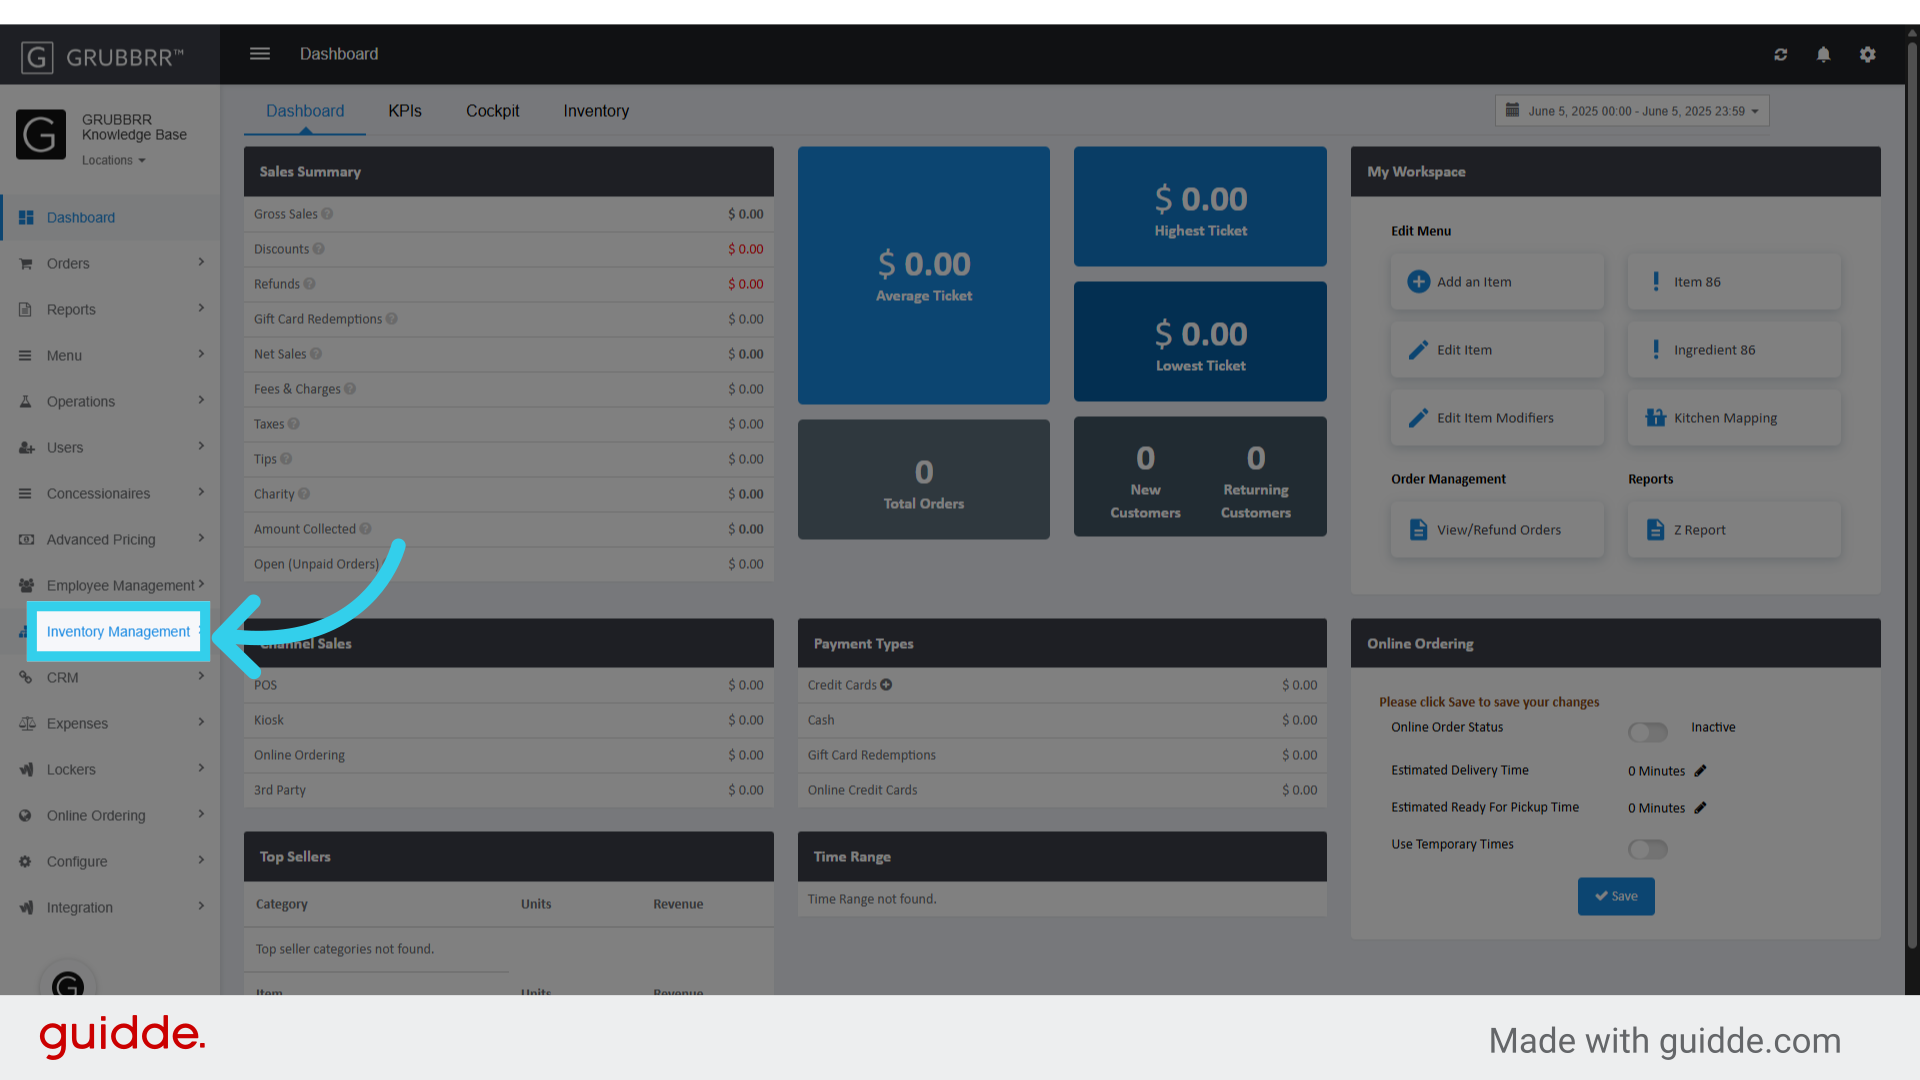
1. Click "Inventory Management"
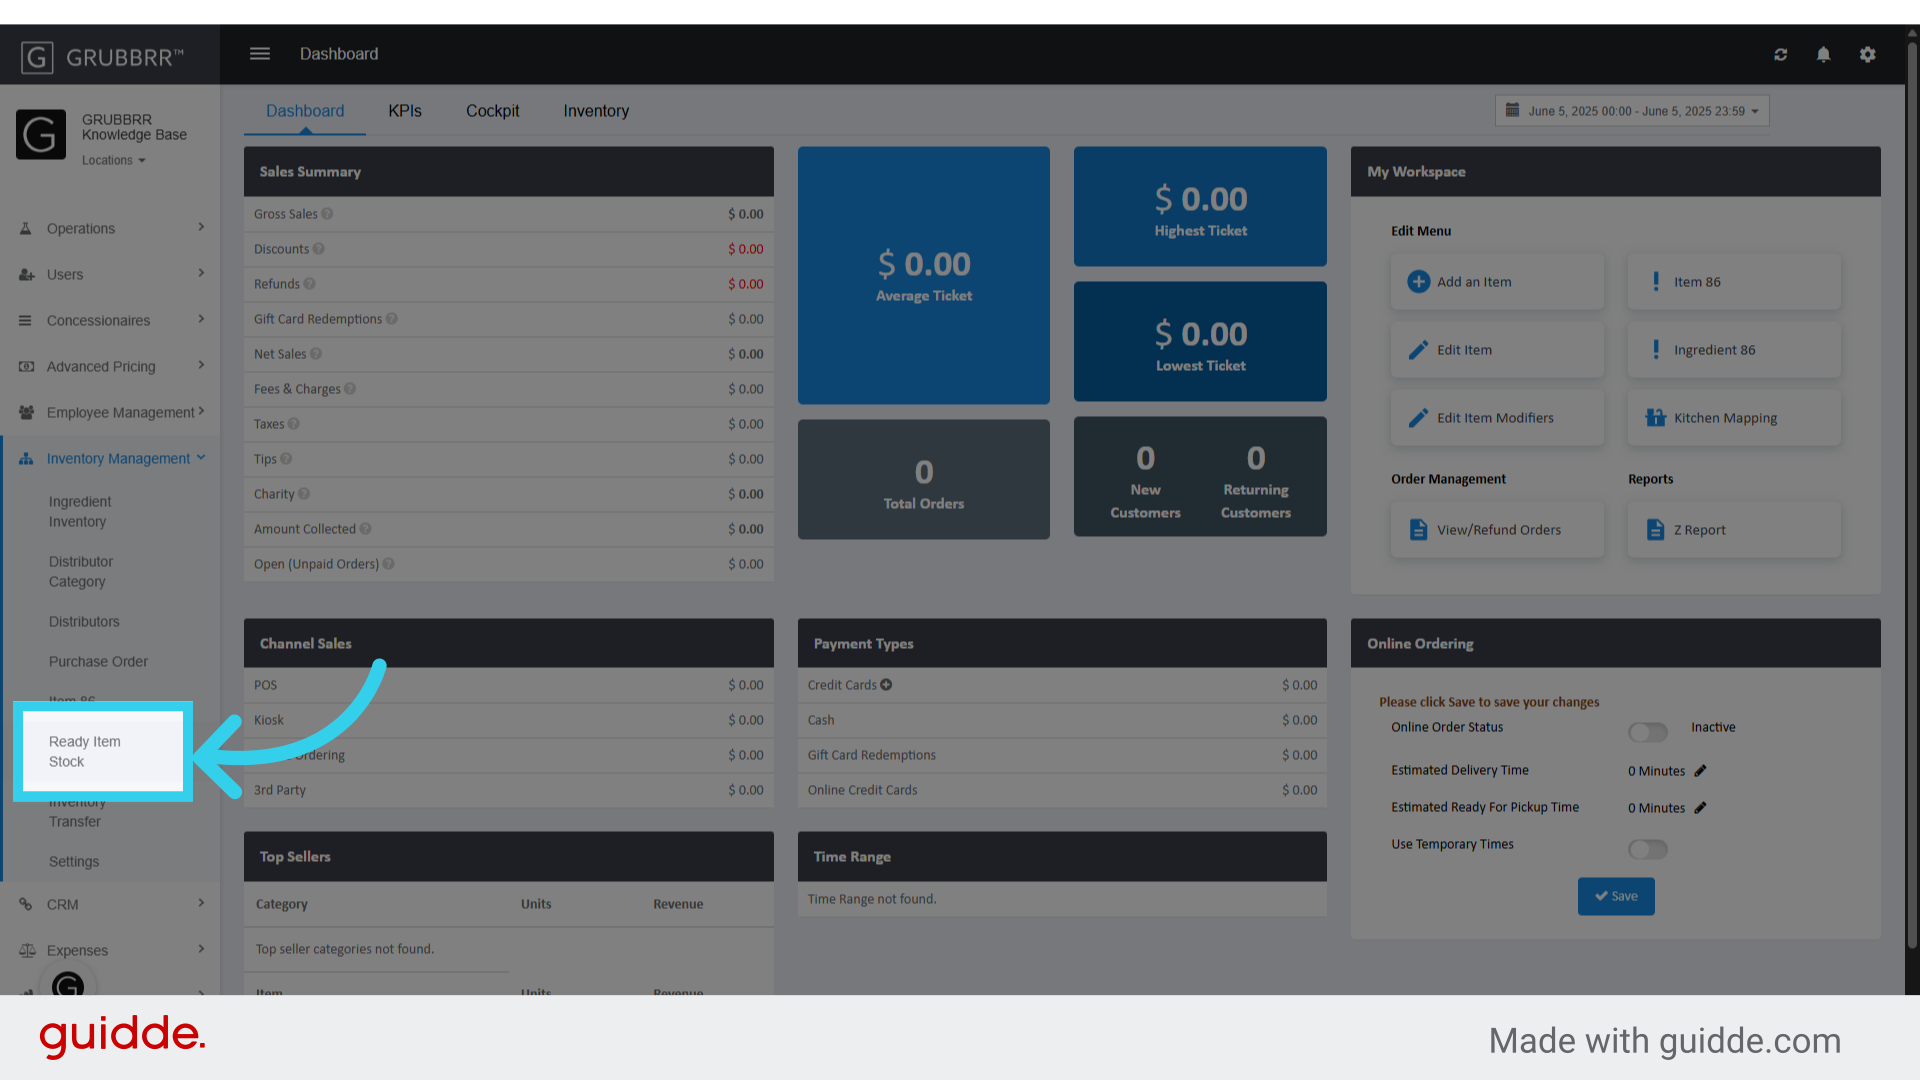
2. Click "Ready Item Stock"
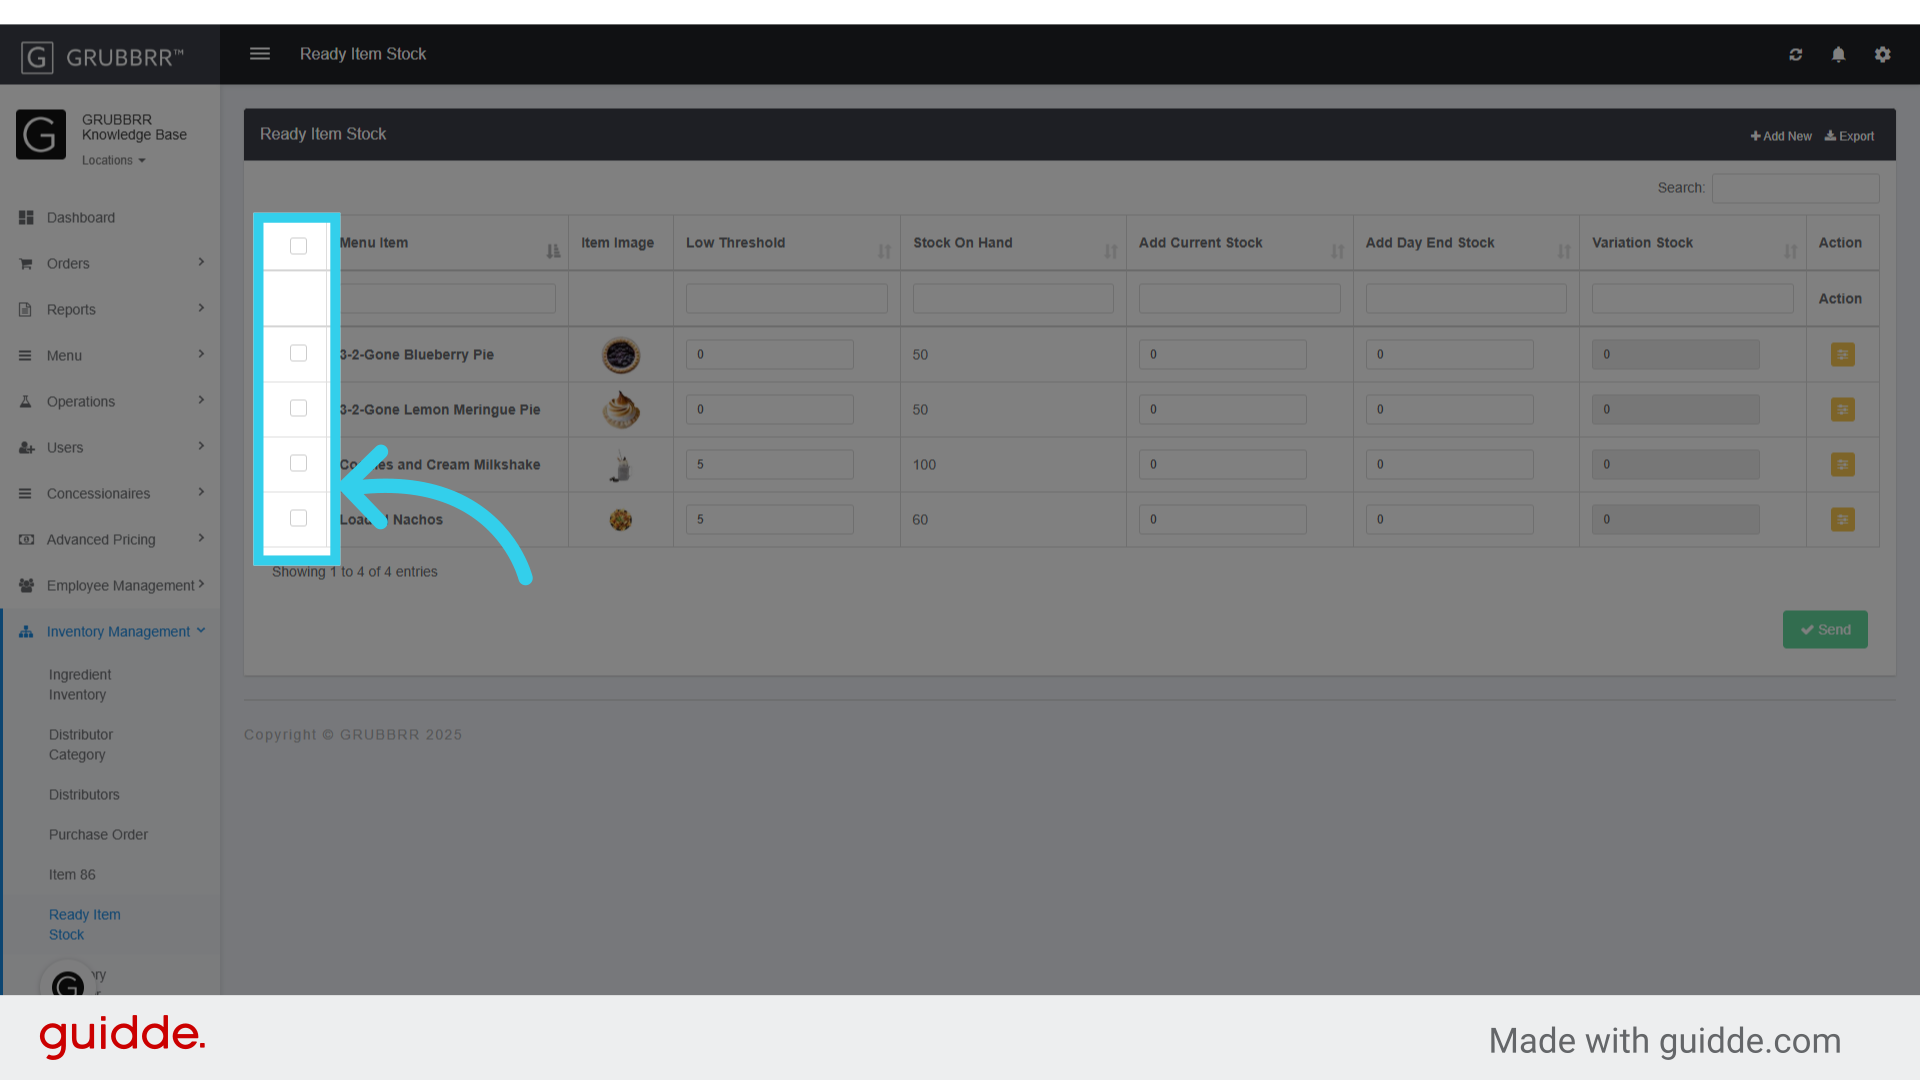
3. Select the item(s) you want to update in this column
4. If you've configured Email alerts for inventory, the "Low Threshold" determines when a notification will be sent to the email(s) on file
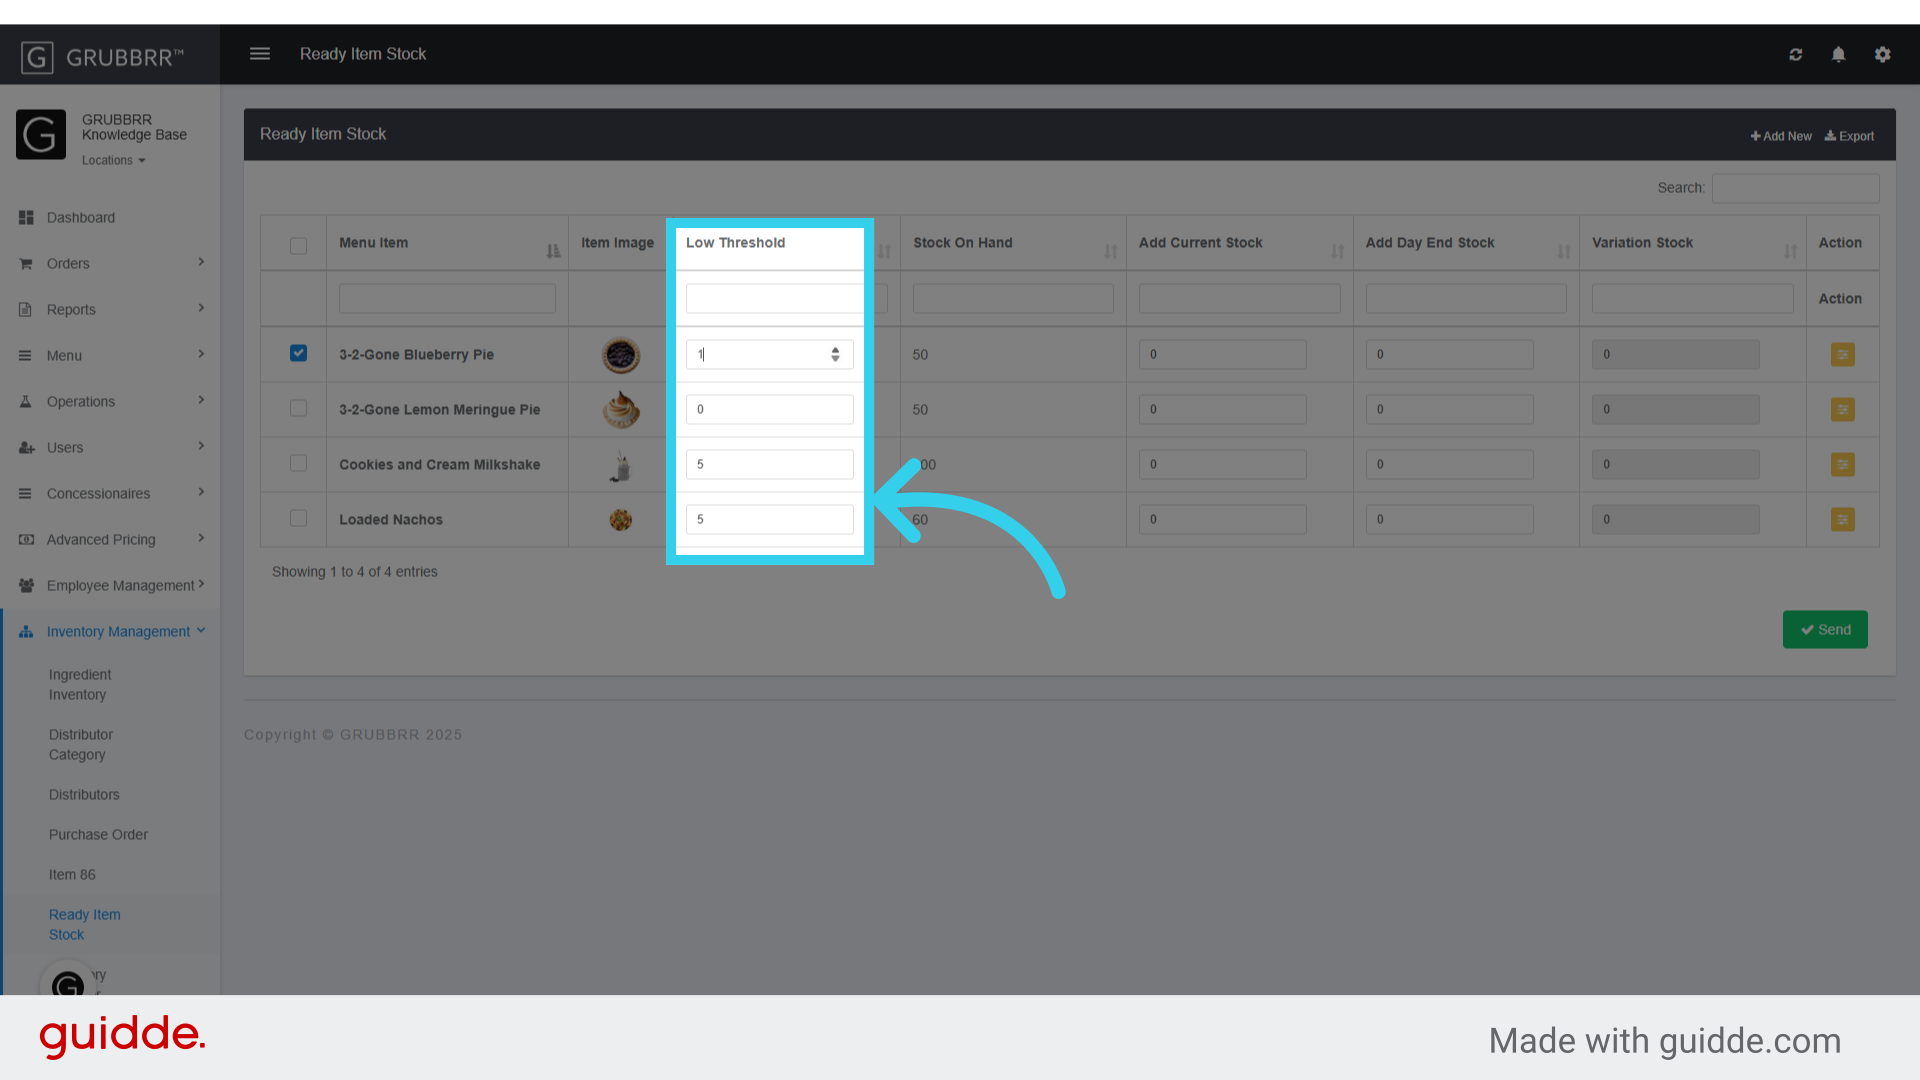
5. You can add a number manually, or use the up-down toggles in this field to change the low threshold value

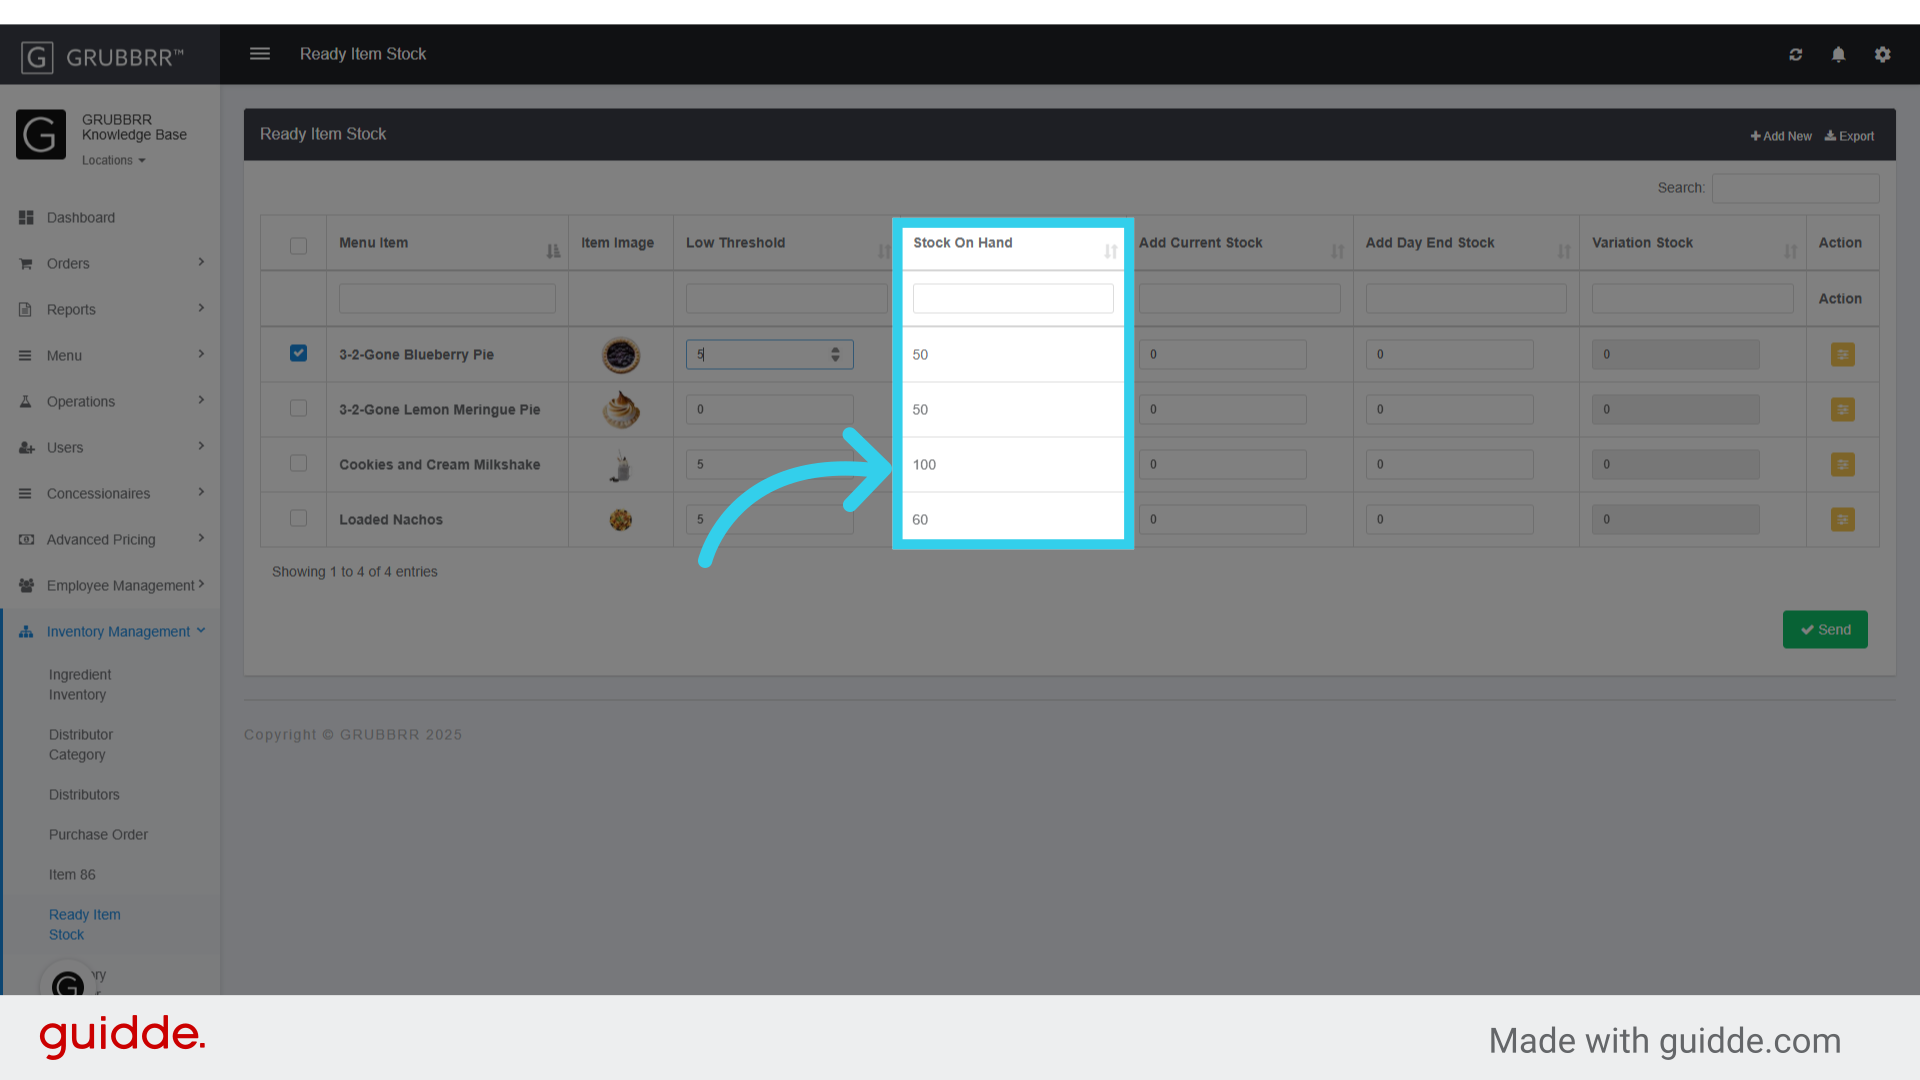
6. The "Stock on Hand" column shows your current inventory of the item
7. You can manually change an item stock in the "Add Current Stock" field
Note: You can both add and subtract from your stock with this field.

8. When you've finished making changes, click "Send" to apply your inventory updates

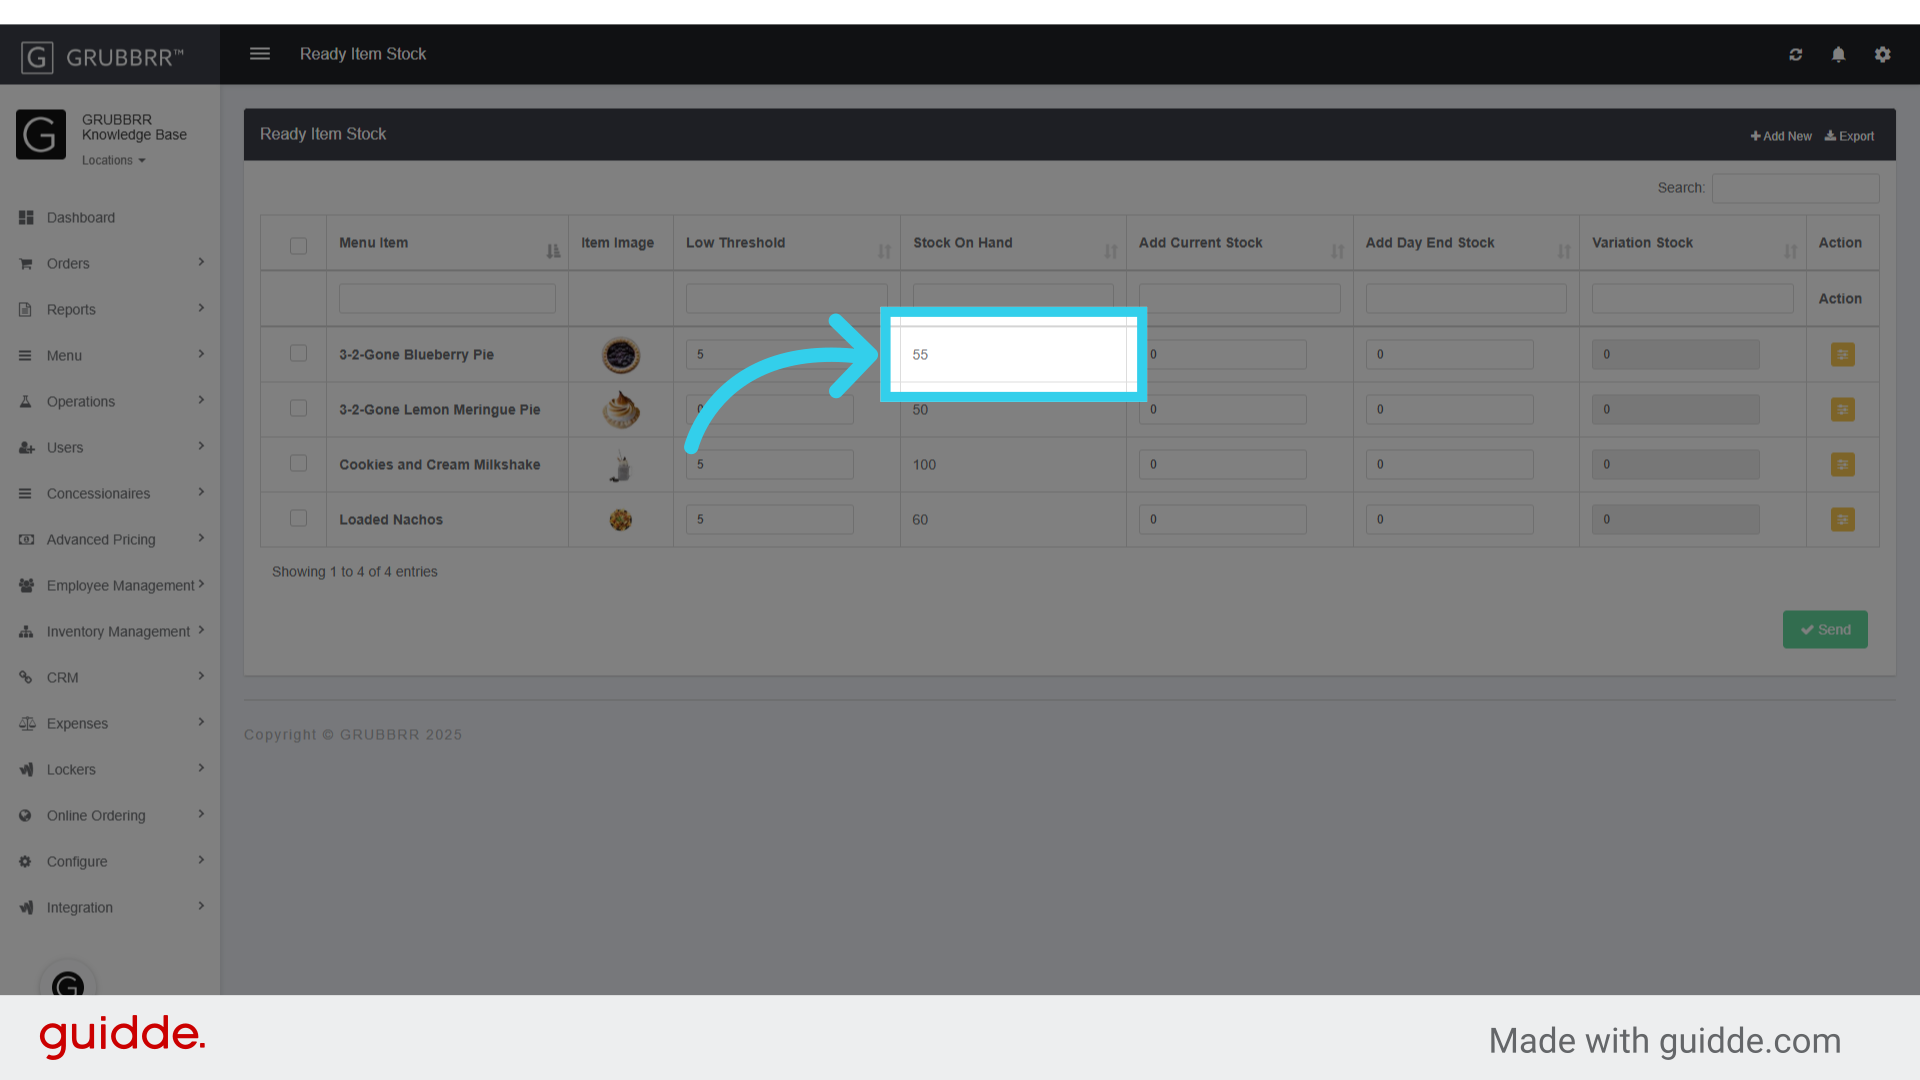
9. Any changes will be visible once the page refreshes
You can enable these email alerts at the location level by following the steps outlined below.
Go to portal.grubbrr.com
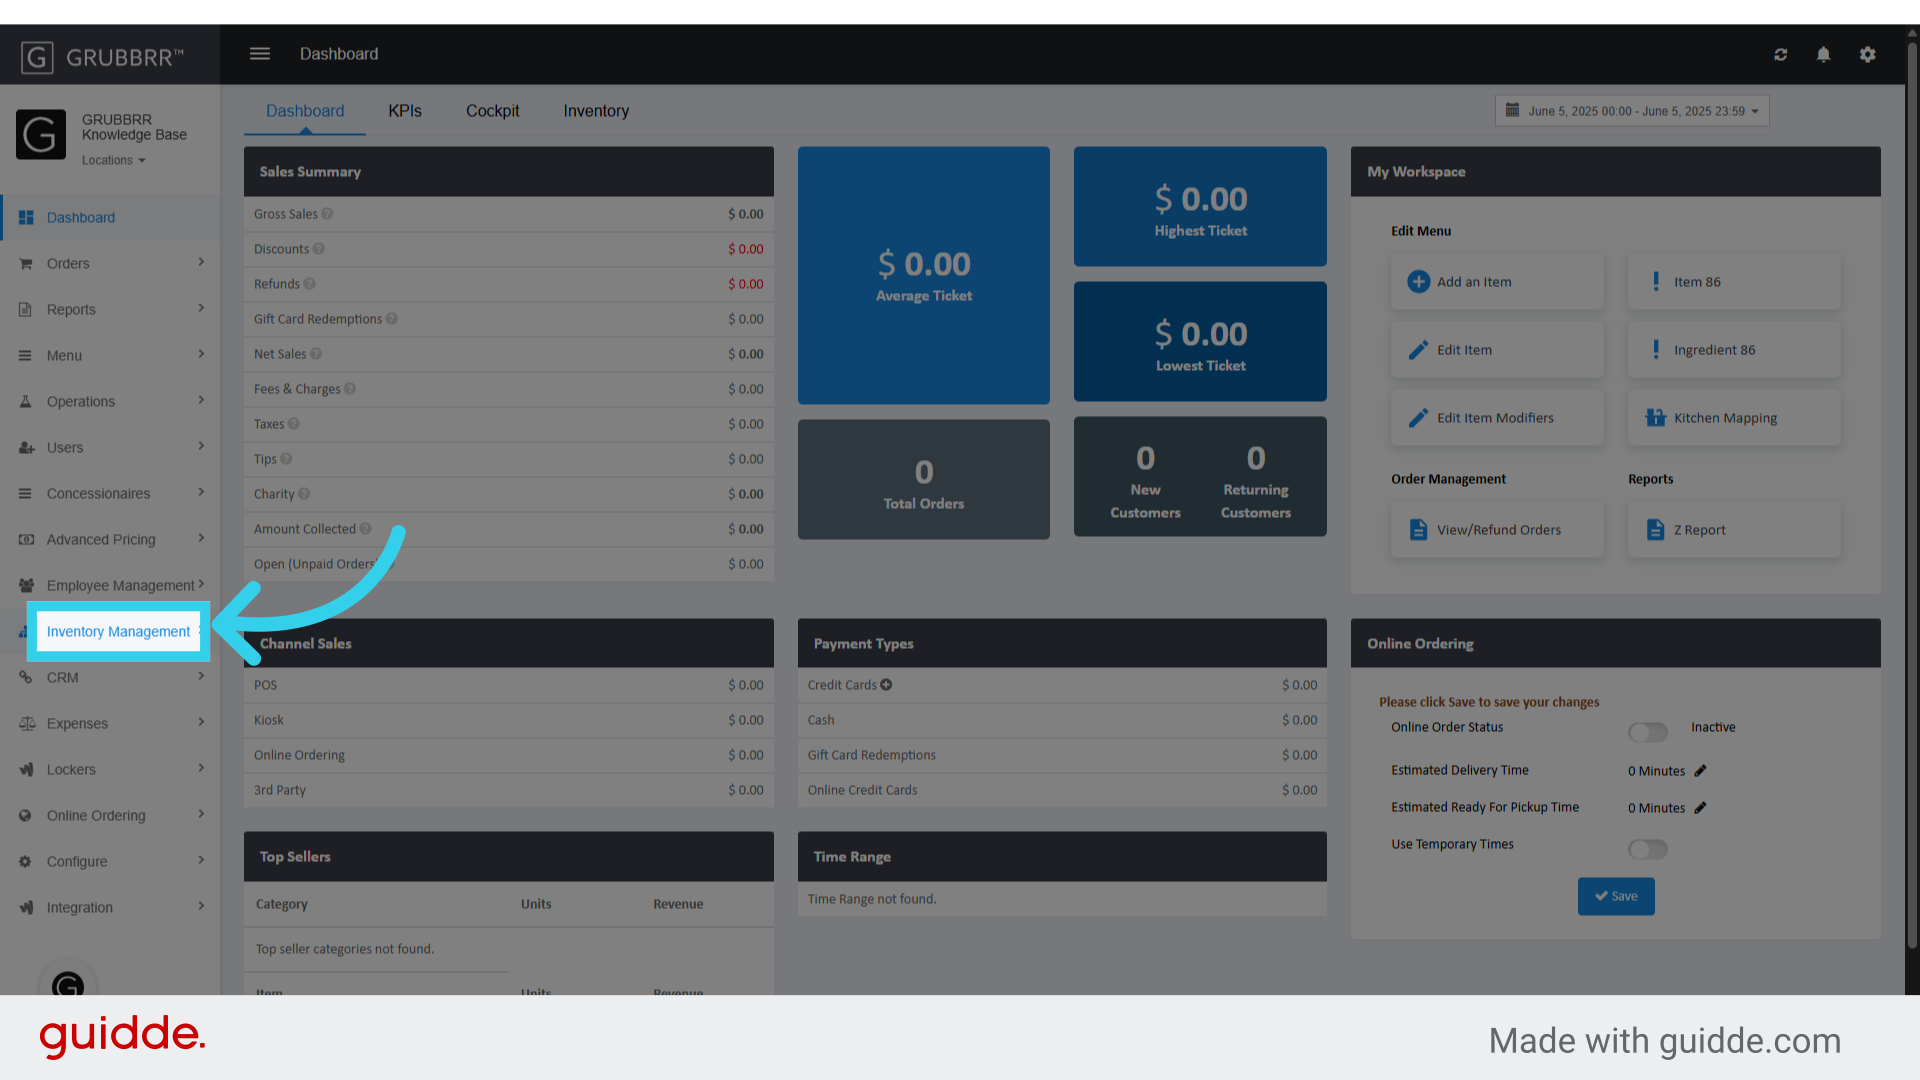
1. Click "Inventory Management"
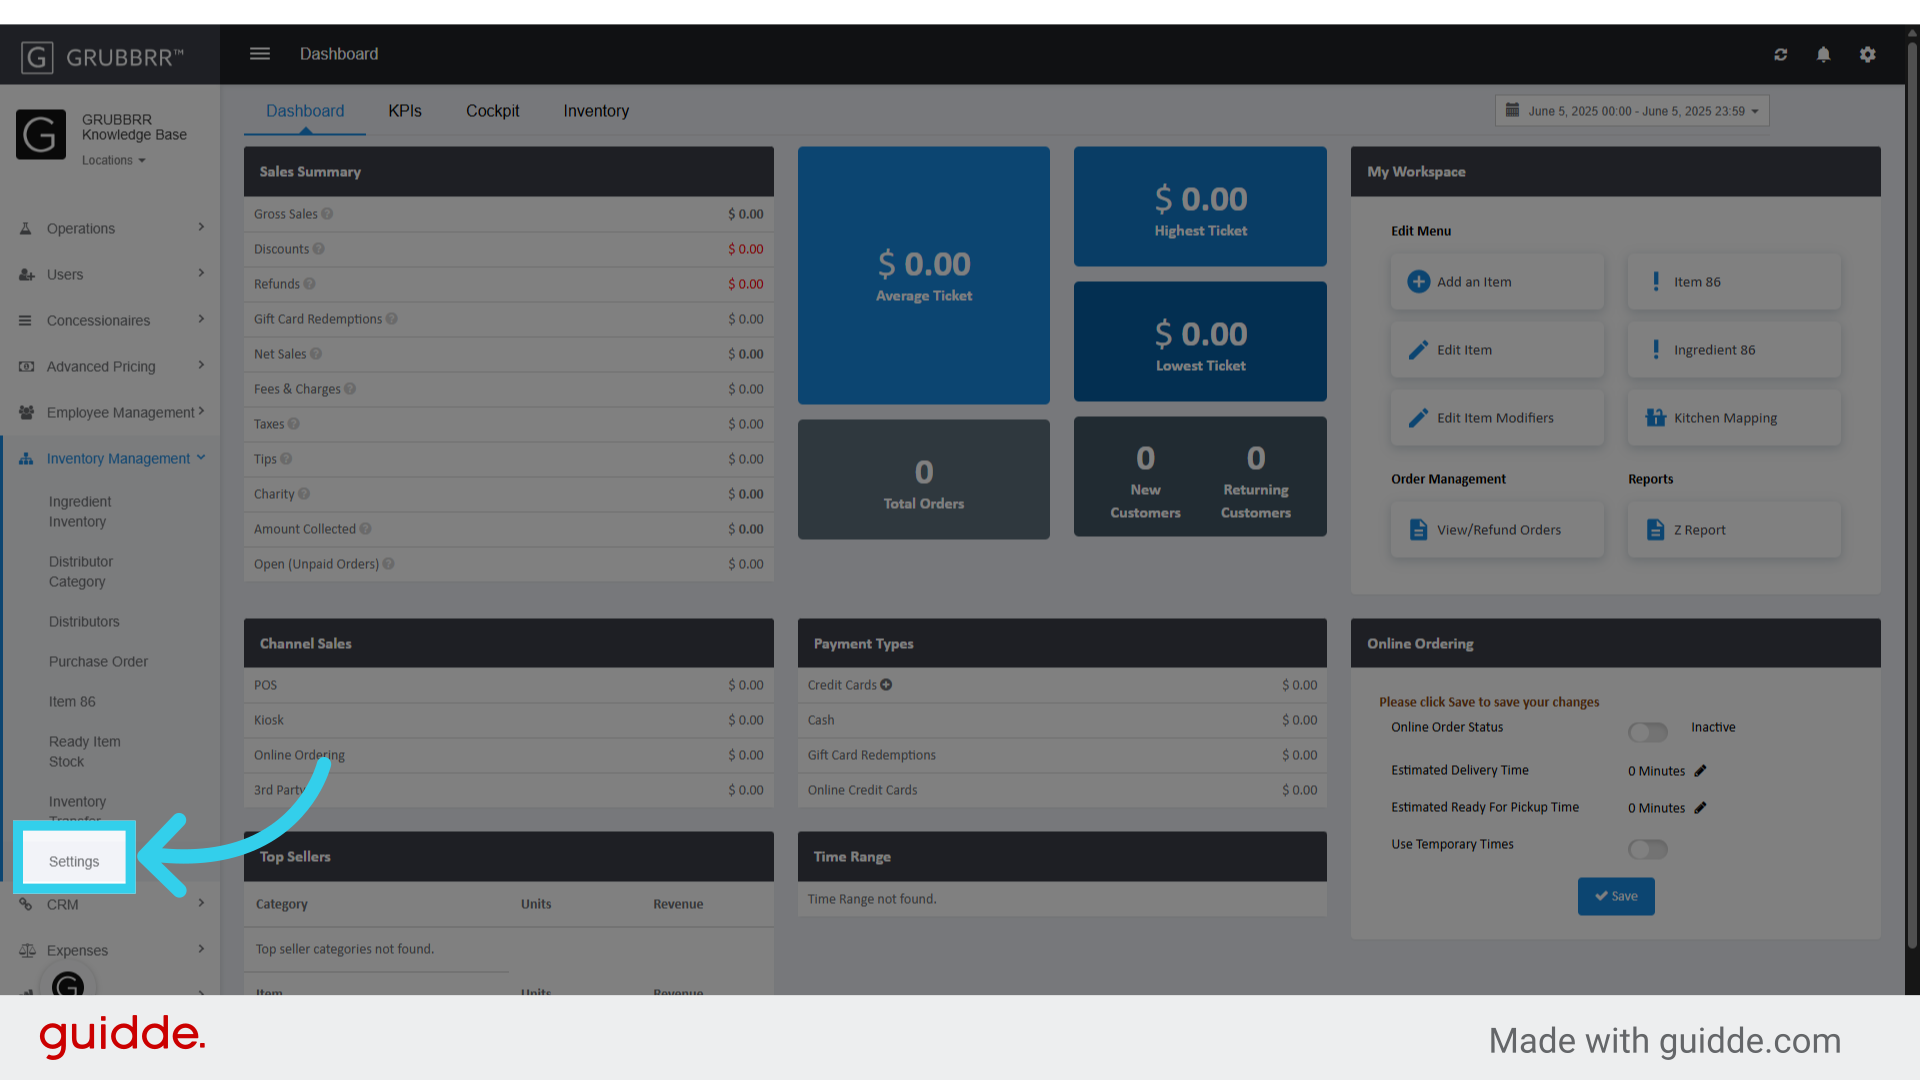
2. Click "Settings"
3. Click here to enable email alerts

4. Make sure that "Product Item" is enabled

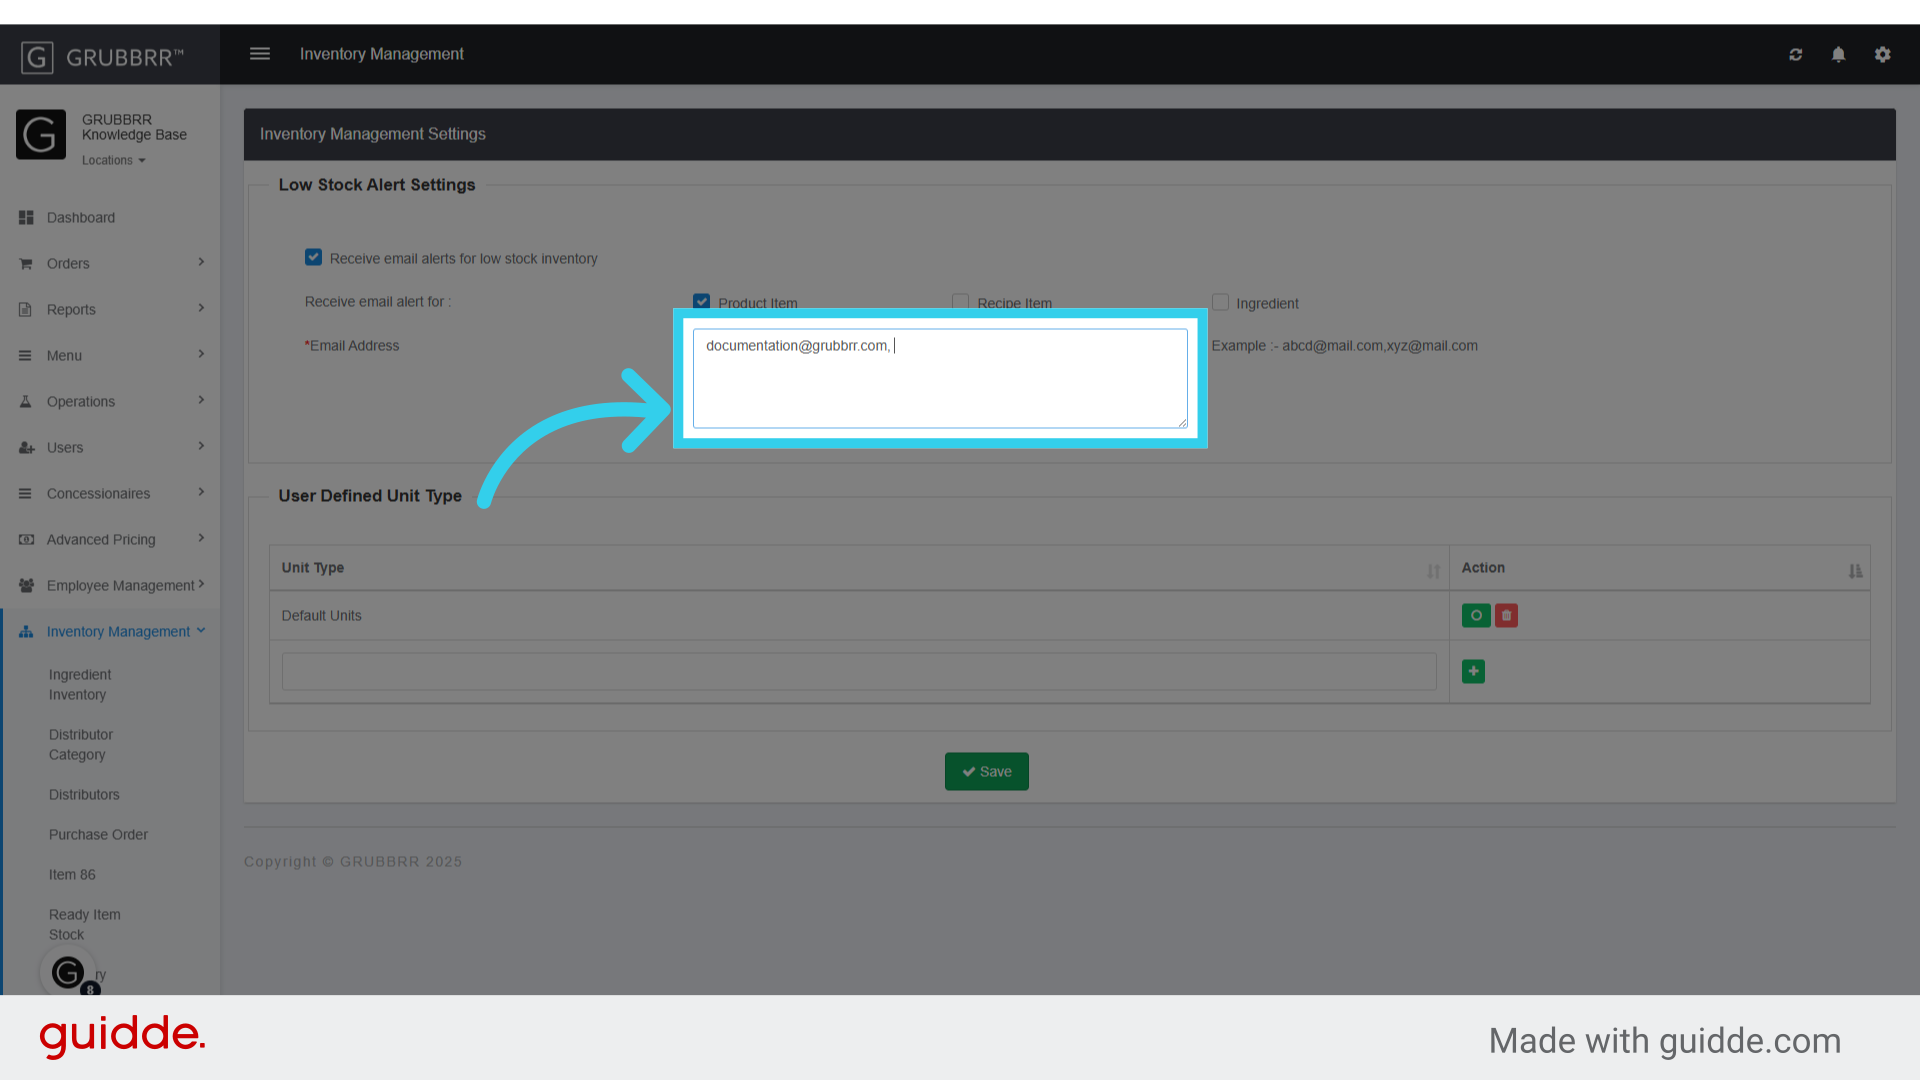
5. Enter the email address of the individual(s) who should receive these alerts
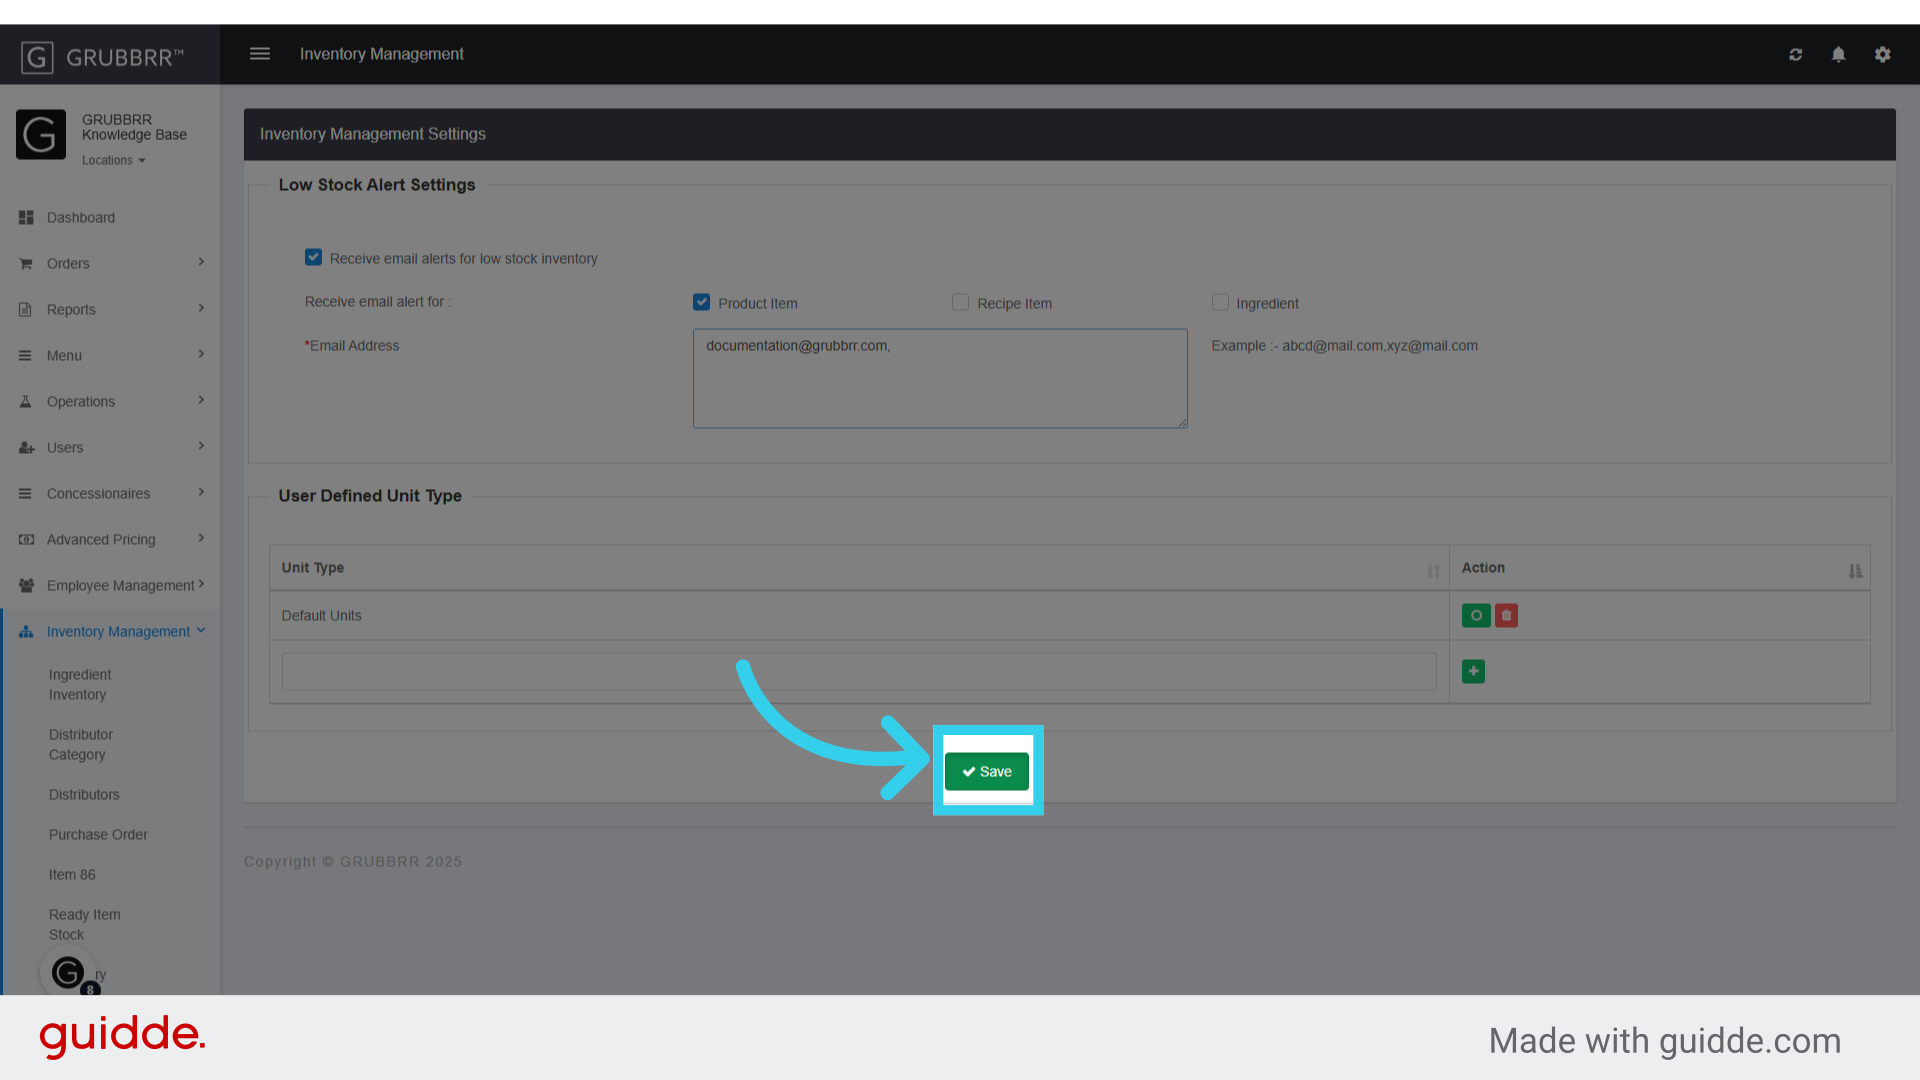
6. Click "Save" to apply your changes
Procedure Warnings: