How to Enable ID Pay in the GRUBBRR Portal
Last updated: August 5, 2026
The "Pay with ID" feature allows users to create prepaid charge accounts in the GRUBBRR portal. Any listed "members" can then enter their user-defined ID number or scan an ID card to pay for orders from this account. Please note: this is not the same as a "house account," and must be configured separately at both the super-admin and location levels.
How to Enable Pay with ID at a Location
Next, we'll need to enable Pay with ID as an option at the location level.
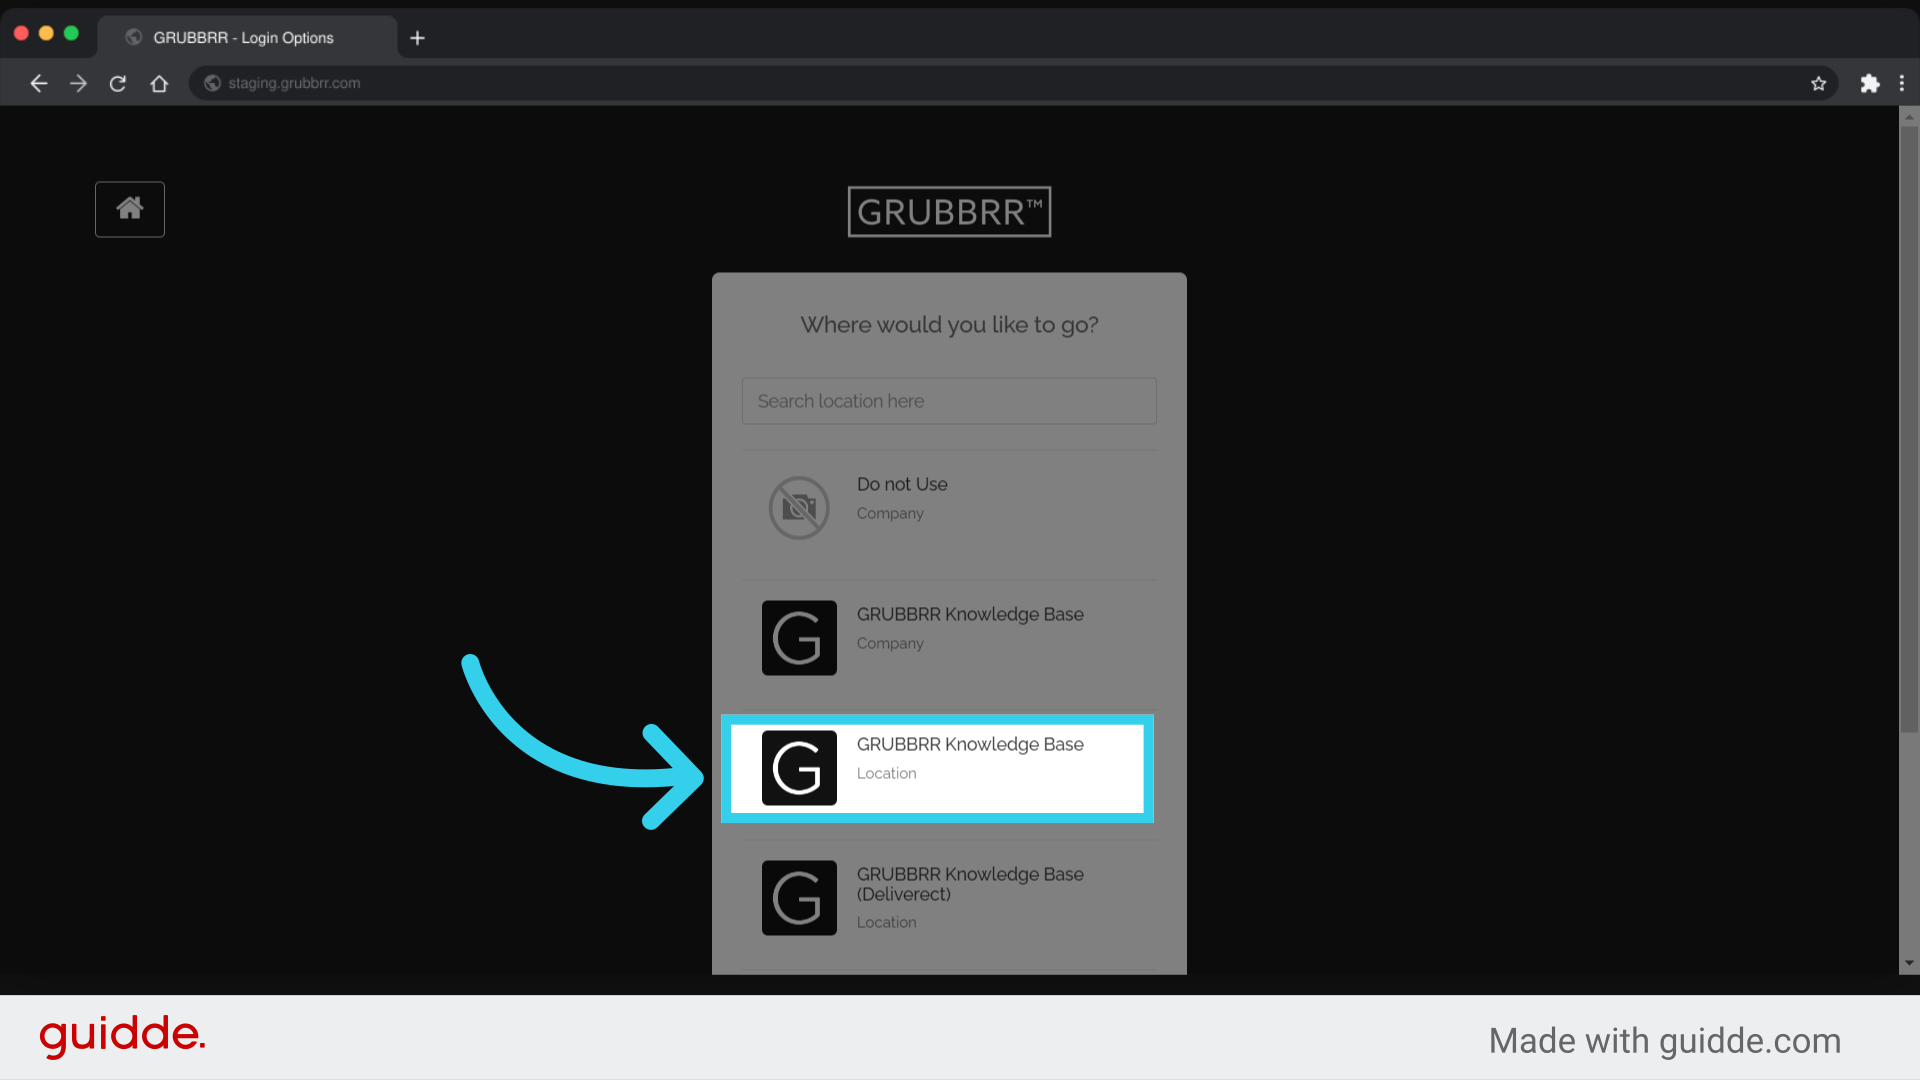
1. Sign into the Portal at the Location Level
2. Click "Configure"

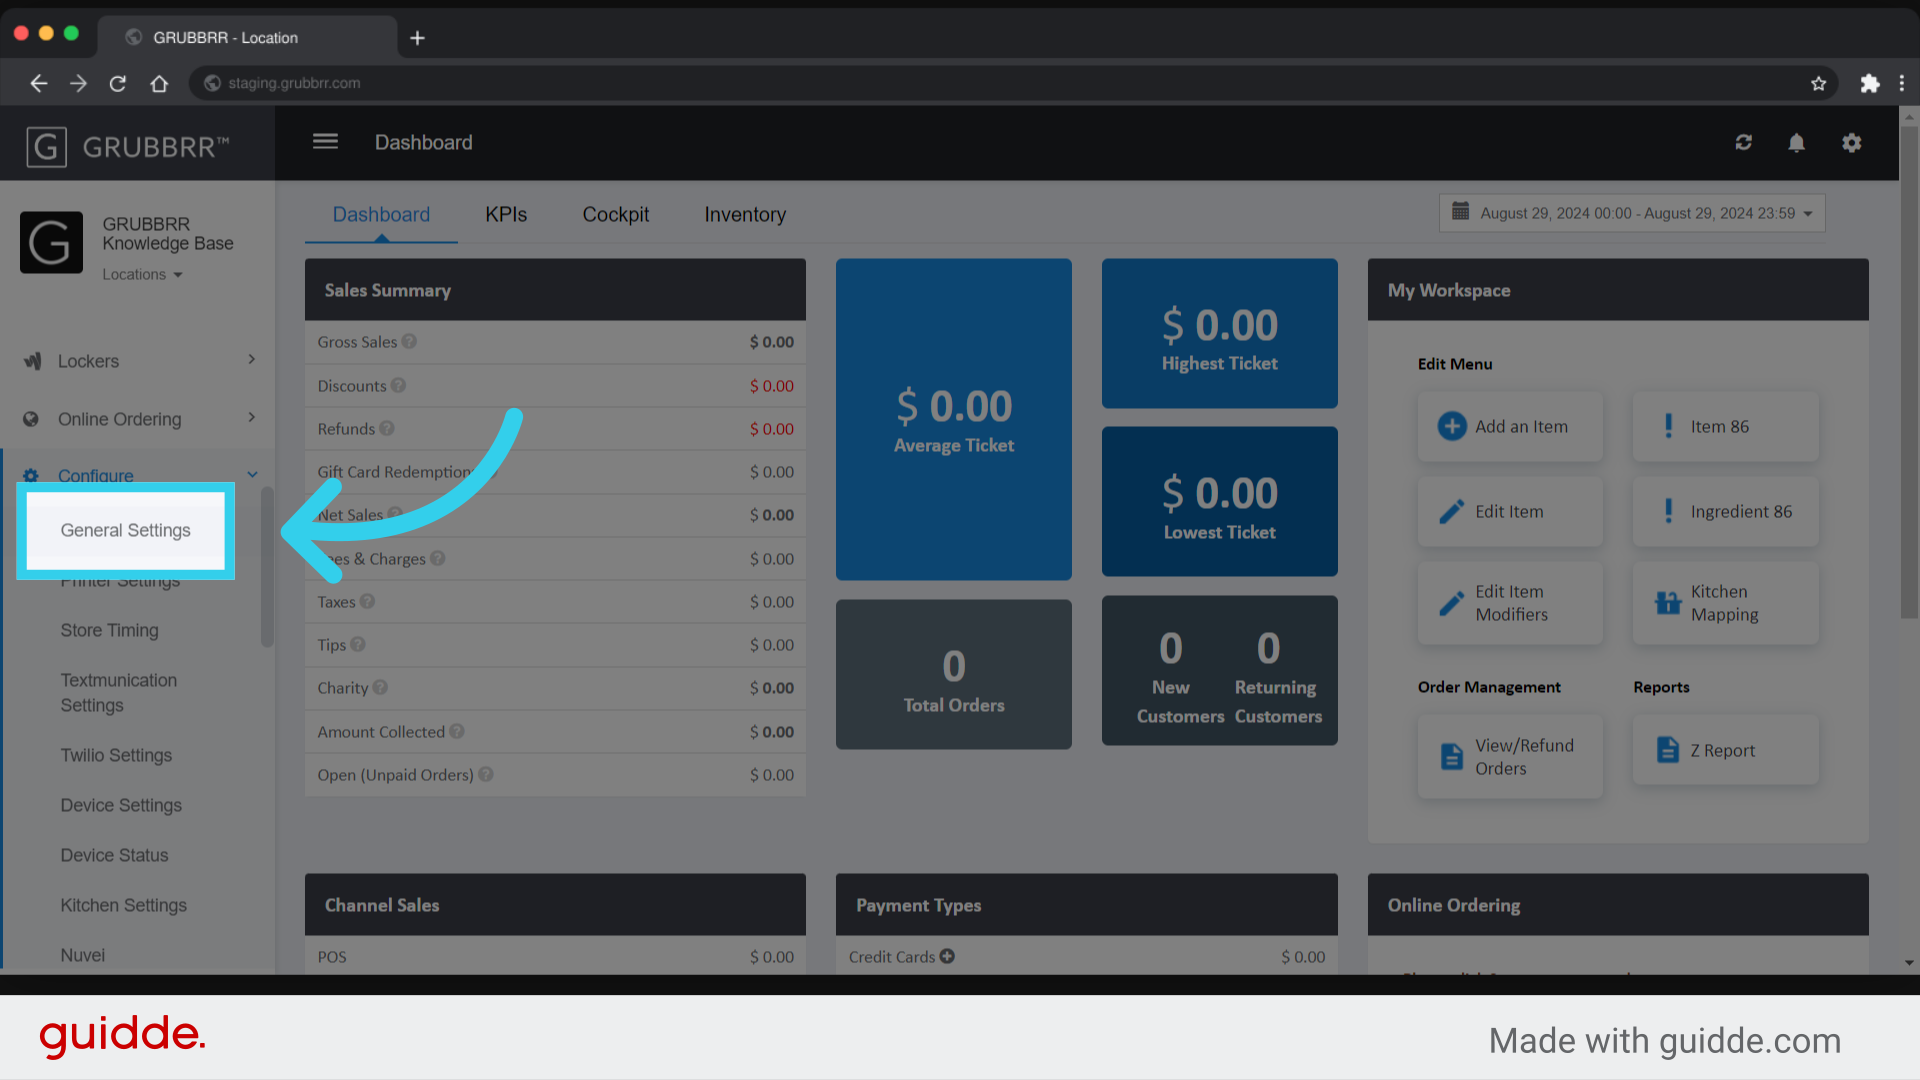
3. Click "General Settings"
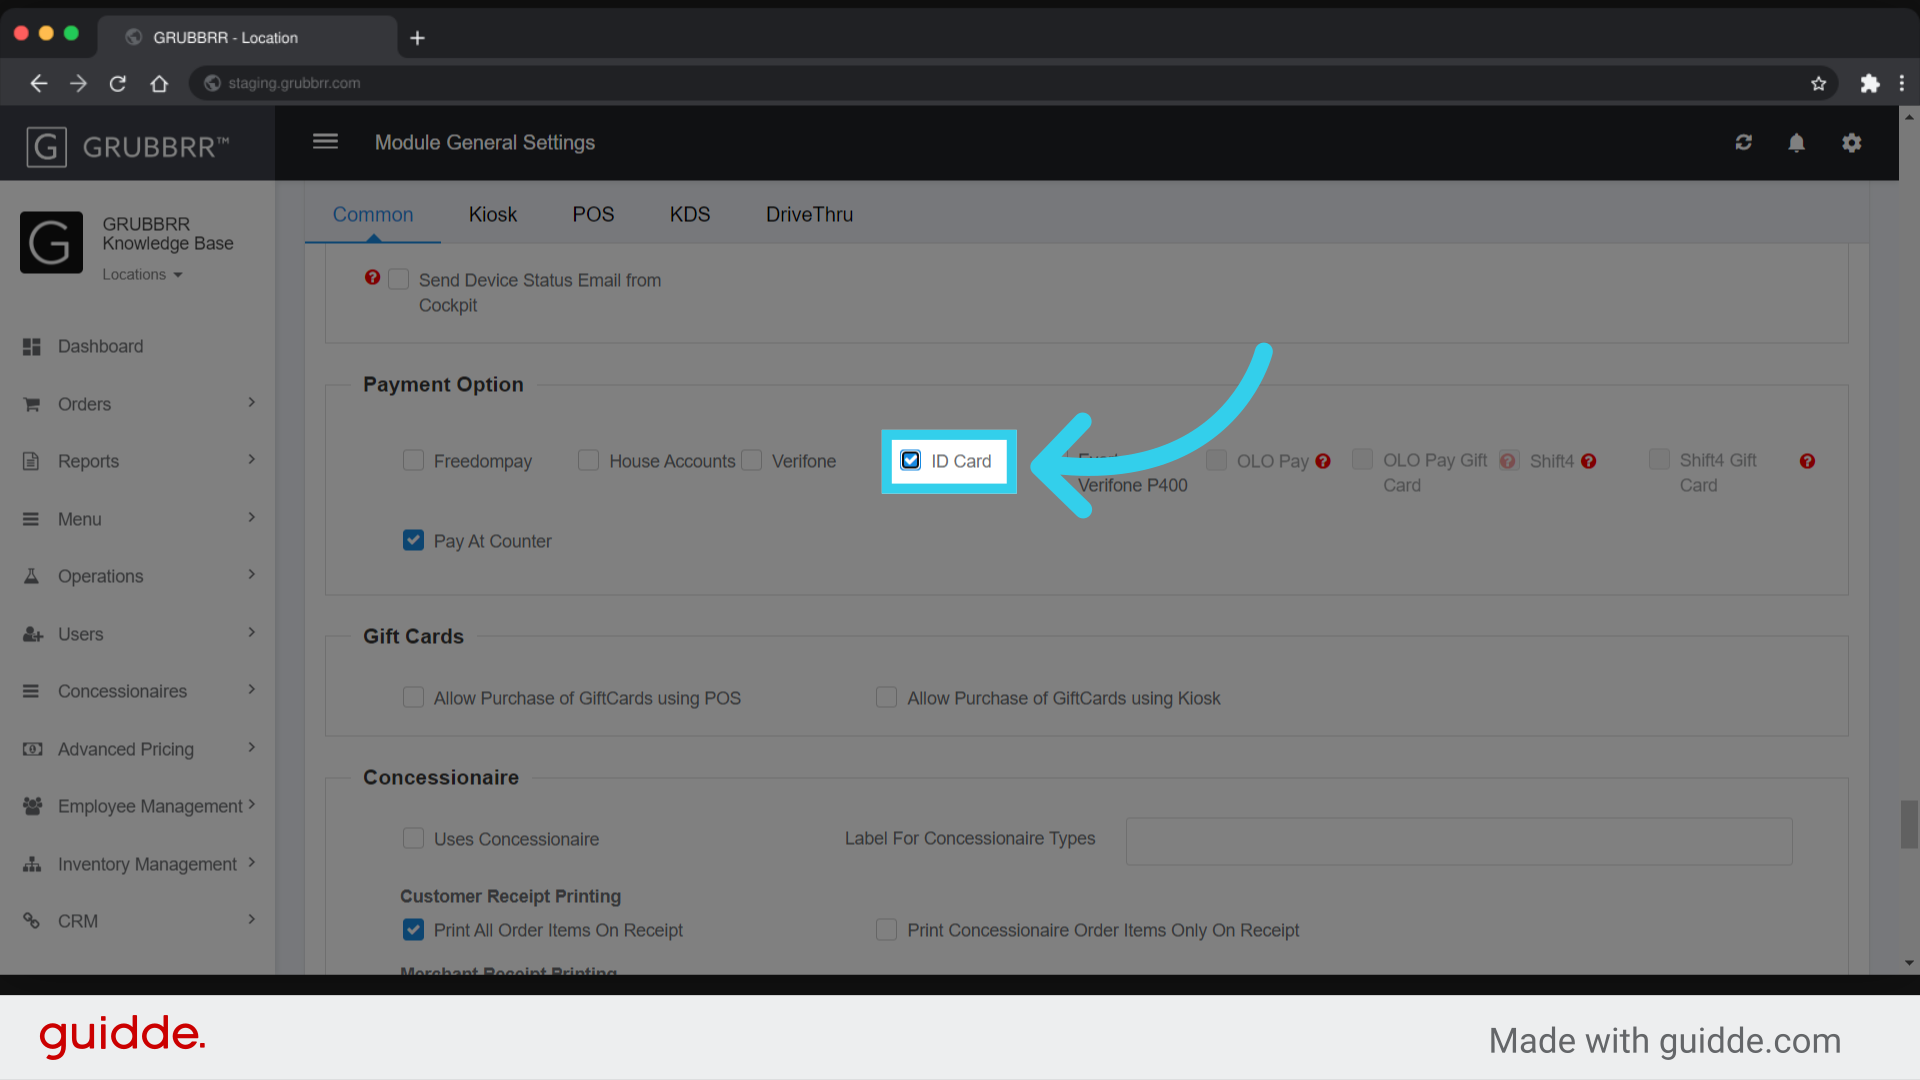
4. Scroll or search for the "Payment Option" section

5. Enable "ID Card" Payments
6. Click "Save"

Adding Member Accounts in Bulk
To add new members to the Portal in bulk, follow the steps below.
1. Click "CRM"

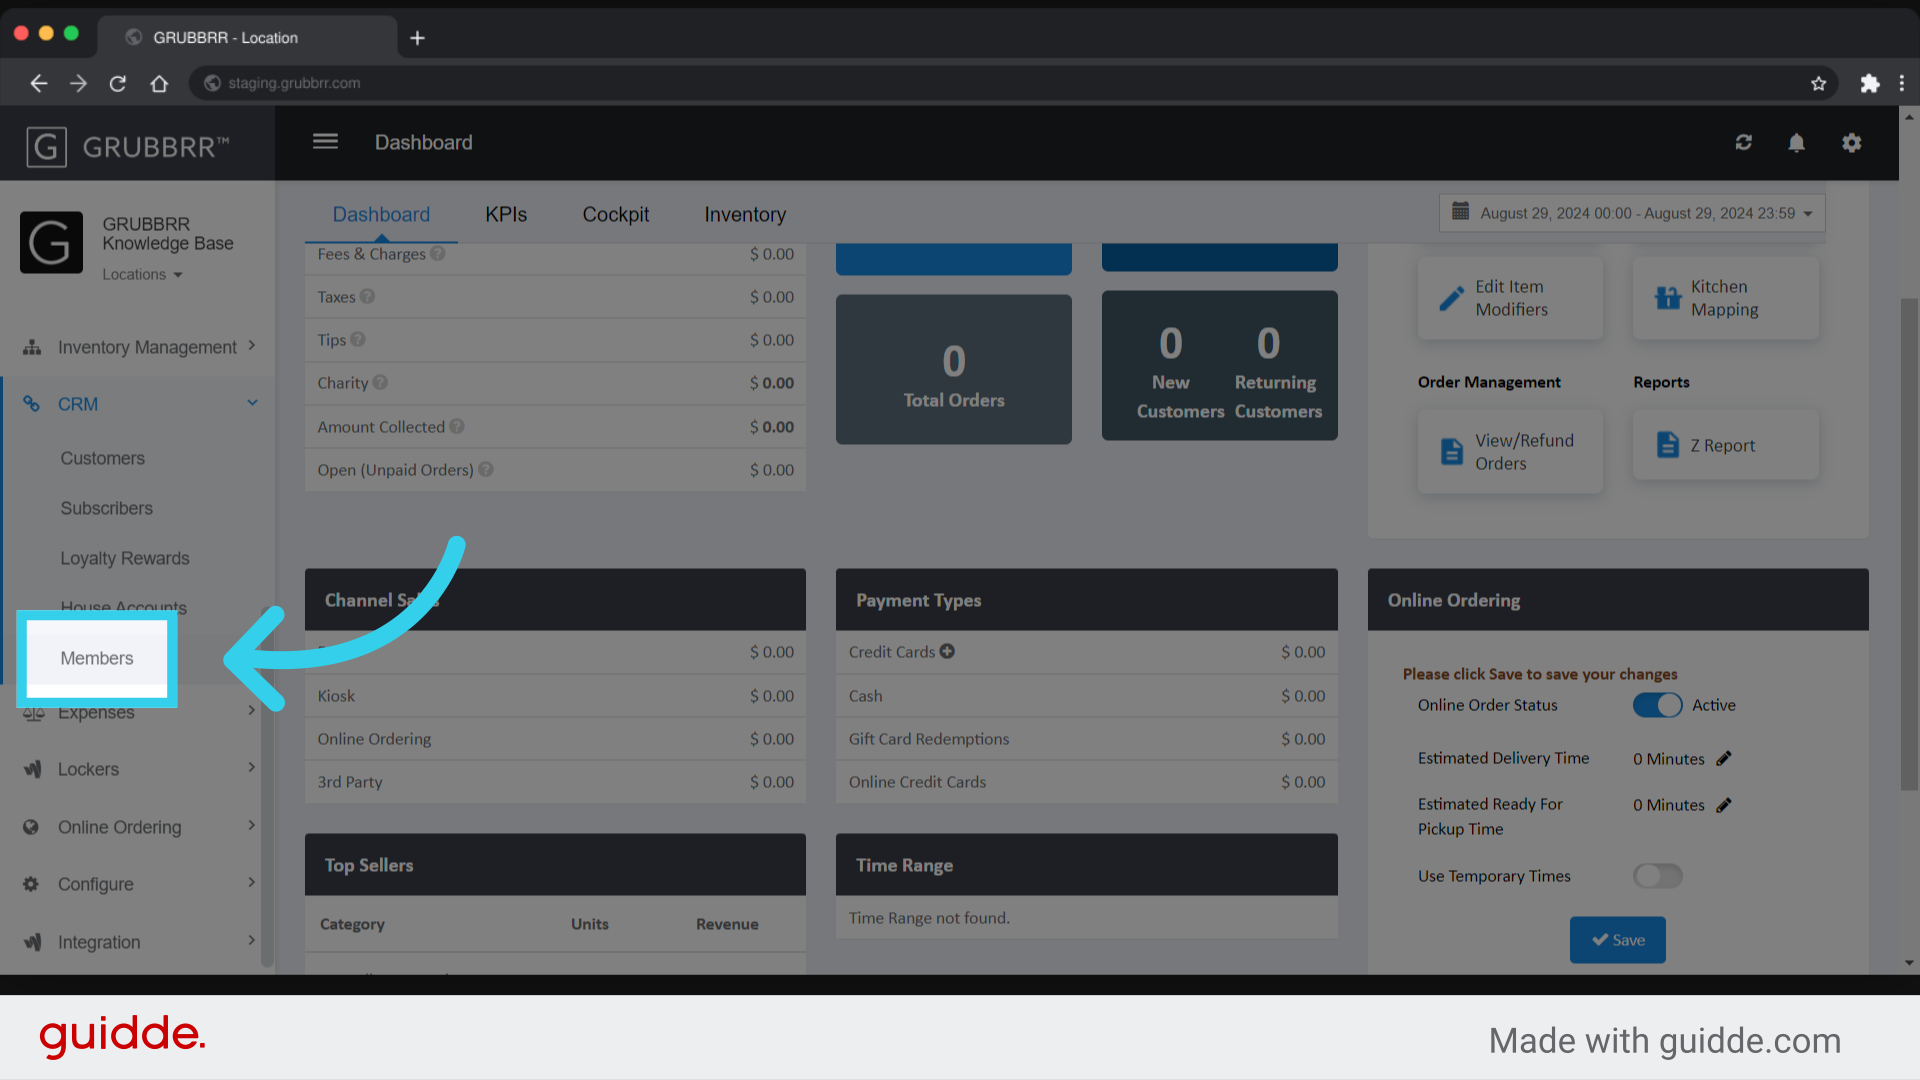
2. Click "Members"

3. Click "Import Member"

4. Download the Member ID Template

5. Assign each member a unique ID
Members must sign in with this ID to charge their account

6. Enter each member's full name
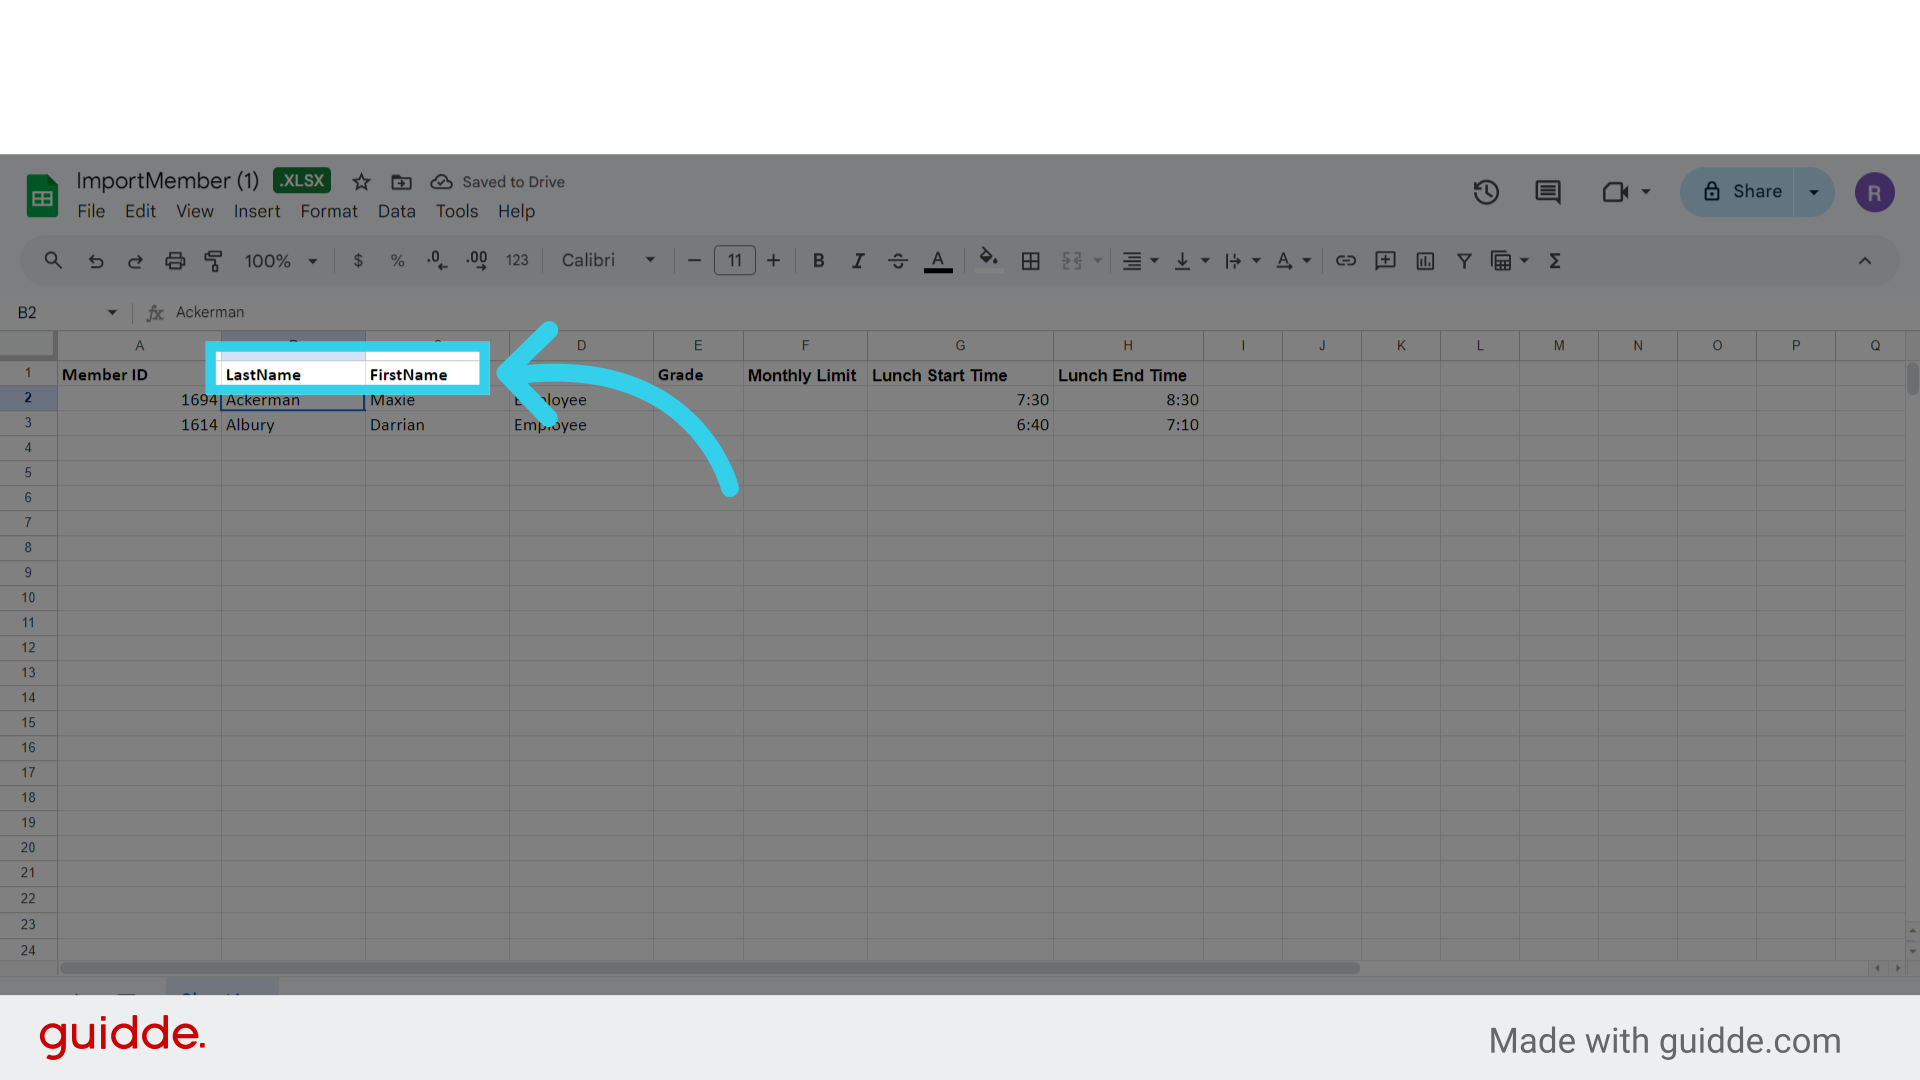
7. Assign each member a Type
Members can be classified as a Student, an Employee, or a Department
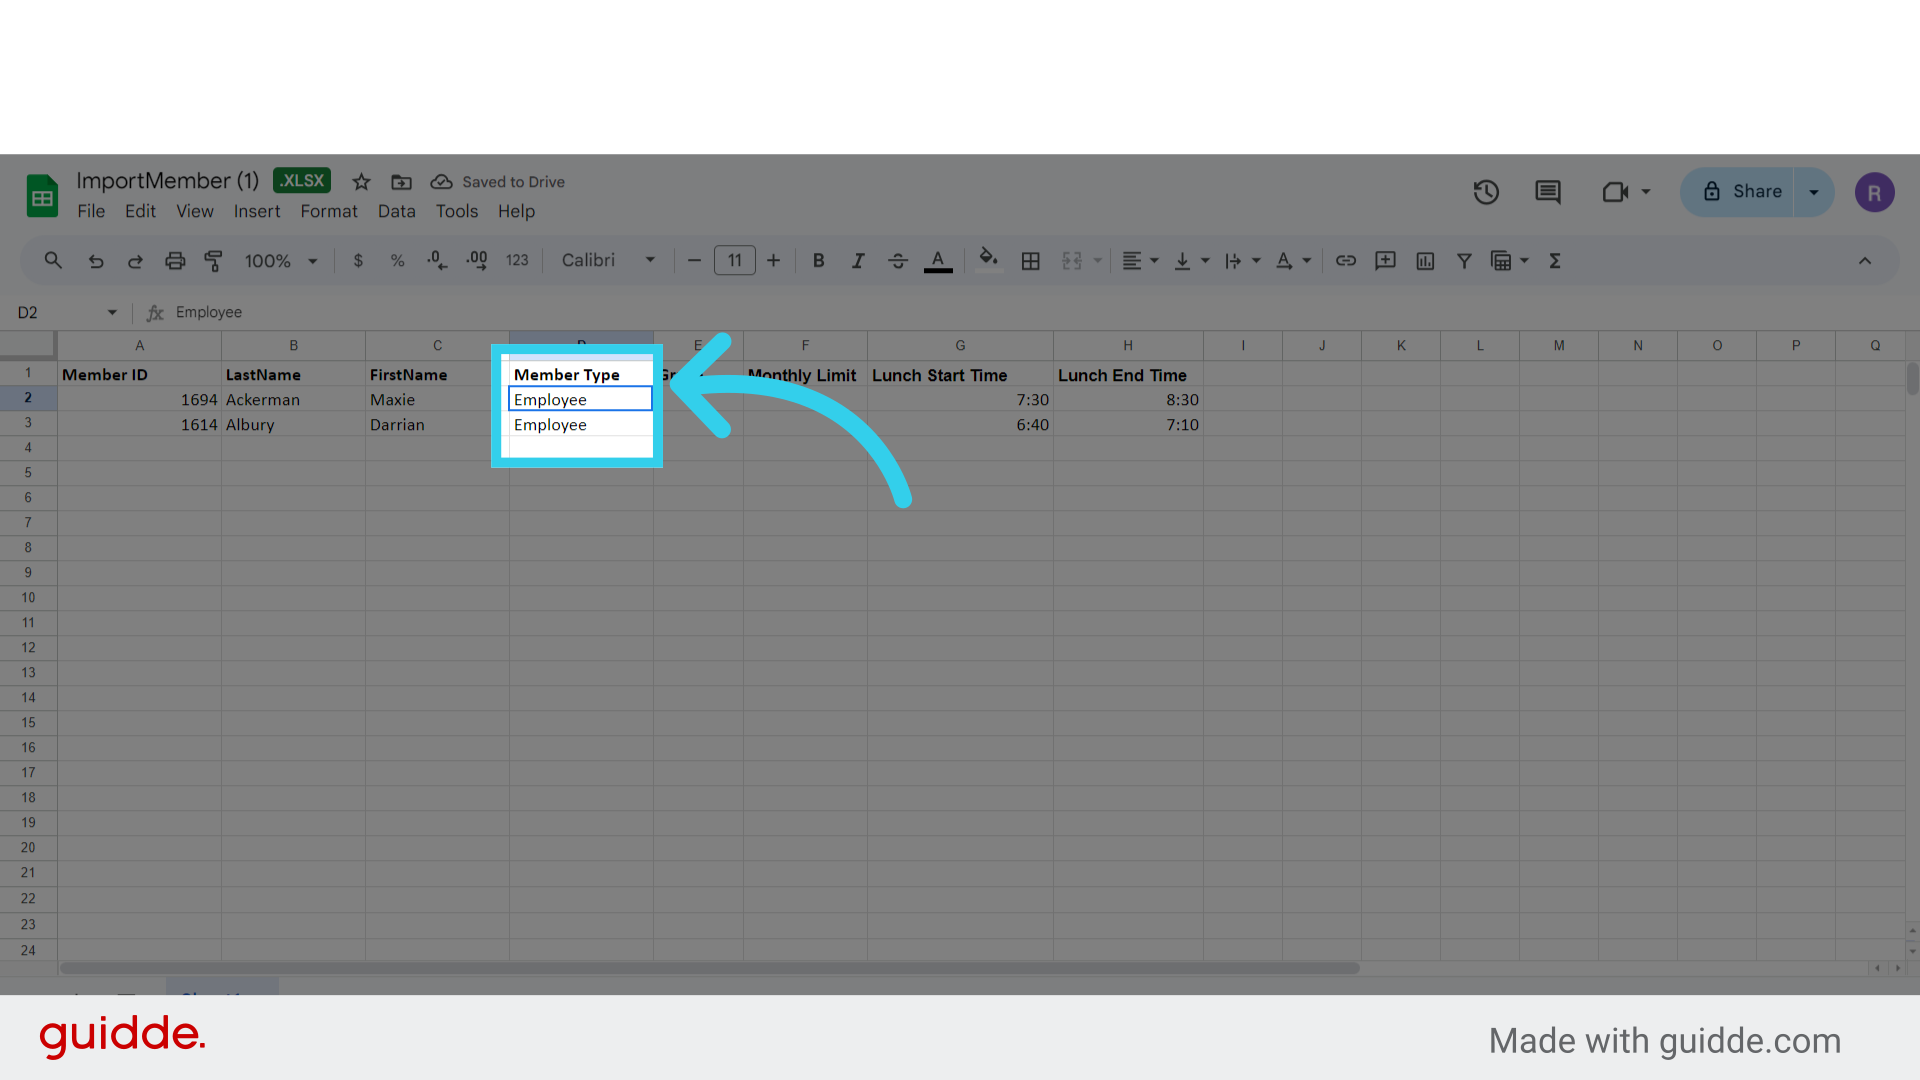
8. Assign the user a monthly limit for their account

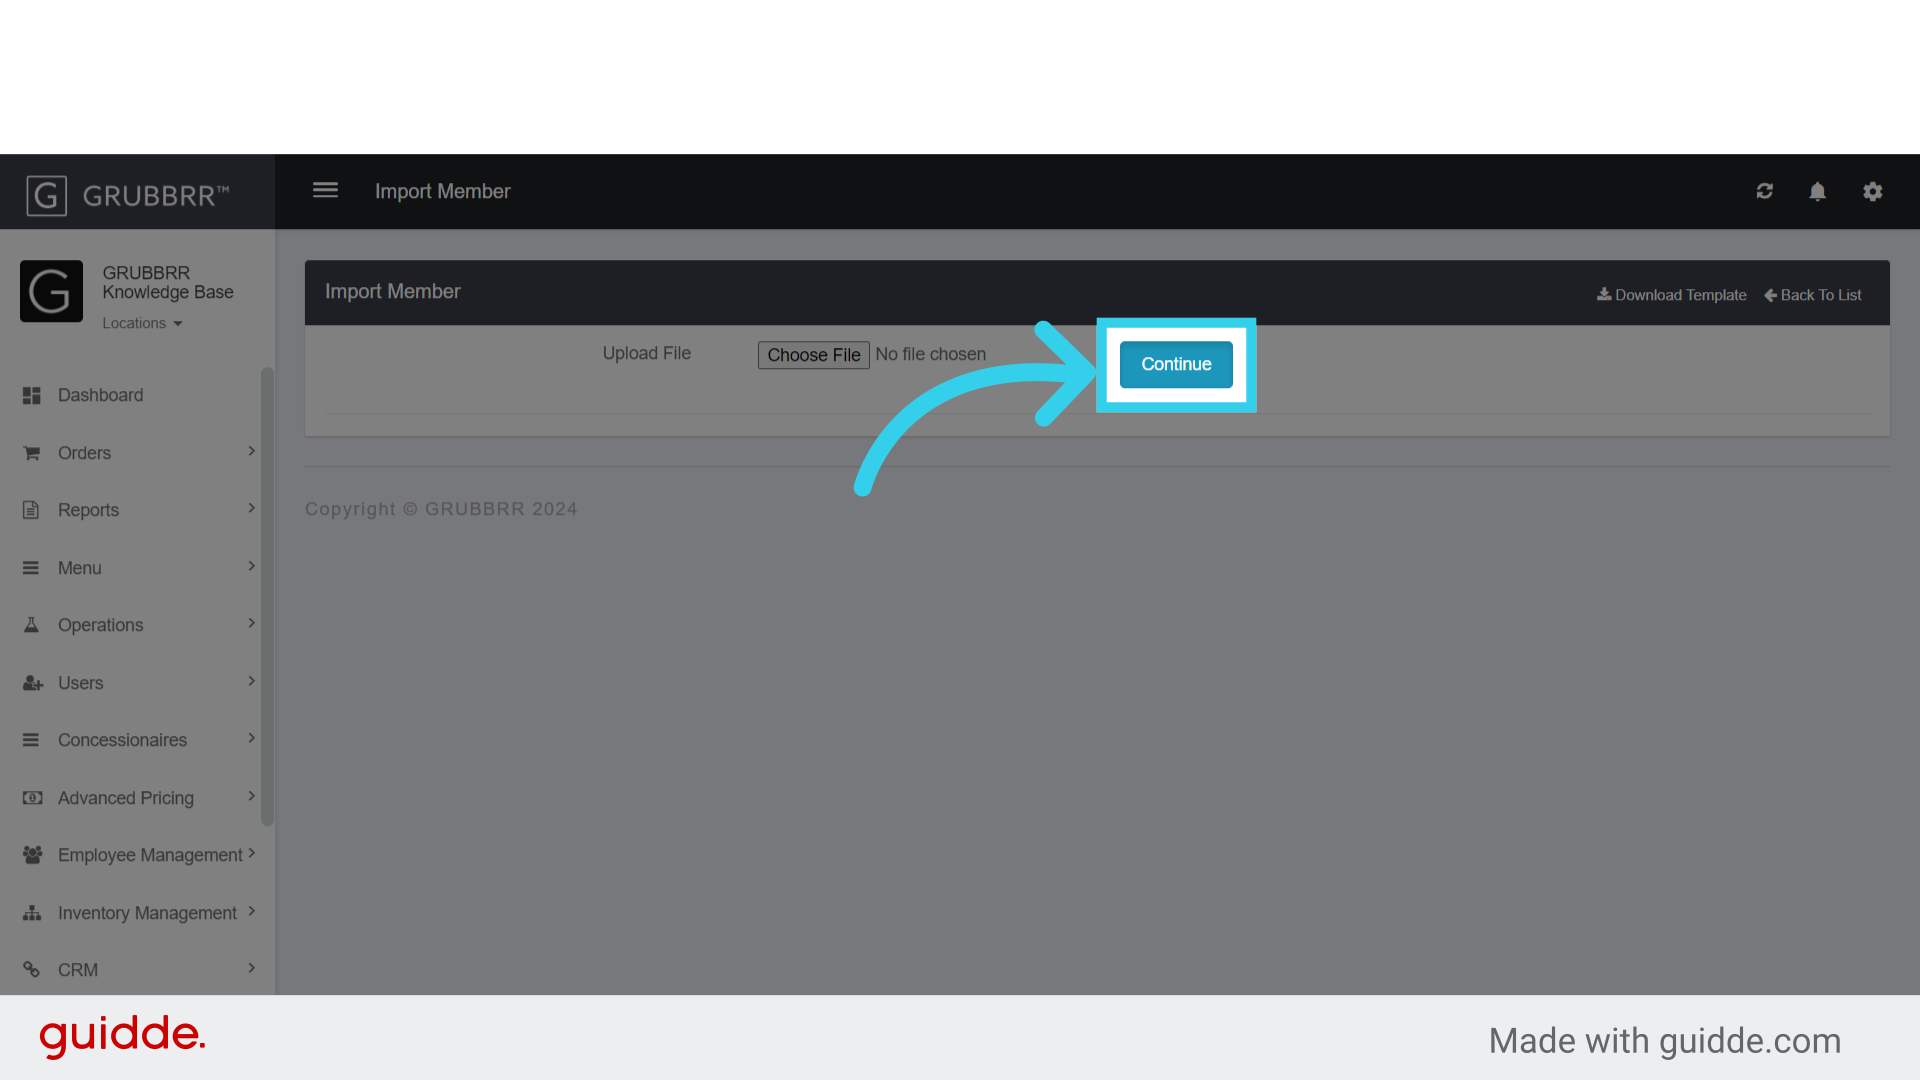
9. Click "Upload File"

10. Click "Continue"
Adding individual Members
If you only need to add one or two members at a time, you can choose to add individual members through the Portal instead.
1. Click "CRM"

2. Click "Members"
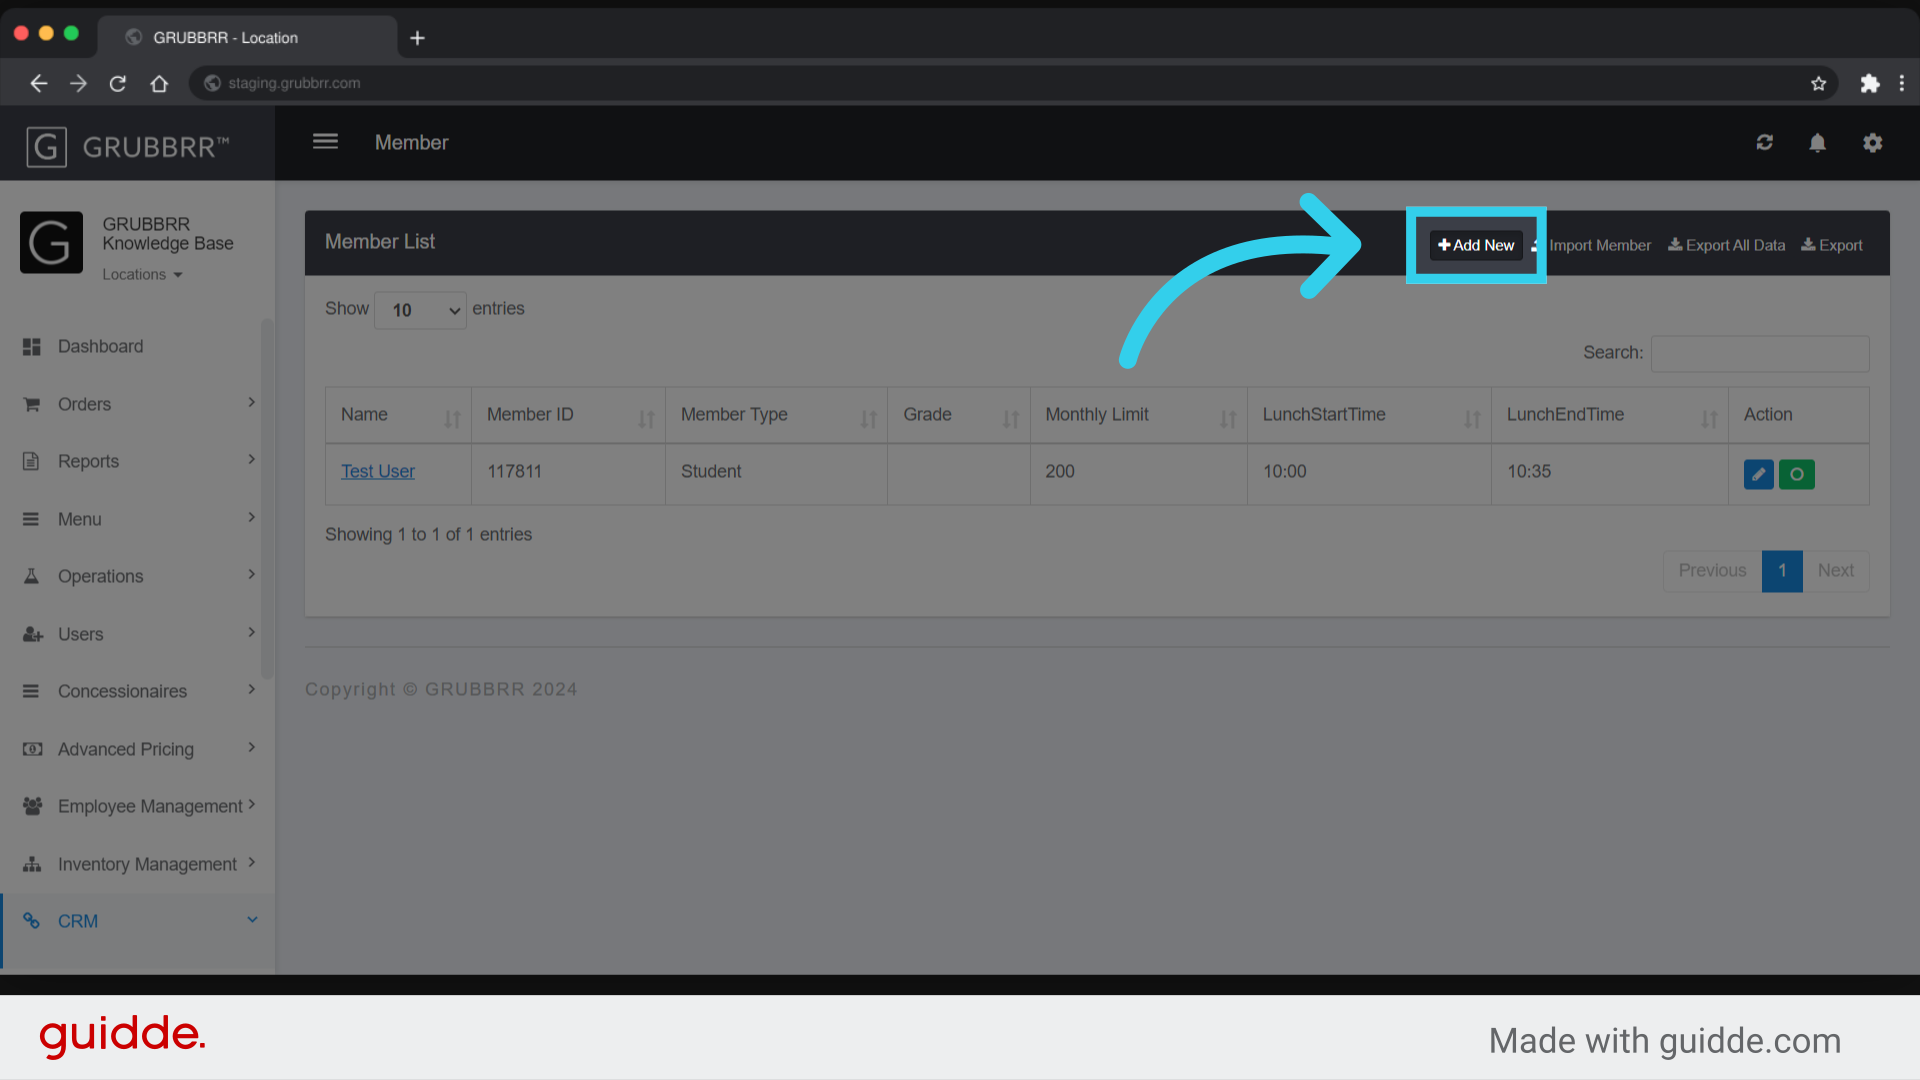
3. Click "Add New"
4. Enter the user's full name

5. Select the Member's type from the dropdown
Members can be classified as a Student, an Employee, or a Department

6. Enter the Member's ID
Members must sign in with this ID to charge their account

7. Enter the monthly limit that can be charged to the account

8. Click "Save"
Remember to sync changes to your Kiosk when you're done!

How to use Member Transaction Reports
The GRUBBRR Portal has a special report that we can use to track member purchases, which you can access by following the steps outlined below.
1. Click "Reports"

2. Click "Sales"

3. Click "Member Sales"

4. If desired, filter results by Member Type here

5. Click here to filter by date

6. Click "Search" to view the results

How to Enable Student Flow
"Student Flow" is a custom order flow designed for schools using our ID Pay system. When a Kiosk is using Student Flow, users will have to sign in with their ID before they place their order, rather than entering their student ID during the payment step. To enable Student Flow:
1. Click "Configure"

2. Click "General Settings"
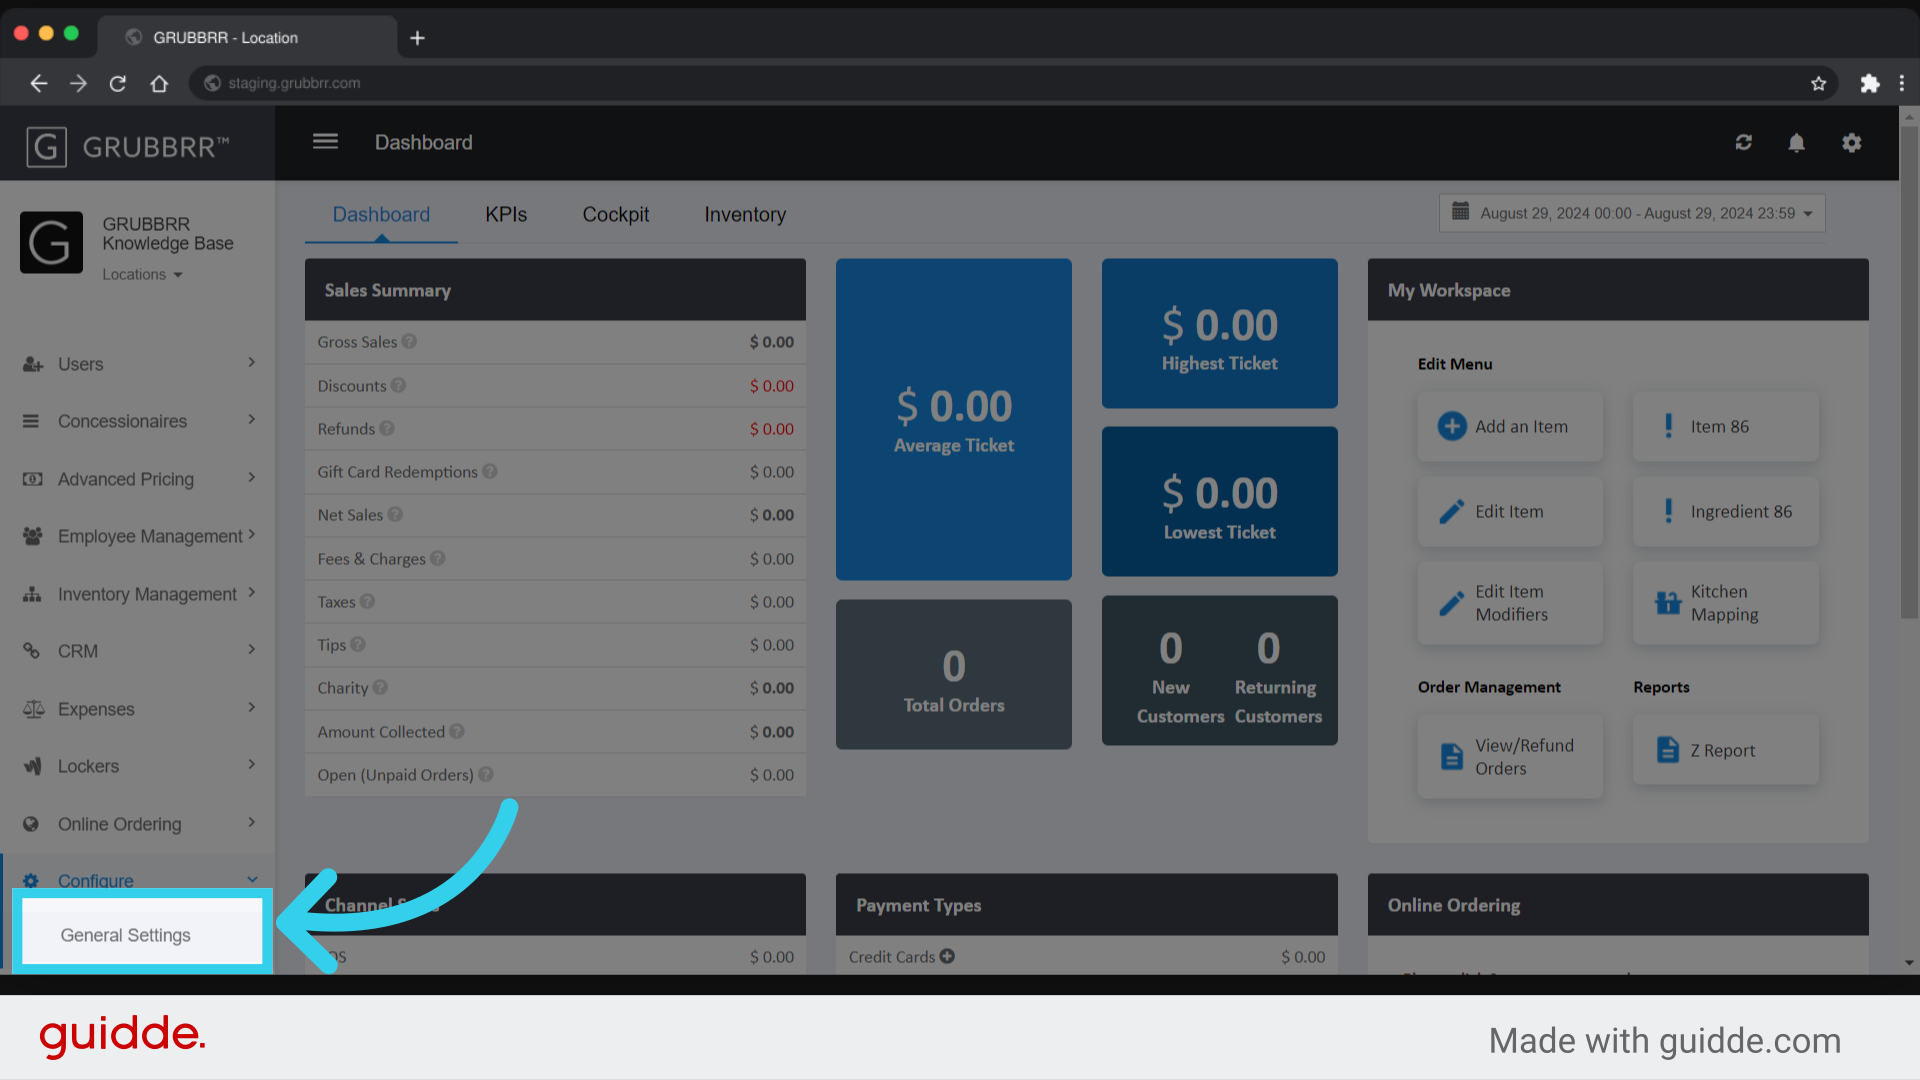
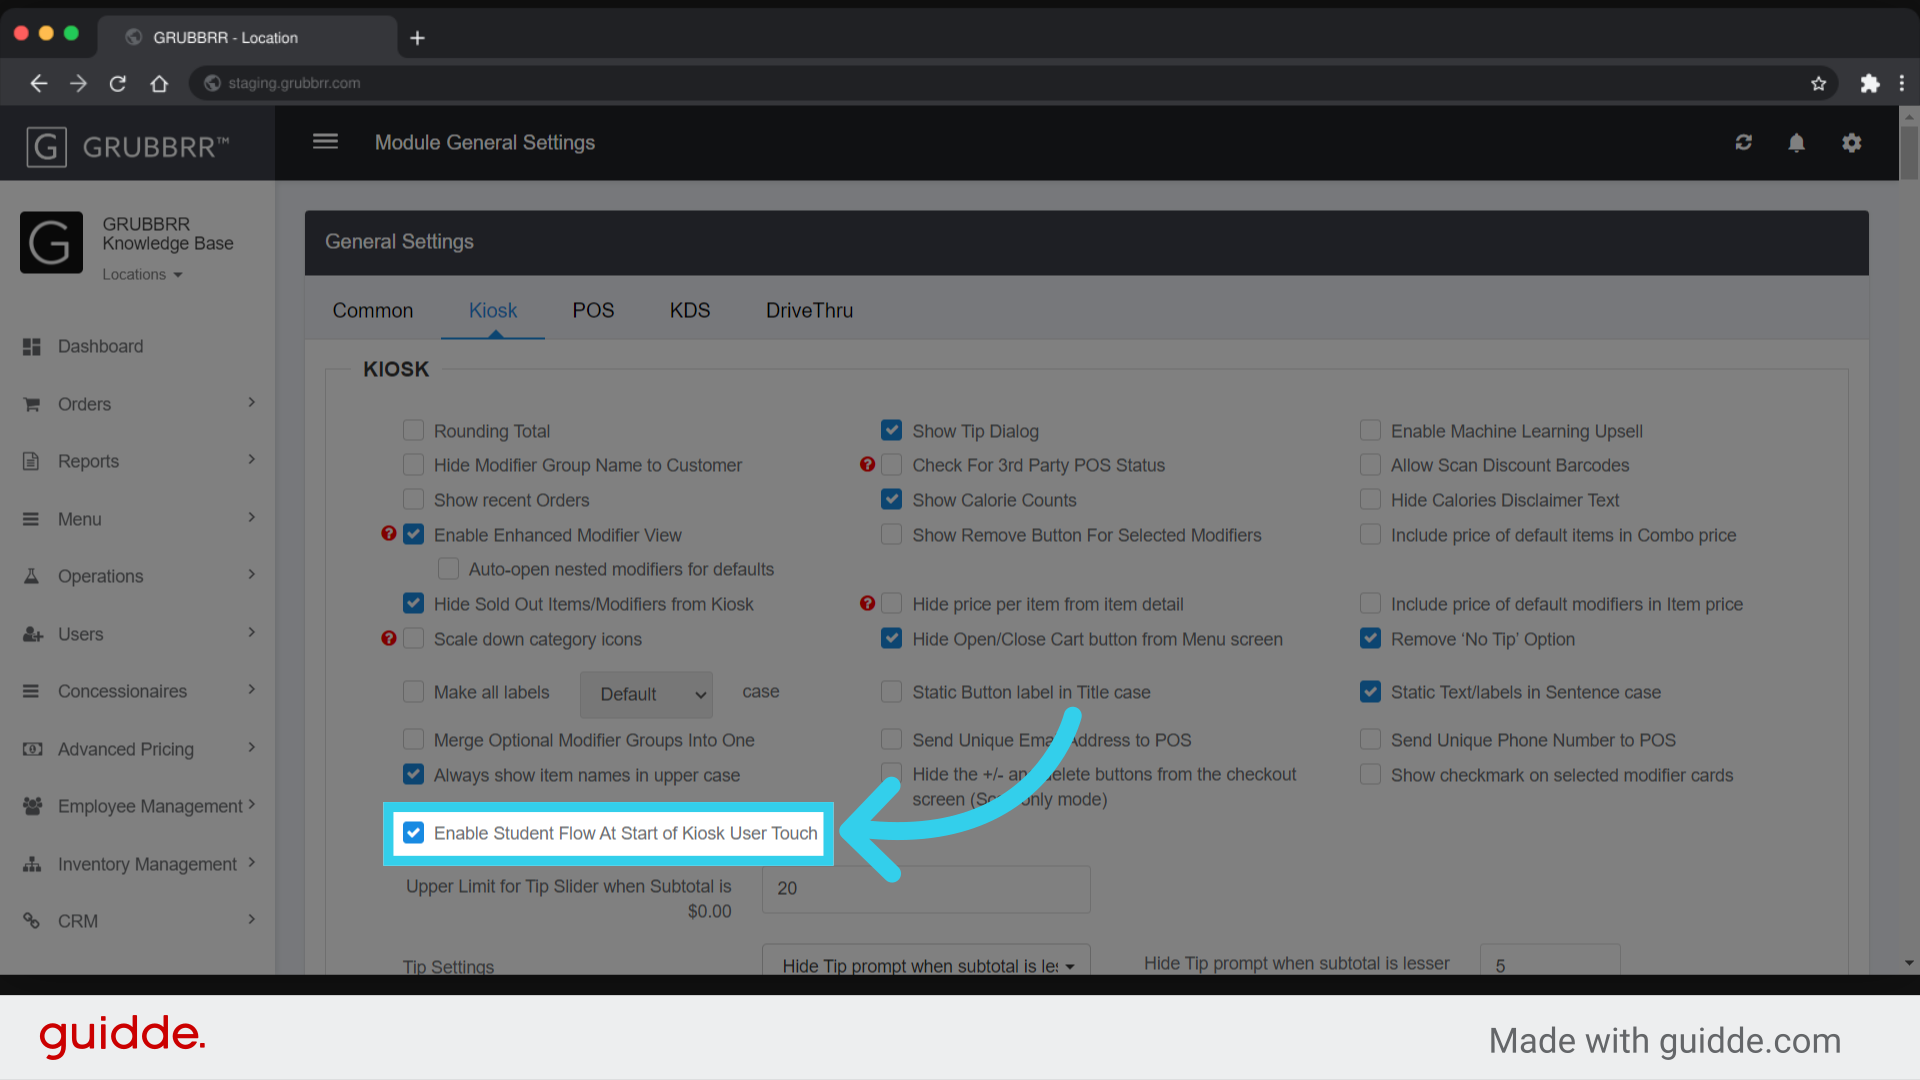
3. Click "Kiosk"

4. Click "Enable Student Flow"
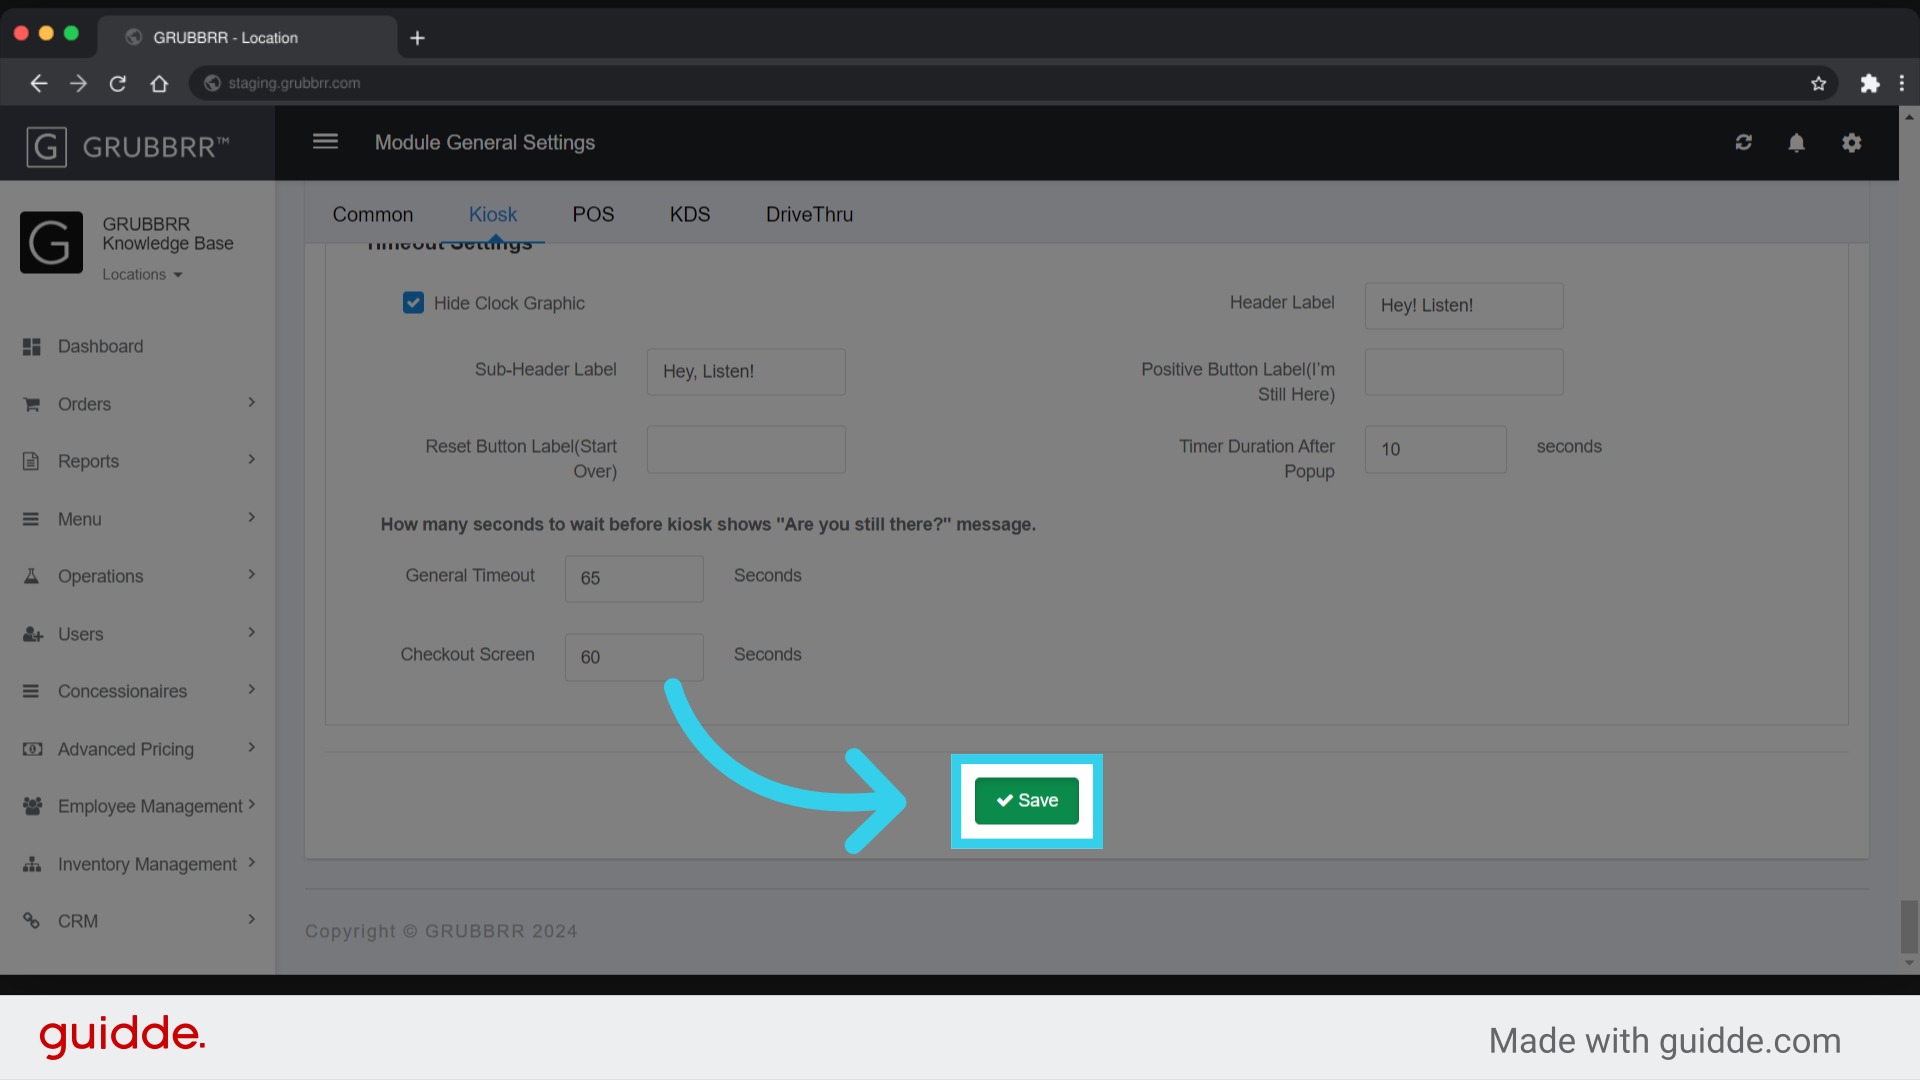
5. Click "Save"
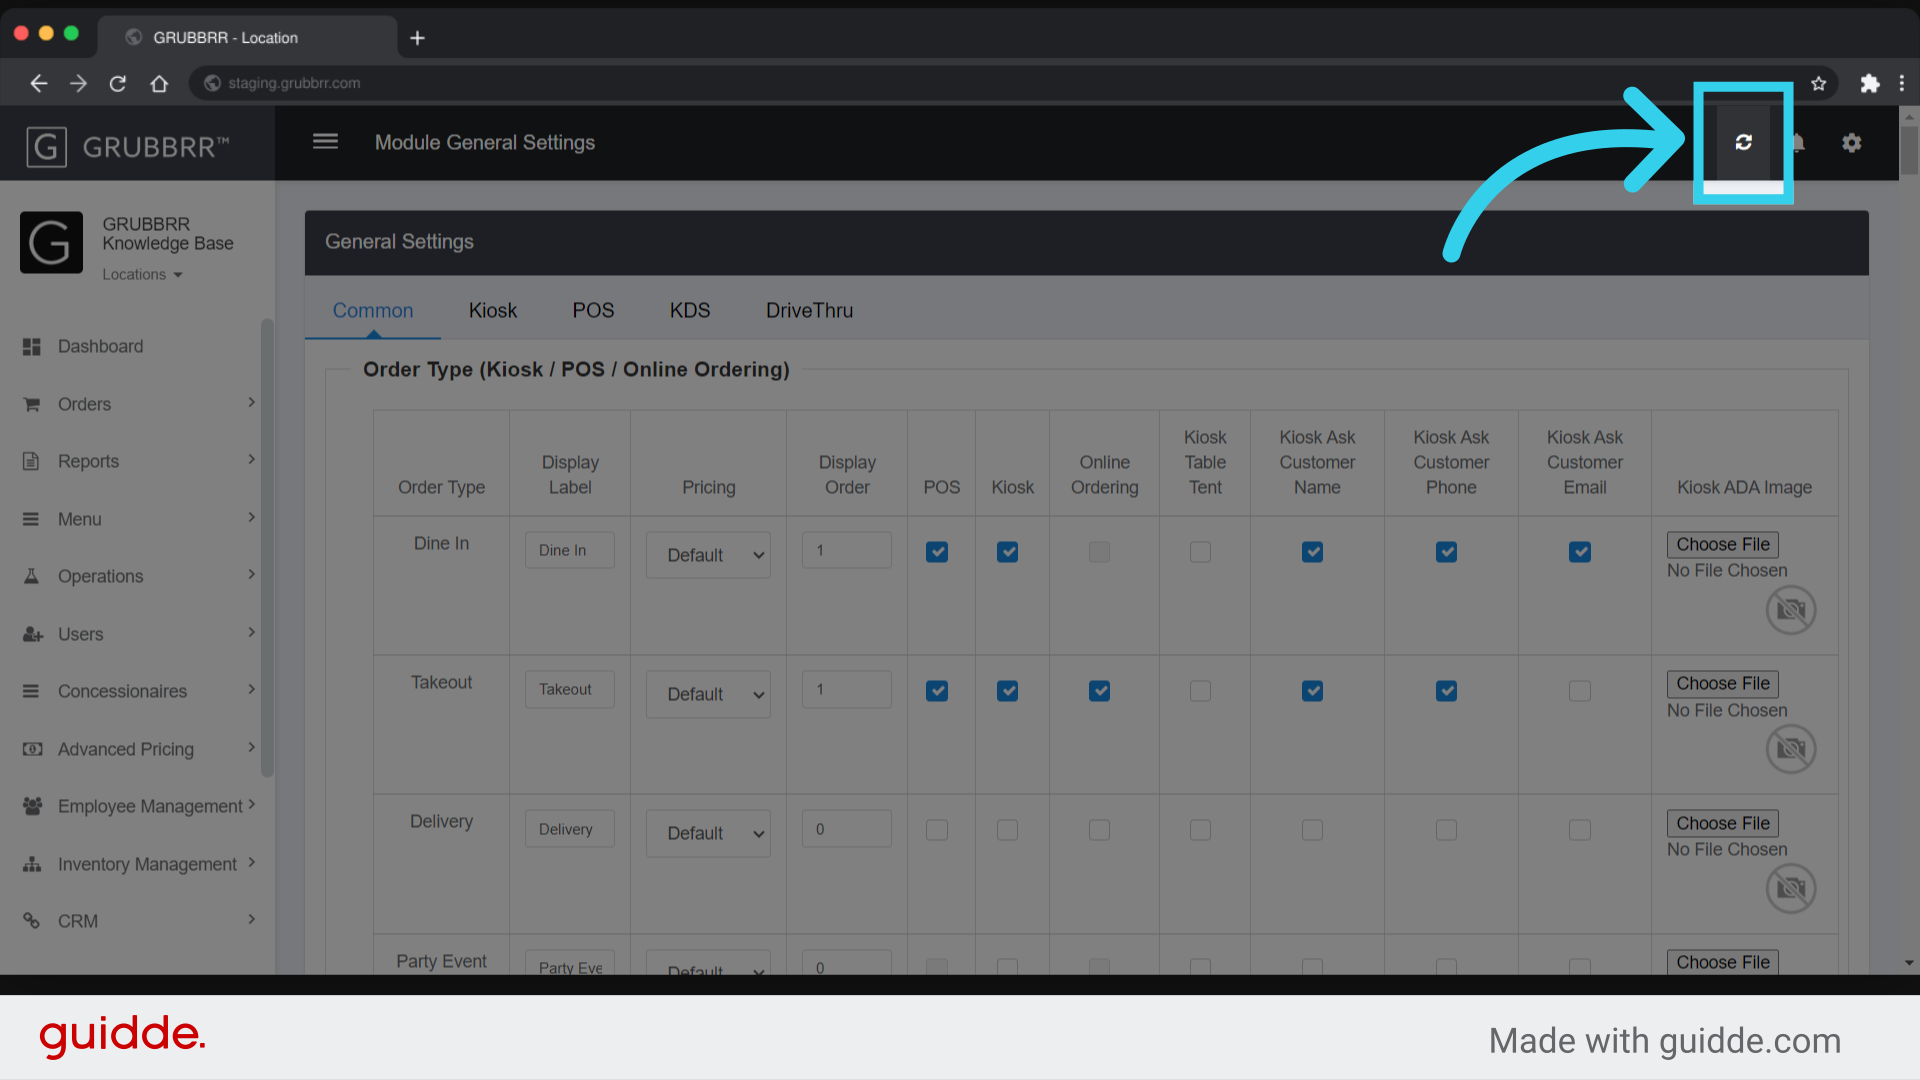
6. Click Sync to push your changes
Procedure Warnings:
Pay with ID is a unique payment flow that must be activated by GRUBBRR's administrative team before you can use it at your locations.