How to Set up a Simphony Gen 1 Integration in the GRUBBRR Portal
Last updated: August 5, 2026
Introduction
GRUBBRR's Simphony Gen 1 integration allows clients using v. 19.1.2 or later of the Oracle Simphony POS system to use our Kiosk. This integration requires the installation of an agent that acts as a gateway between GRUBBRR software and Oracle POS. We can then enter the Oracle POS and GRUBBRR agent information into the GRUBBRR Portal to create a link between the two systems.
Prerequisites
Before we can integrate with a client's Simphony Gen 1 POS, we need to gather the following information:
- The client's Simphony API IP Address
- The client's Revenue Code Center RVC
- The API Employee Number that the Kiosk will be using
- The Menu Level ID we will pull from the POS (default is usually 1)
- The client's Property Name in Oracle
- The client’s desired tender types
- The client’s desired order types
- Item and Modifier Reference IDs
We should also ask the client if they have a sample menu or existing online ordering website that has their products for reference during the menu configuration process, as this will help us accurately plan out their Kiosk menu flow. If they don't have an existing menu or online ordering site, ask the client for any important details we should know about their menu and menu layout.
Linking Simphony Gen 1 POS and GRUBBRR
1. Sign in to the GRUBBRR Portal at the Location Level

2. Click "Integration"

3. Click "Oracle Simphony Gen 1"

4. Enter the IP Address of the terminal that hosts the GRUBBRR Agent here
If the client has installed the agent on a backup PC(s), you can enter those additional IP addresses into the fields labeled Host 2 and Host 3, respectively.

5. Enter the IP address of the terminal hosting the client's POS here
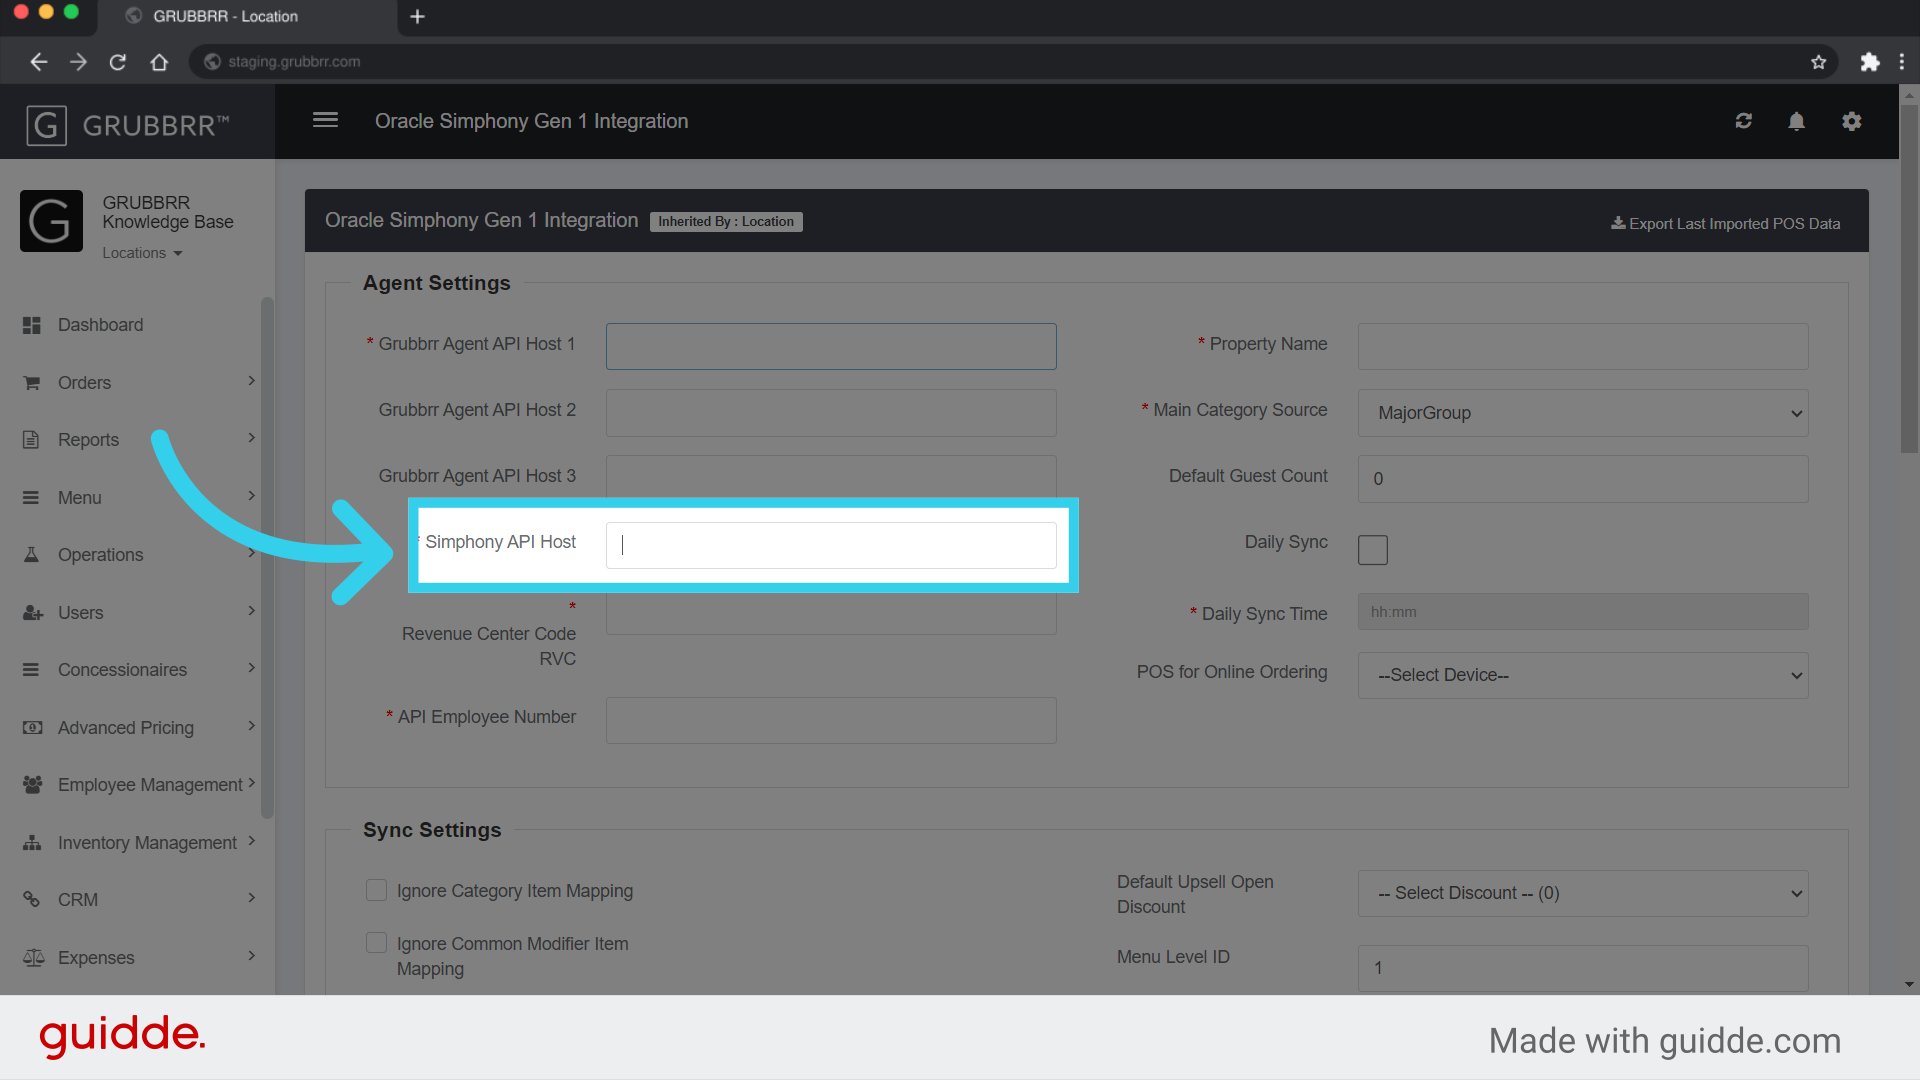
6. Enter the Revenue Center Code we received from the client

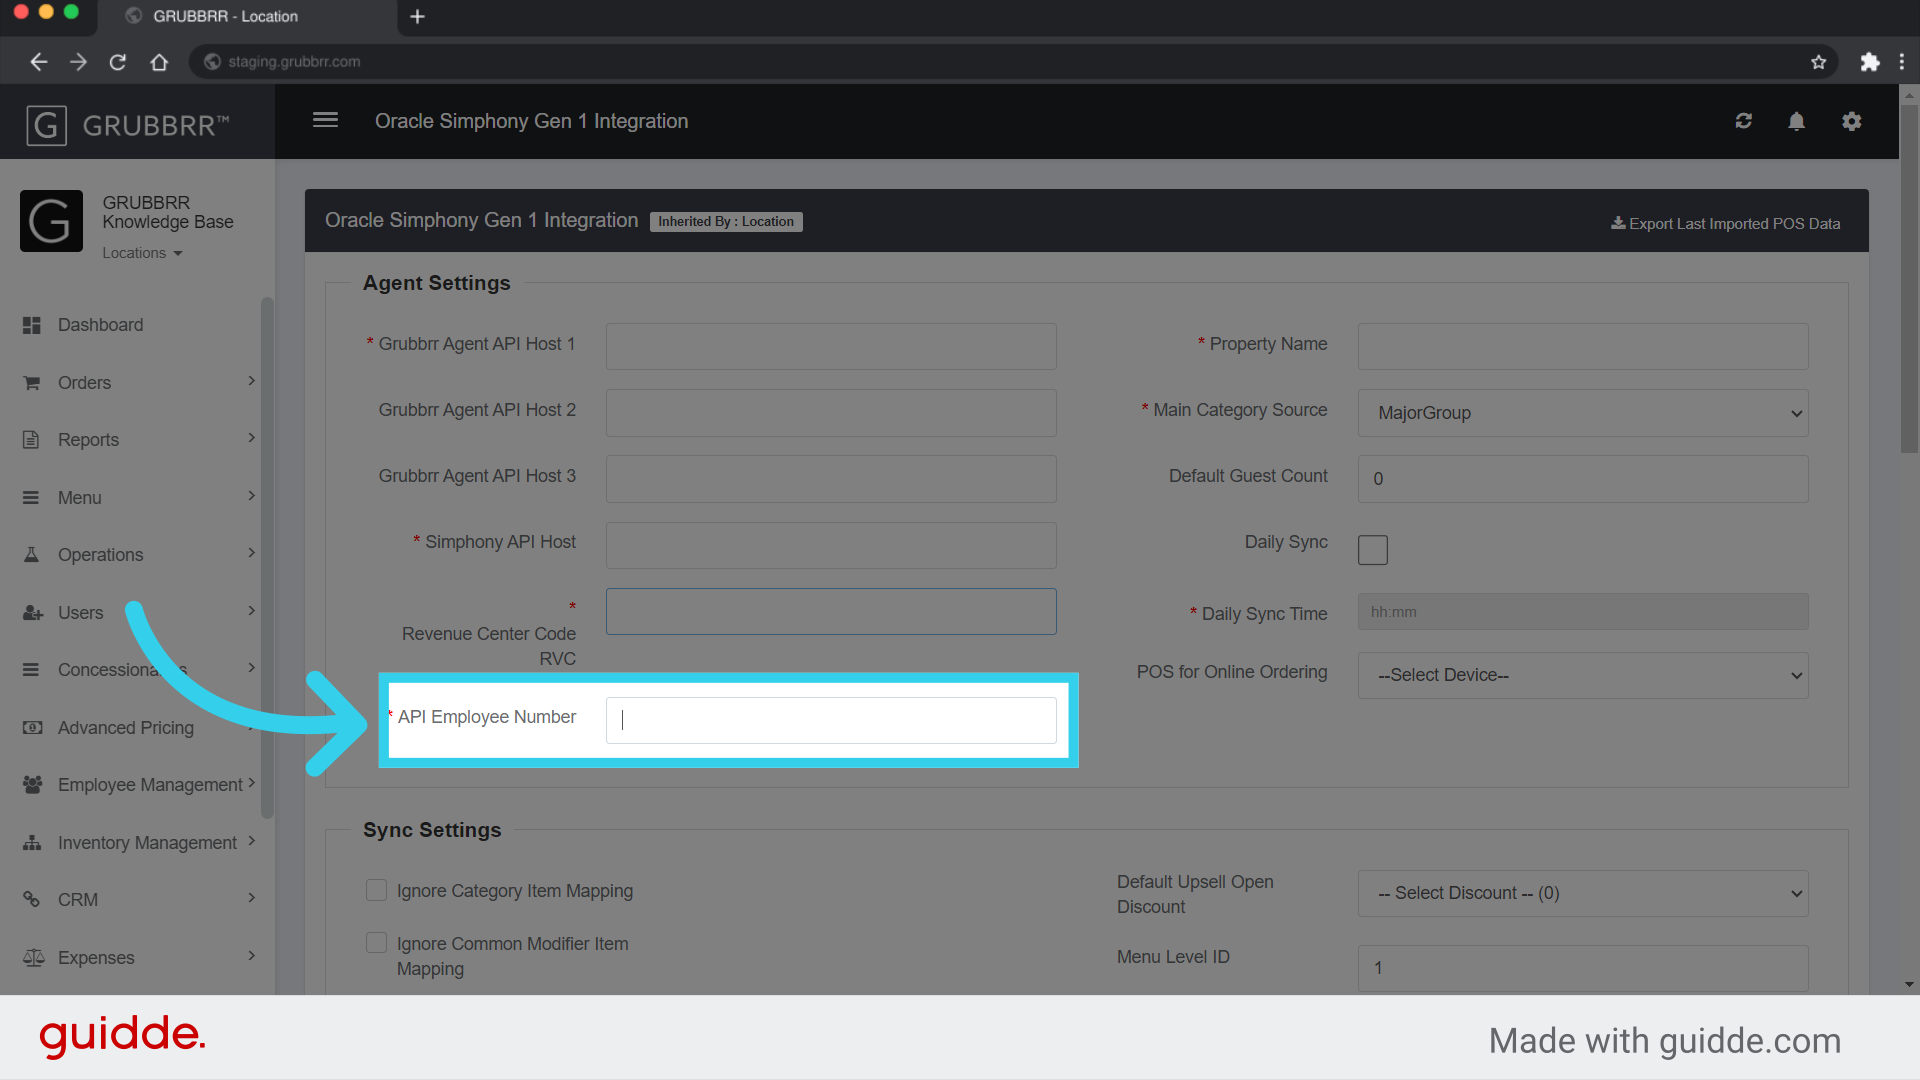
7. Enter the API Employee Number that the Kiosks will be using
Access API Employee Number.
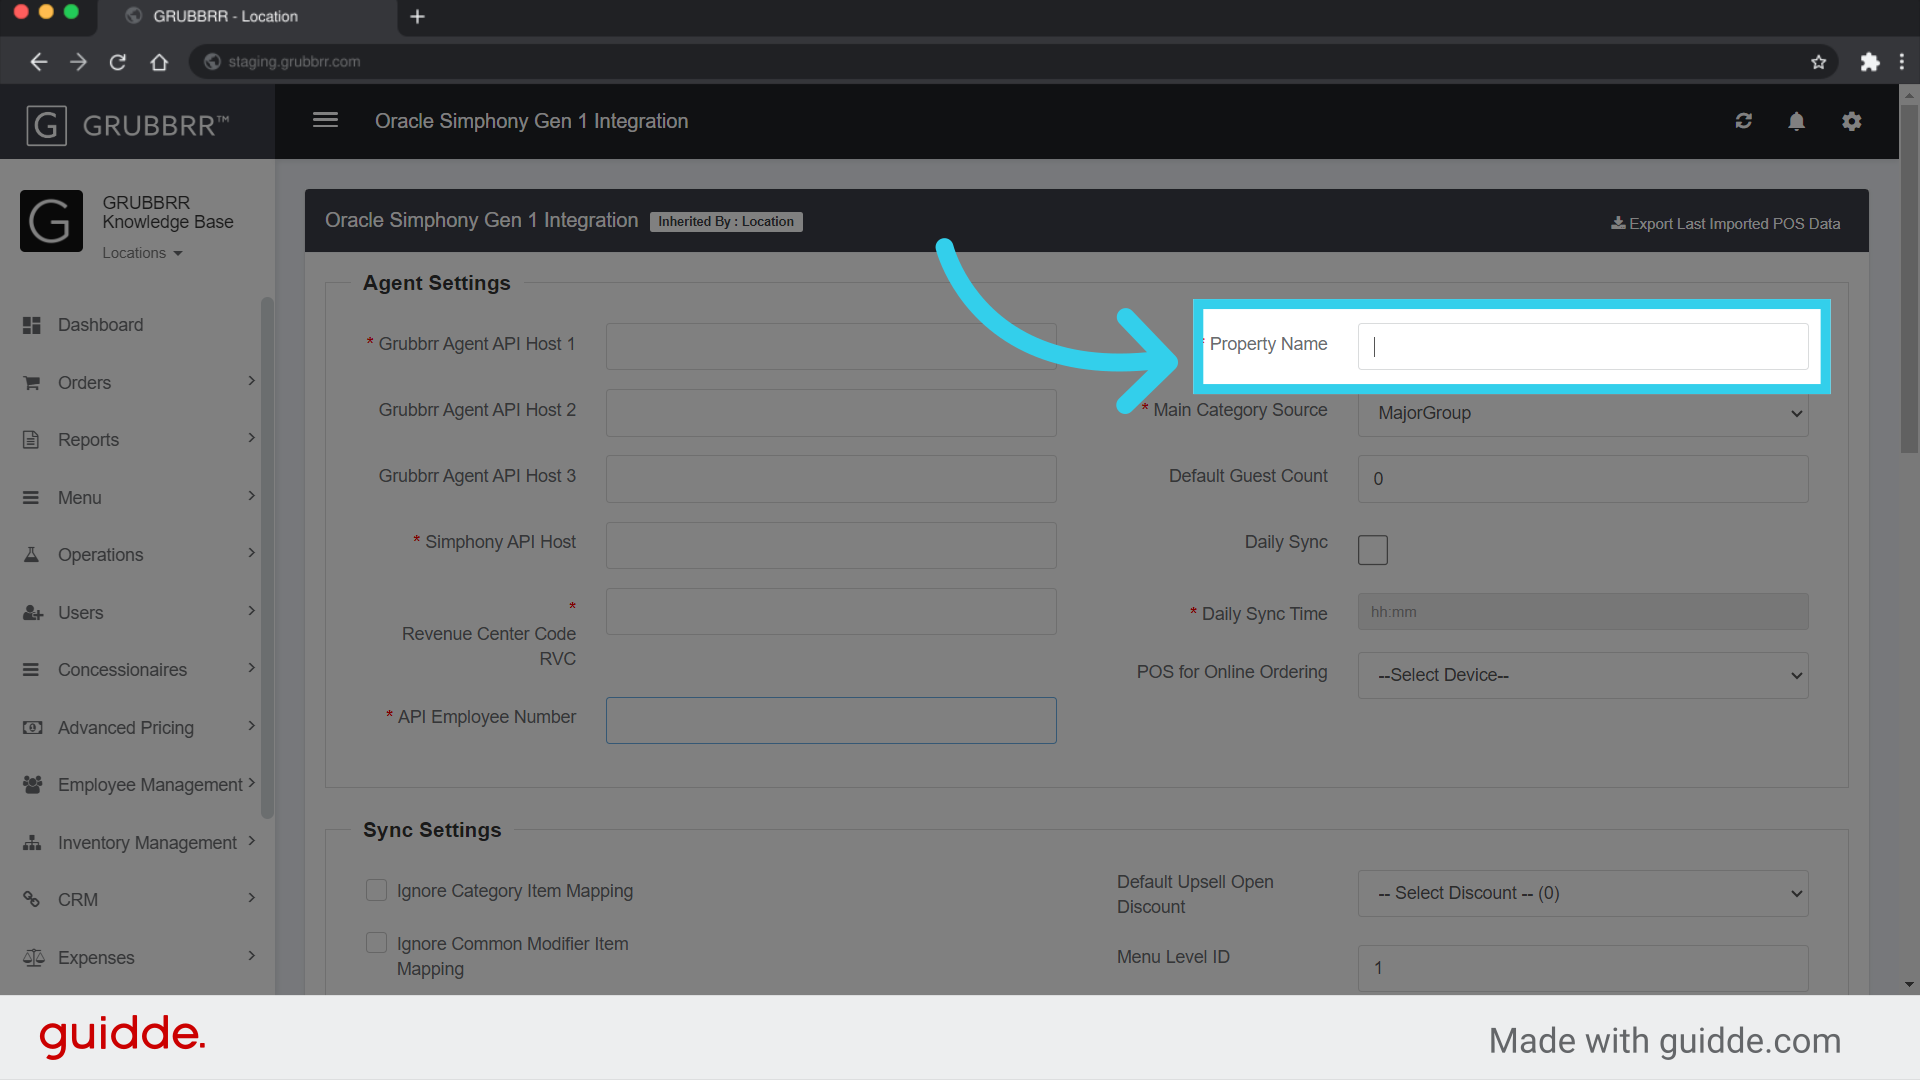
8. Enter the Property Name
9. Optional: If the client has configured categories, select the Category Source we'll pull from here
Generally, GRUBBRR will create and use custom categories for this integration.

10. If desired, enable Daily Syncs, and use the 24-Hour clock tool define when the Portal will pull menu data

11. If the client is using a GRUBBRR POS for online orders, select the device here
A device will only appear in this list if we have previously configured it in the Device Settings section of the Portal.

12. Don't make any changes to Sync Settings at this time
We use default settings to pull as much information as possible during the first menu sync

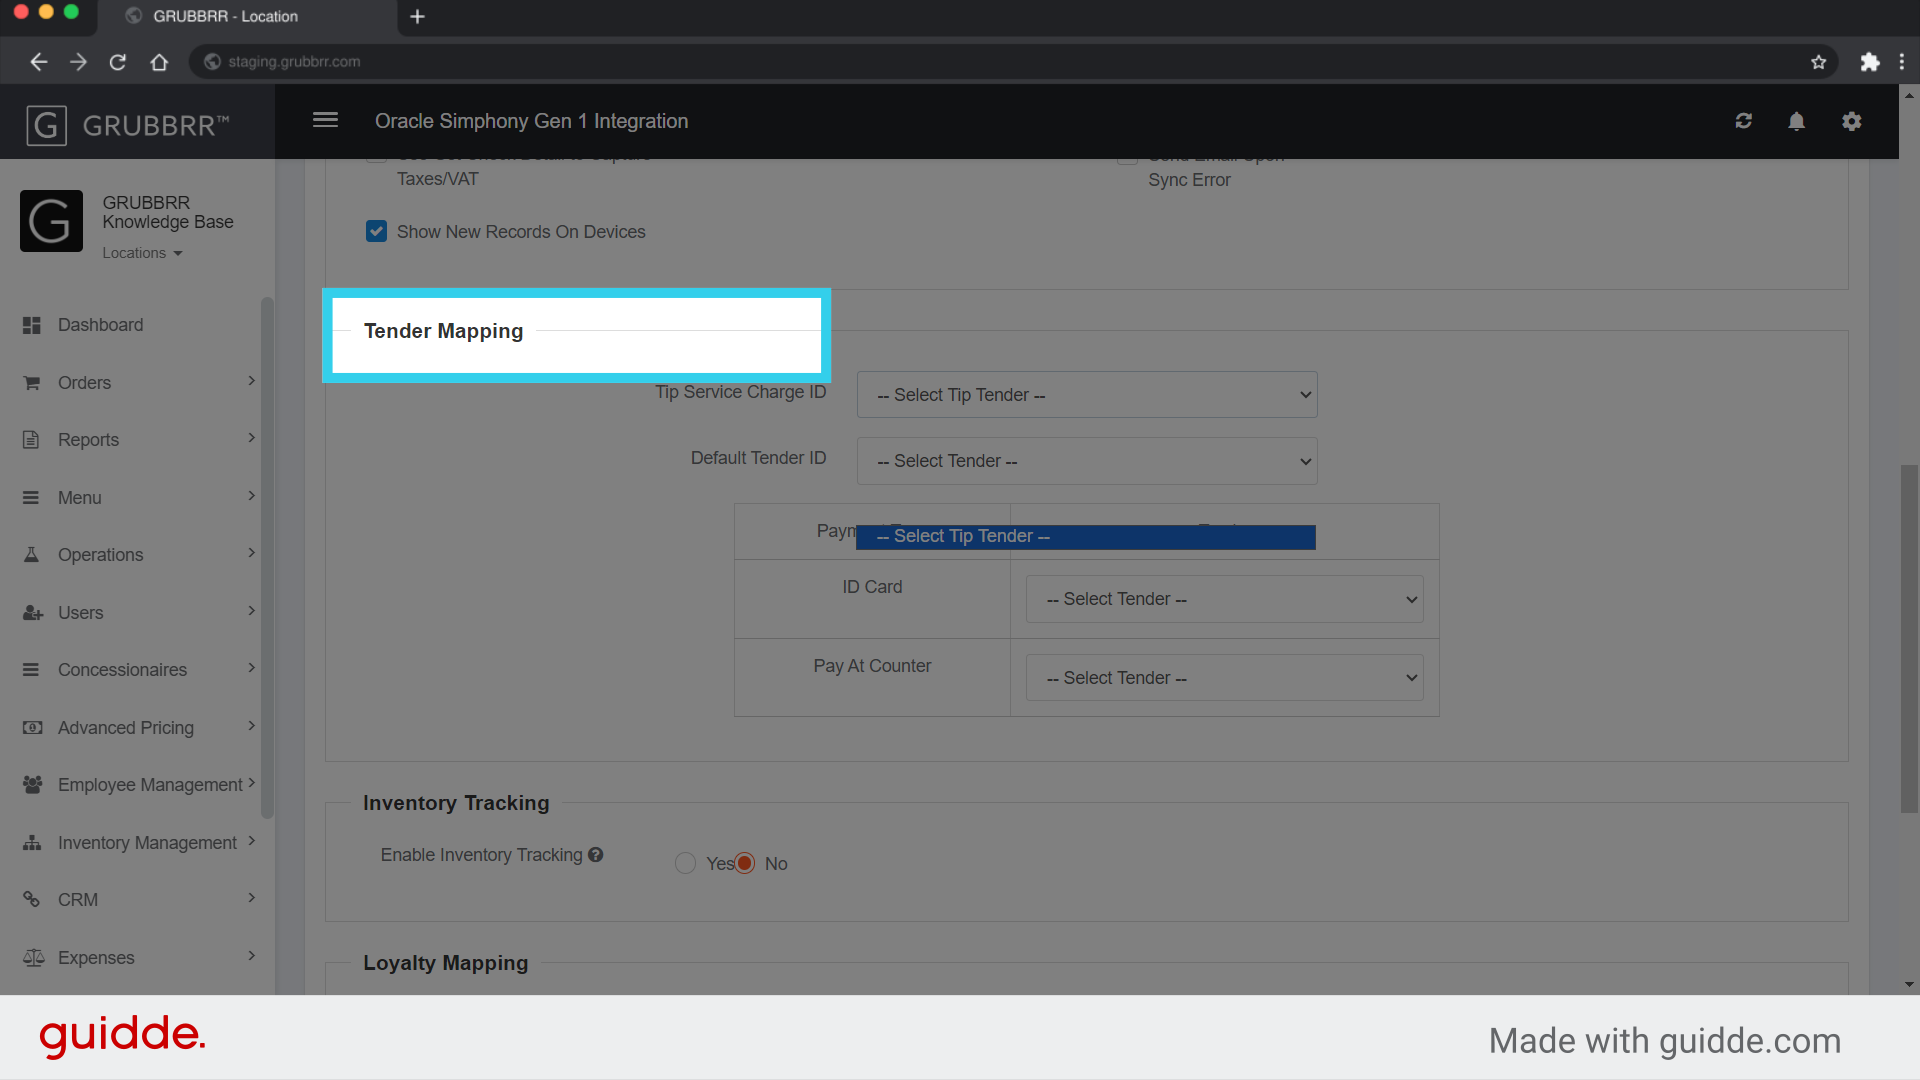
13. Don't make any changes to Tender Mapping at this time
We can't map tenders until after the POS has been connected
14. If desired, enable Inventory Tracking

15. You can then configure Inventory Check settings here

16. Click "Save Only" to finalize the integration
Once the settings have been saved, we can turn on the agent and perform our initial menu pull.

Installing the GRUBBRR Agent
Please download the Oracle Agent from the GRUBBRR Build Site, and share the file with the client. Remind the client that the PC hosting the GRUBBRR Agent must be on the same network as the PC hosting the client's POS. When the client is ready to install the agent, they can do so by following the steps outlined below
- After downloading, right-click on setup.exe
- Select Run as Administrator
- Before Running the .exe file, you need to set all required settings in the Portal
- The installation will take 2-3 minutes on average
- Sign in to the Agent using their Kiosk Login and Password
- Note: Make sure the client signs in to the "Portal" environment, rather than Development or Staging!
Once we install it, the Windows agent must always be running so the kiosk can communicate with Oracle Simphony POS
Sync Settings
First-Time Menu Pull
After the client has installed and activated the GRUBBRR agent, you can pull the client’s menu.
To pull the menu for the first time:
- Log in to the GRUBBRR Portal at the branch level
- Select integration from the left sidebar menu
- Select Oracle POS Integration from the dropdown menu
- Leave all the Sync Settings unchanged, as mentioned above
- Sync the menu
Once we've successfully pulled the menu, we should see the following notification in the Application Logs report:
Hierarchy and Menu Level ID
The hierarchy and menu level ID are additional configurable settings. After the initial menu pull, you can download an XML file with all menu data.
If a client needs to know which hierarchy and menu level ID they use, we can check for them.
To validate hierarchy and menu level ID:
- Pick a sample item with an incorrect price, note the correct price
- Note the item’s external reference ID
- You can find this by navigating to Menu > Catalog Management > Items
- Navigate to Integrations > Oracle Simphony Gen 1 in the GRUBBRR Portal at the location level
- Select Download XML from the upper right corner of the Oracle Simphony POS integration page
- Open the file named DbMenuItemDefinition in Microsoft Edge
- Using Ctrl + F, search for the item’s external reference ID
- Note the associated MenuItemDefID
- Open the file named DbMenuItemPrice in Microsoft Edge
- Search for the MenuItemDefID
- Note the MenuLvlIndex and HierStrucID
- MenuLvlindex > Menu Level ID
- HierStrucID > Hierarchy ID
Ongoing Menu pulls
When syncing the menu after the initial pull, please review and enable the appropriate Sync Settings.
These include:
- Ignore Category Item Mapping
- Ignore Common Modifier Item Mapping
- Ignore Ingredient Common Modifier Mapping
Do not check:
- Use Get Check Detail to Capture Taxes/VAT
The menu sync is done from the GRUBBRR agent, as explained above.
Inventory Tracking
You can enable or disable inventory tracking from the Portal's Simphony integration page. If inventory tracking is enabled, items unavailable on the POS will appear as out of stock on the GRUBBRR kiosk.
You can also customize how often inventory is checked, with the options of during menu syncs or at specific intervals.
For specific intervals:
- Enter the number of minutes between every inventory check
- If the client is using inventory count in Simphony:
- Choose what item quantity threshold counts as out-of-stock
Tender Mapping
After the initial menu pull, we have to map the client POS tender types to the GRUBBRR tender types. This will be done according to the client's preferences.
To complete tender mapping:
- Log in to the GRUBBRR Portal at the branch level
- Select integration from the left sidebar menu
- Select Oracle POS Integration from the dropdown menu
- Enter a Default Tender ID
- This is the fallback tender type that the system will use if the individual tender type has not been mapped
- If a tender type has been mapped, it will not become the default
- Map the remaining applicable tender types by selecting an option from the tender dropdown
- Select Save
Order Type Mapping
After the initial menu pull, we also have to complete order type mapping. Like tender mapping, order type mapping will associate the POS’s order types with existing GRUBBRR order types. This will also be done according to the client’s preferences.
To complete order type mapping:
- Log in to the GRUBBRR Portal at the location level
- Select Configure from the left sidebar menu
- Select General Settings from the dropdown menu
- Locate the Order Type table under the Common tab
- Select a Third Party Order Type from the dropdown for all applicable order types
Menu Customizations
The initial menu pull will retrieve a lot of inactive data. During the customization process, we will hide the inactive categories and items to better match the client’s menu, as well as add display names, images, combos, and modifier groups.
Please note: You can create new combos, categories, and modifier groups, but you cannot create new items, ingredients, or selections, as they will not have external reference IDs.
Categories
- Disable all categories that we do not want to use
- This will be done by un-checking:
- Show on Kiosk
- Show on POS
- Show on Online Ordering
- This will be done by un-checking:
- Create categories according to either the client’s instructions or the provided menu sample
Items
- Remove all inactive items
- This will be done by un-checking:
- Show on Kiosk
- Show on POS
- Show on Online Ordering
- Do not use Item 86 or status changes, as these will be reversed when the menu is synced
- This will be done by un-checking:
- All active items must have images added
- Items need to have display names added to match the client’s menu
- No items can be added/created
Common Modifier Groups
- Create all applicable modifier groups
- This can be done by correcting imported modifier groups
- If you adjust an existing group, make sure you adjust the display name and add the relevant minimum and maximum order quantity values
- Minimum and maximum order quantities do not import and will have to be added manually
- If you adjust an existing group, make sure you adjust the display name and add the relevant minimum and maximum order quantity values
- This can also be done by creating new modifier groups from scratch
- Nested modifiers are not supported
- This can be done by correcting imported modifier groups
Ingredients
- All active ingredients must have images added
- Add display names to all ingredients according to the reference menu
- No ingredients can be added/created
Troubleshooting & FAQS
XML Directory
During troubleshooting, you may need to review XML files pulled from the client's POS. The list below can help you easily identify which file(s) are most relevant to the task you're trying to accomplish.
| File Name | Contains information about: |
| DbDiscount.xml | POS Discounts |
| DbFamilyGroup.xml | Items in a Family Group; this is most similar to Categories in the GRUBBRR Portal |
| DbMajorGroup.xml | Items in a Major Group are basic definitions such as "Food" and "Beverages" |
| DbMenuItemClass.xml | Modifiers |
| DbMenuItemDefinition.xml | Item Availability |
| DbMenuItemMaster.xml | Item Detail |
| DbMenuItemPrice.xml | Item Prices |
| DbOrderType.xml | Order Types |
| DbServiceCharge.xml | Service charges and Tips |
| DbTenderMedia.xml | Tender types |
Procedure Warnings: