How to use the All in One Menu Manager in the GRUBBRR Console
Last updated: September 10, 2026
GRUBBRR's All-in-One Menu Manager allows you to make a variety of cosmetic changes to your Kiosk menu. In this guide, we'll walk you through some of the most commonly used settings you can manage with this tool.
1. Start by clicking on "Menu Settings" in the left sidebar

2. Then, click "Menu"

3. If needed, you can use the tabs at the top of this page to access category, item, modifier, and combo lists...

4. But you can make high-level changes to your menu from the "All in One" view
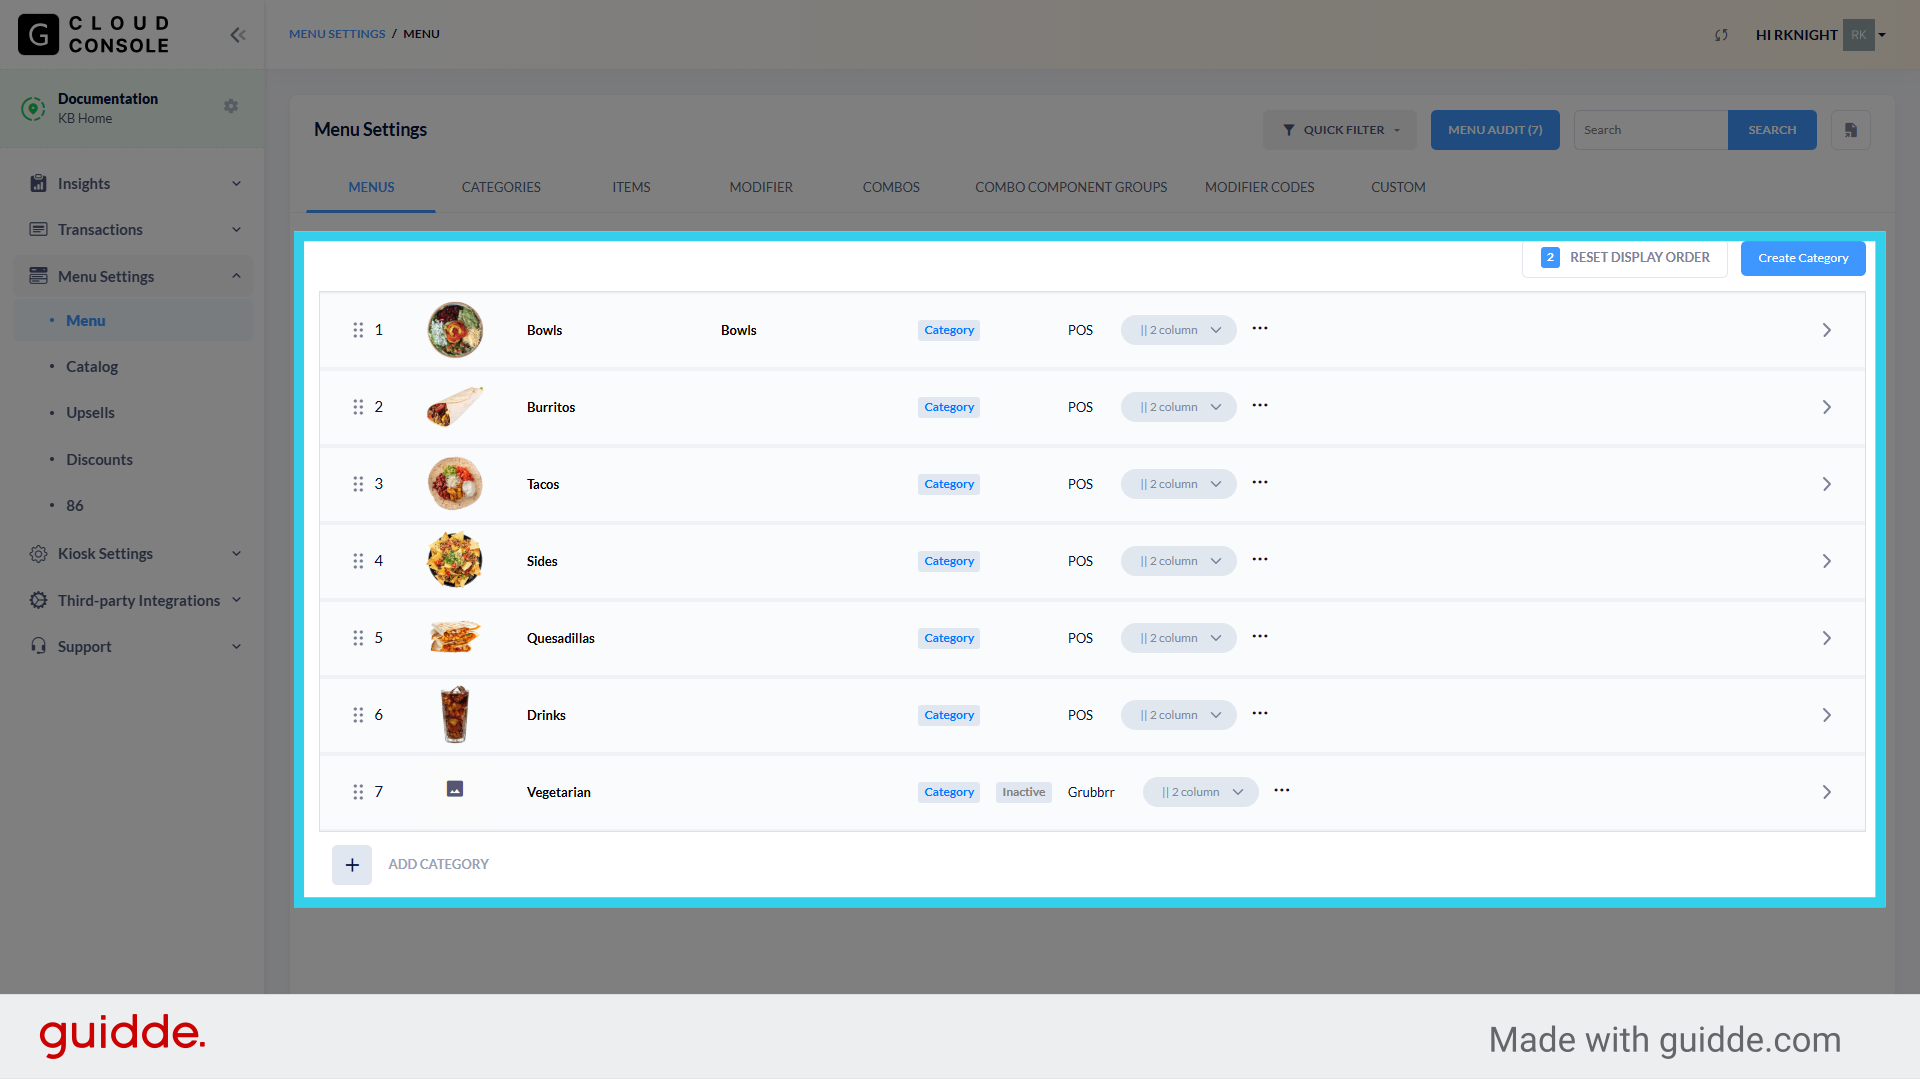
5. For example, clicking the Drag tool at the left side of the screen lets you manually change the Display Order of your menu categories

6. You can also choose whether your Kiosk displays menu items in a 1, 2, or 3 column view
This can be set category-by-category; so you can choose to have categories with four or less items show as a single column, while categories with 8+ items can use a three column view. This makes it easier for customers to browse the menu without doing a lot of unnecessary scrolling.
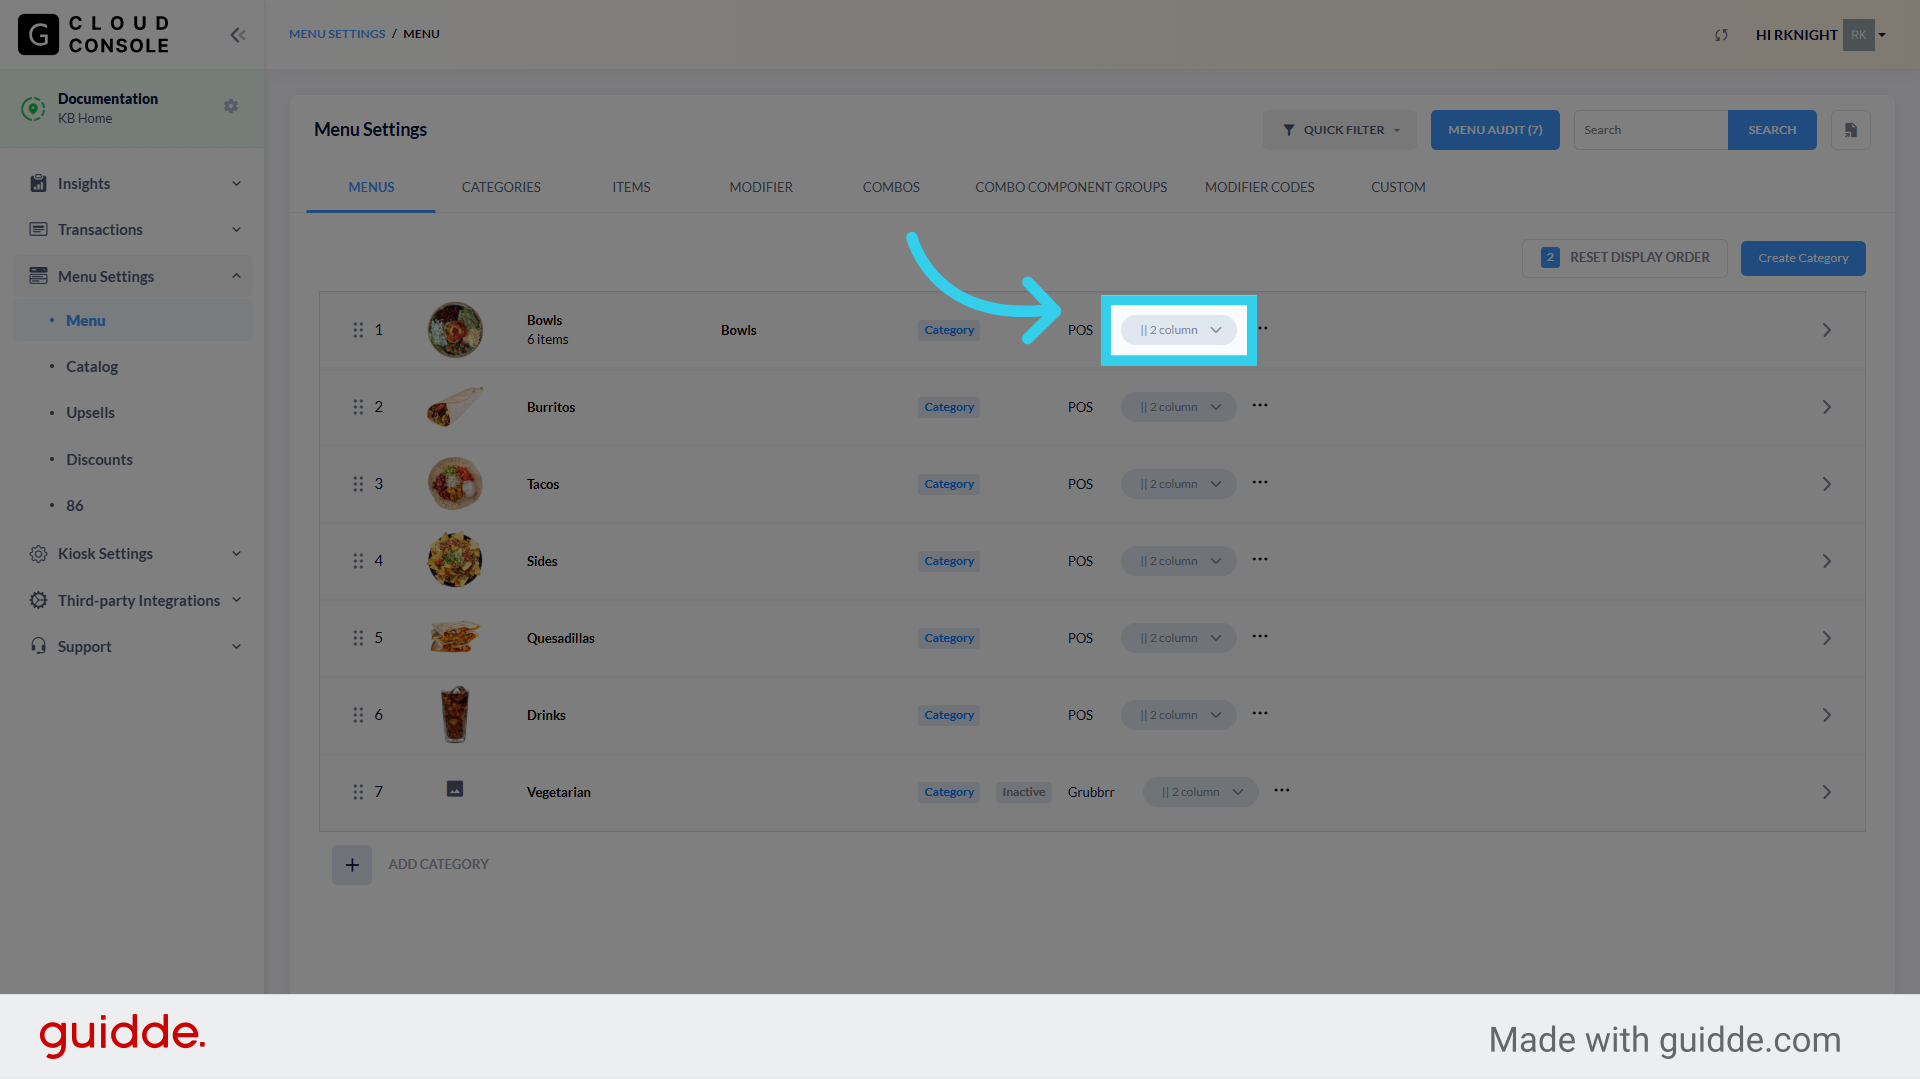
7. Click here to view additional category-specific settings
These controls allow us to deactivate categories, remove them from the All-in-One view, and set them to only show up for Loyalty users

8. If you need to make changes within a category, click the arrow icon at the right side of the screen
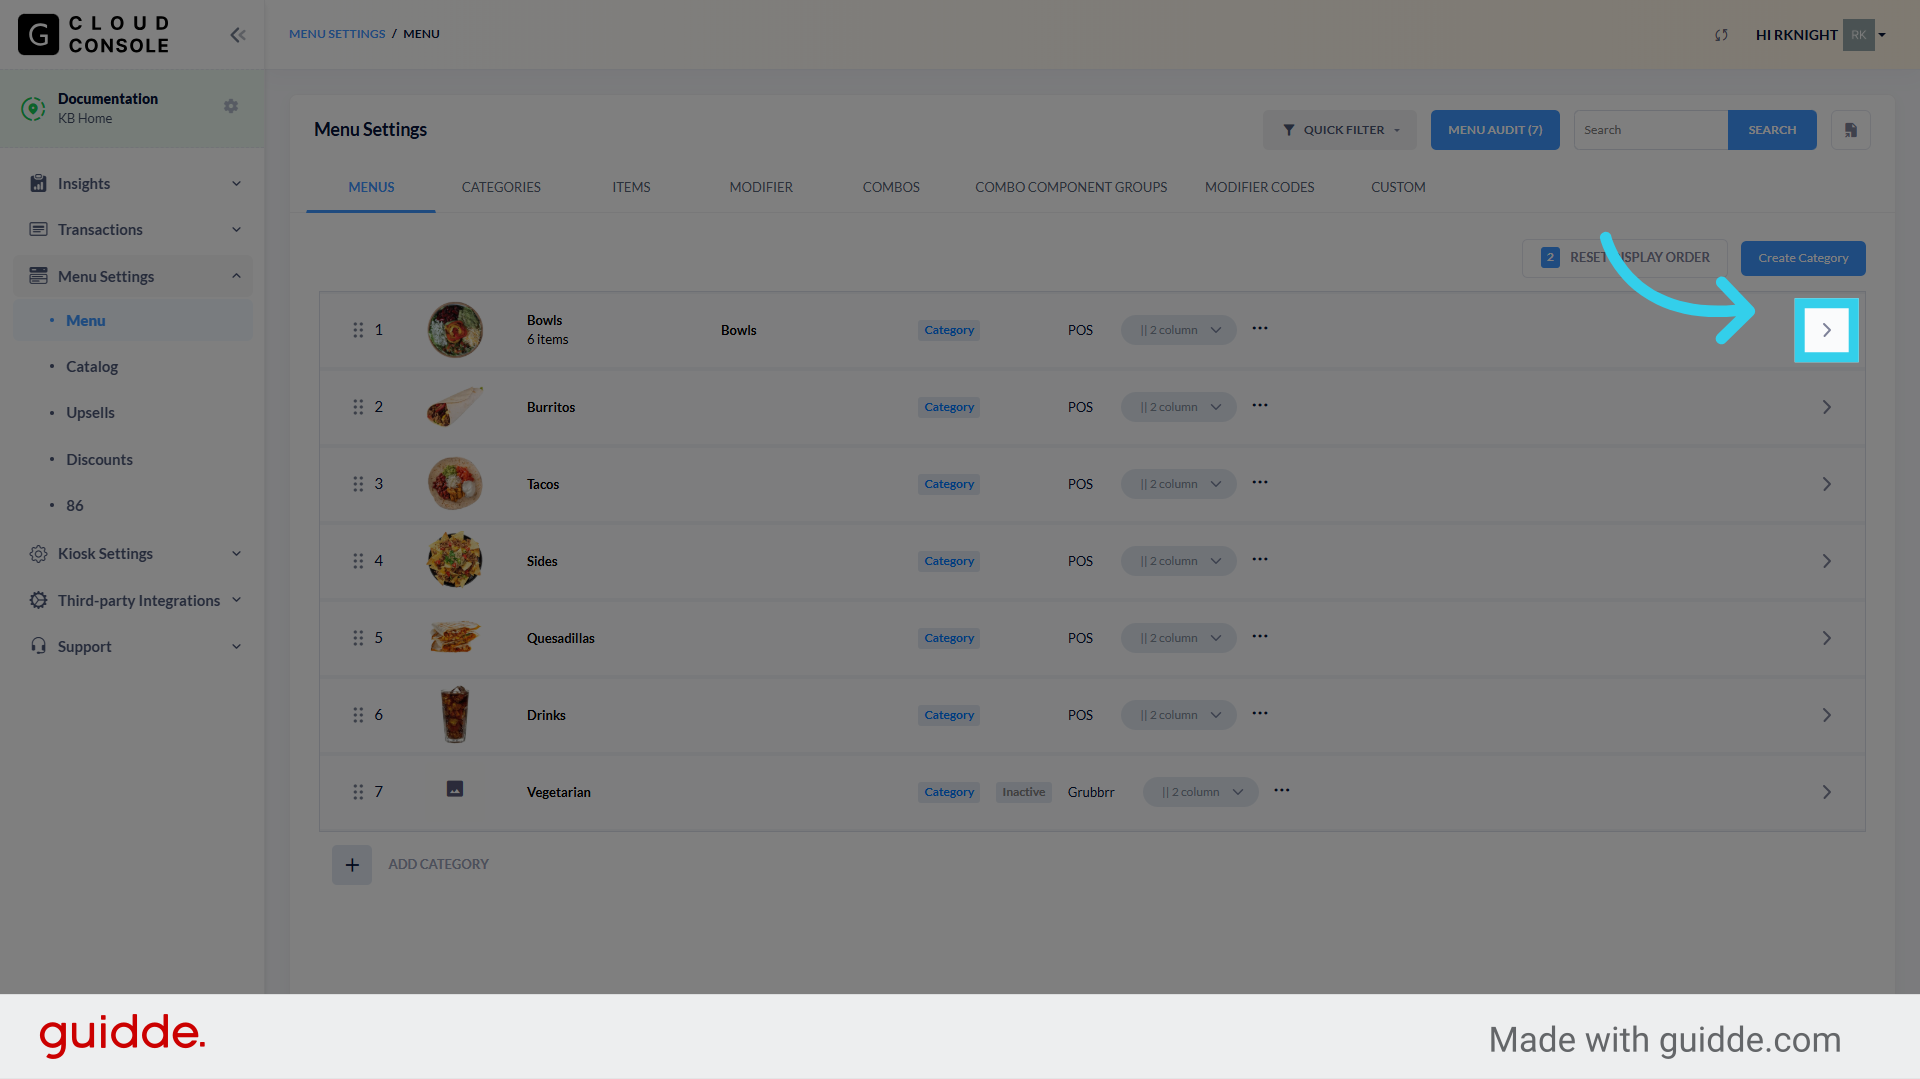
9. This will bring up an item list, with its own set of controls
This makes it easy to "drill down" and make changes to specific items, without having to search through a complex menu for them.
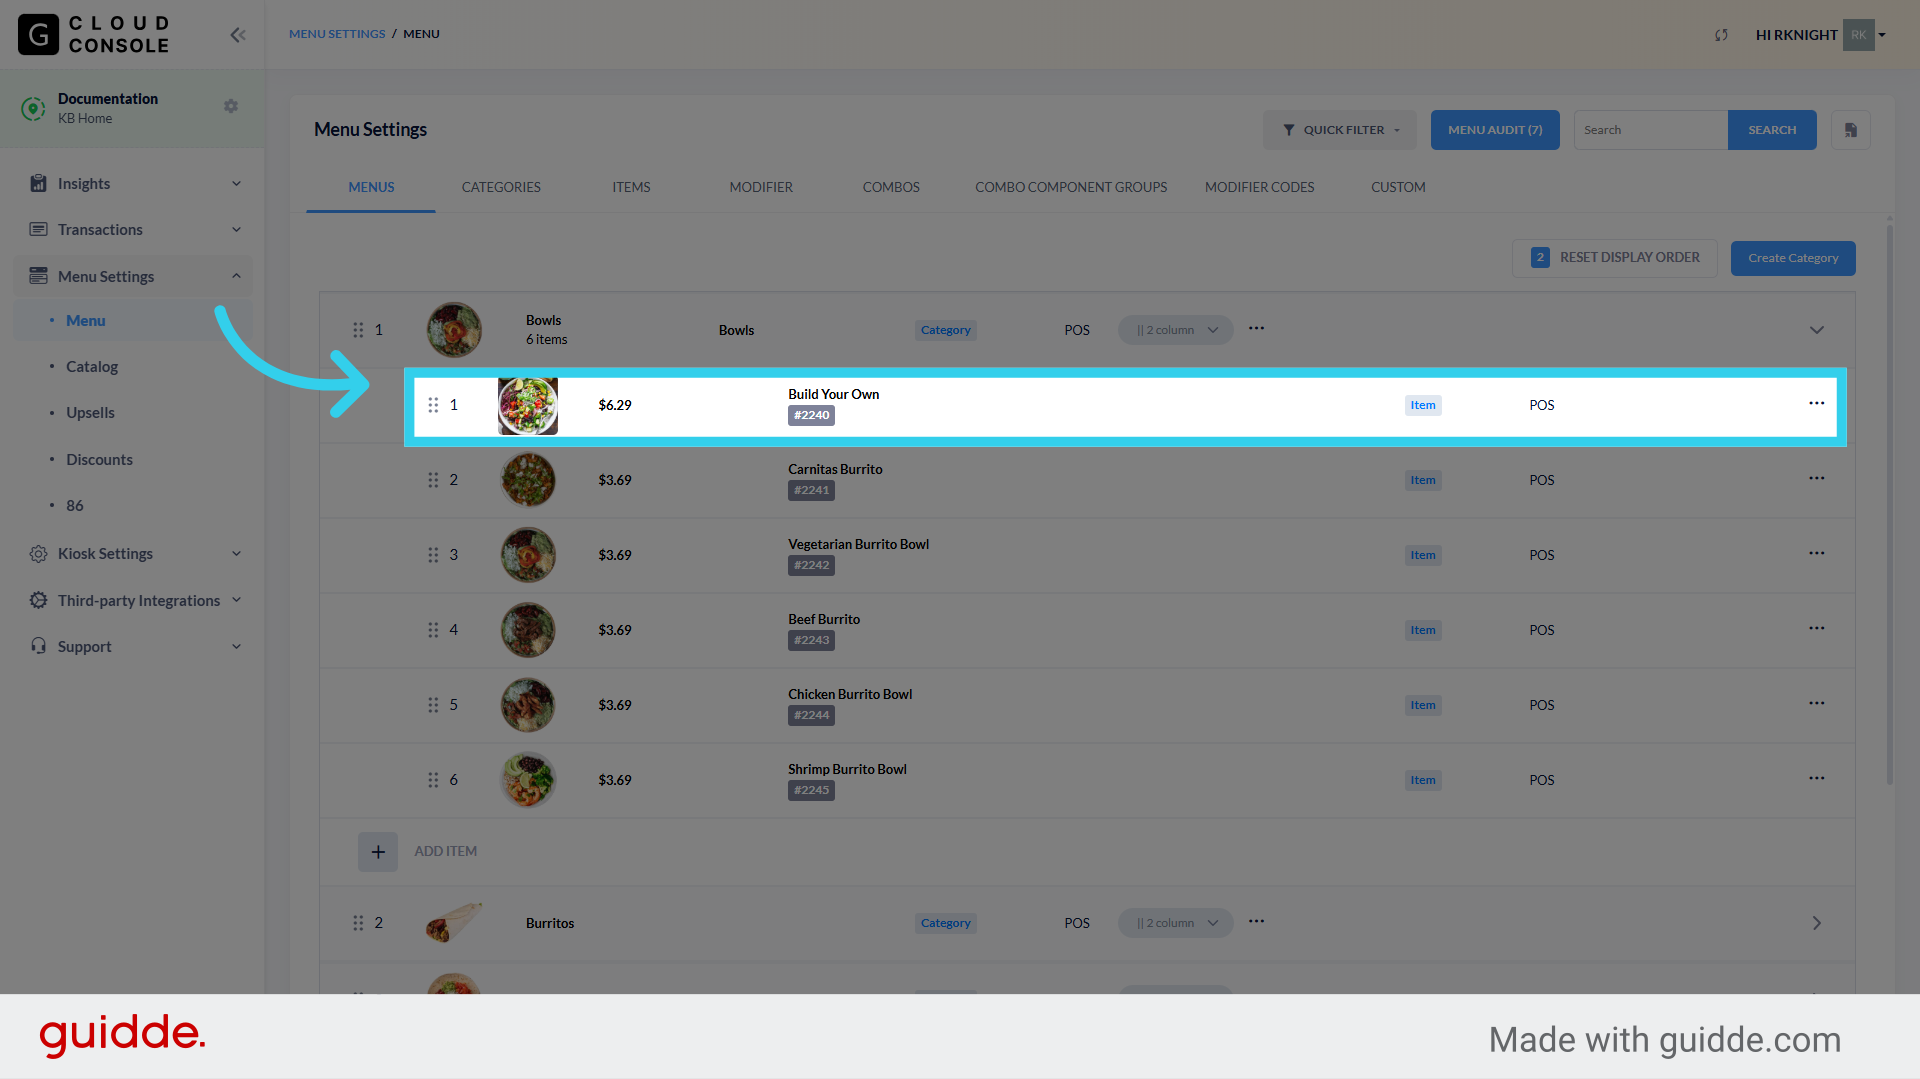
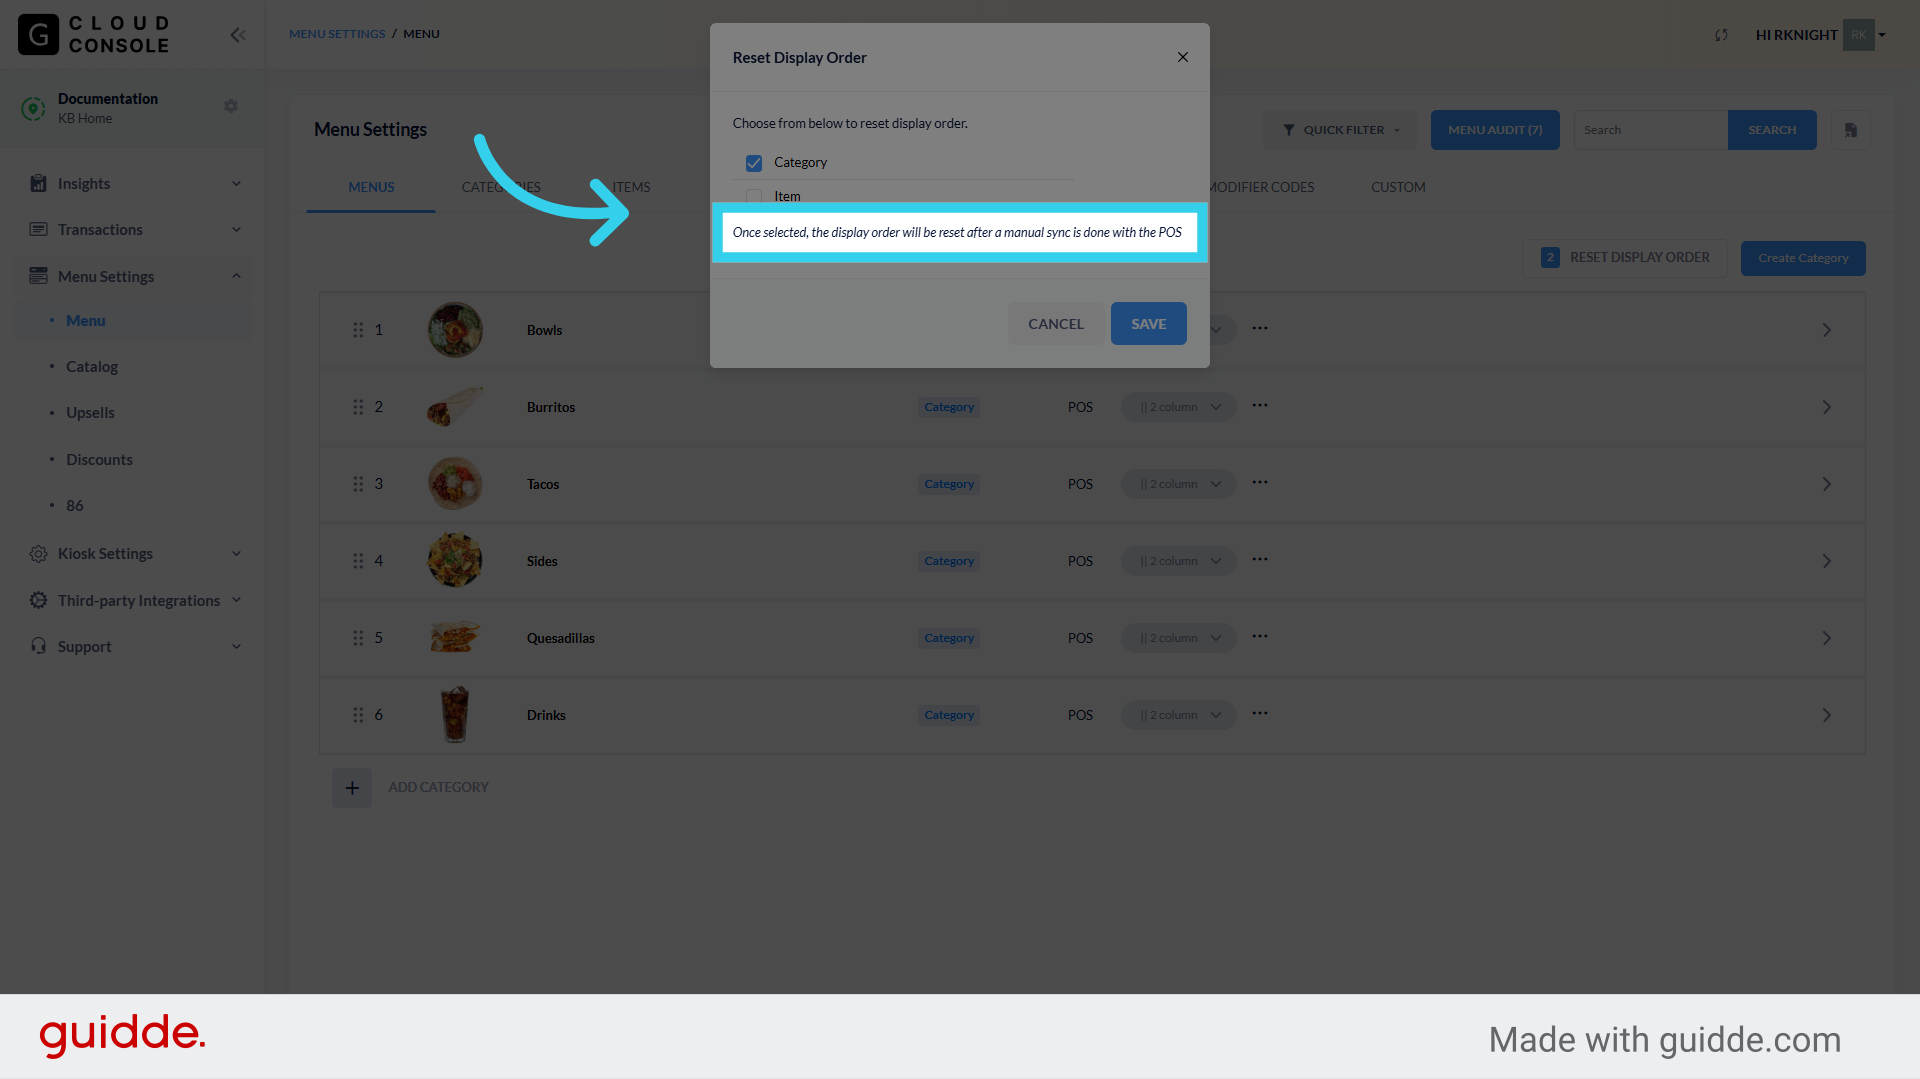
10. The Console tracks any overrides we make to Display Orders, images, names and descriptions; if we need to revert back to POS defaults, you can use the Menu Audit or Reset Display tools to streamline the process
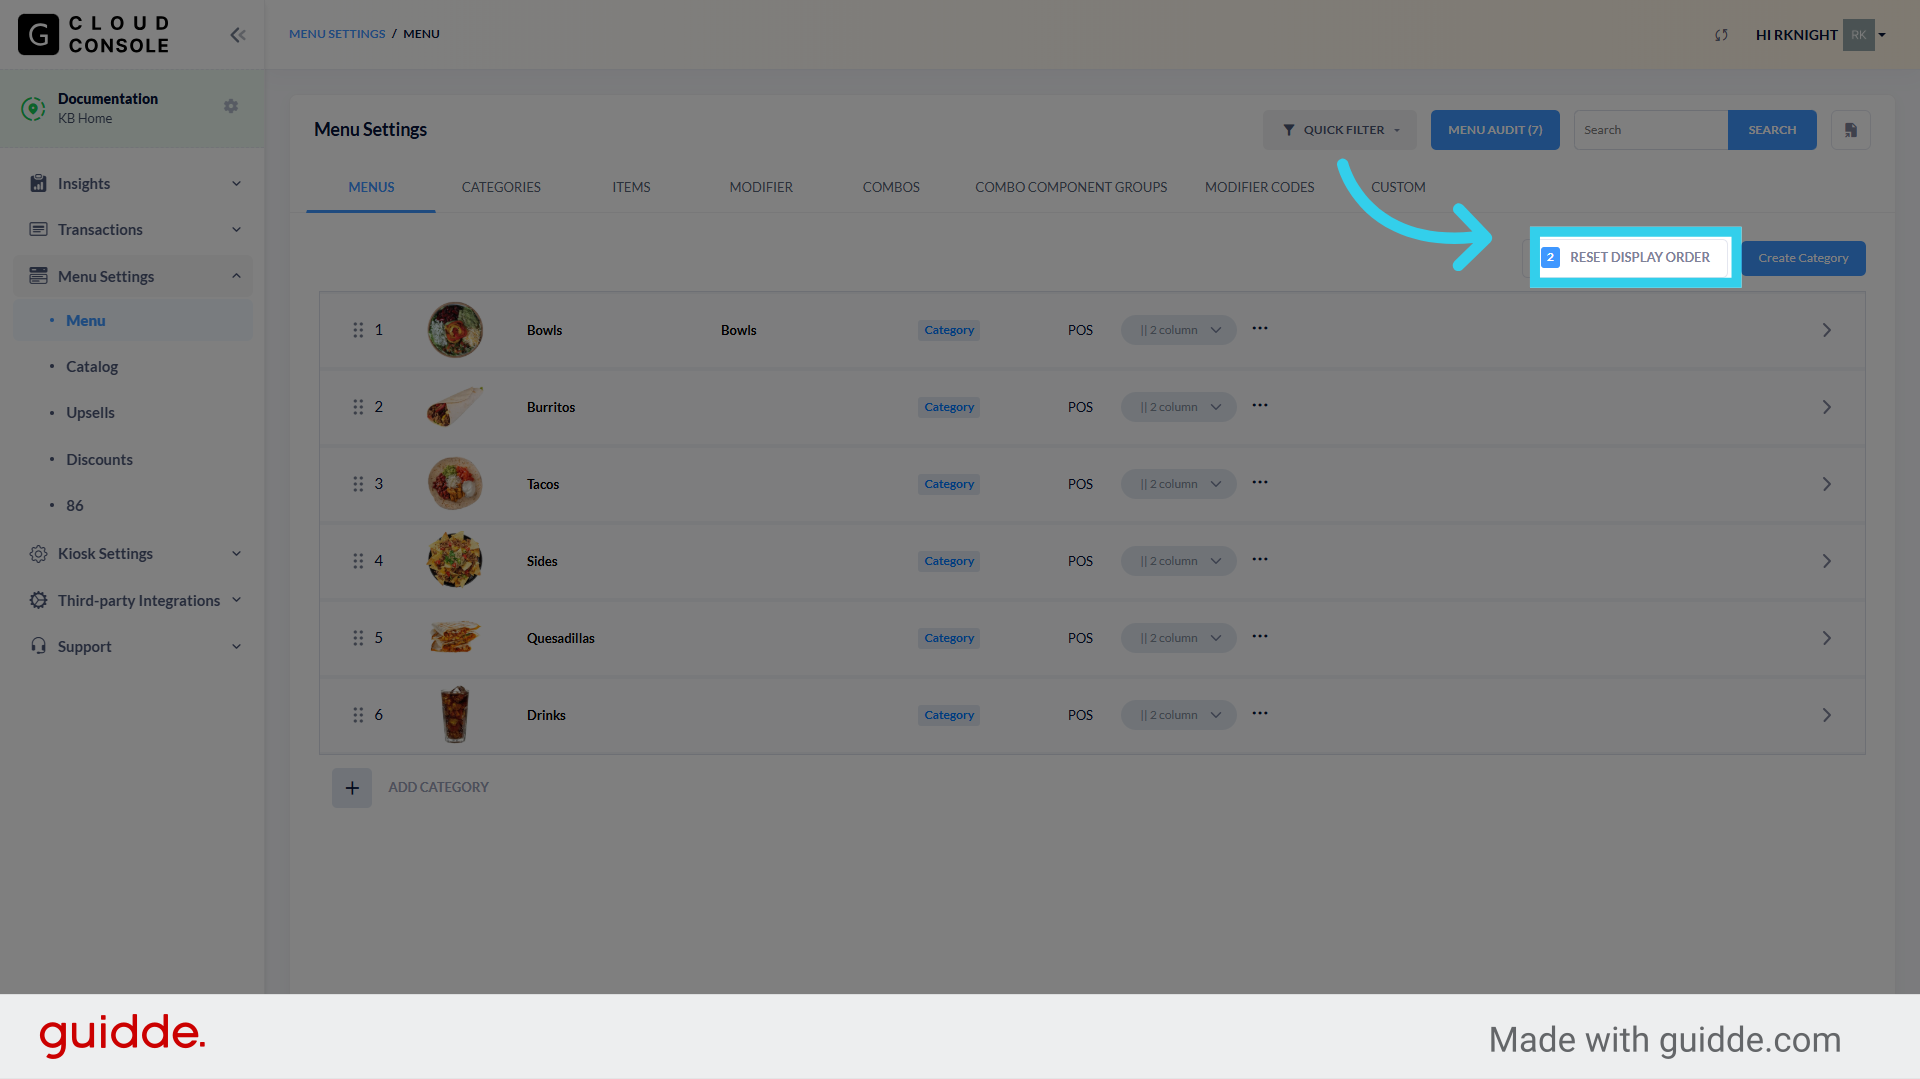
11. The Console will confirm that you want to reset before making any changes