How to Manage Upsells in the GRUBBRR Console
Last updated: September 29, 2026
Upsells are one of the biggest benefits of a Kiosk solution, and we've created an enhanced user interface to manage these offers through the GRUBBRR Console. In this article, we'll walk you through the steps to create item- and order-level upsells in the Console. Please note- while this document uses examples from an organization using Location-level controls, the same functions are available when creating a Menu Dataset for ECM clients.
How to Create an Item-Level Upsell
First, let's take a look at how to create Item-Level upsells in the console. When a user finishes customizing a "trigger item," and adds it to their cart, the Kiosk will automatically offer a user-defined selection of items as an upsell. We can configure item-level upsells through the Menu Settings section of the console by following the steps below.
Click "Menu Settings"

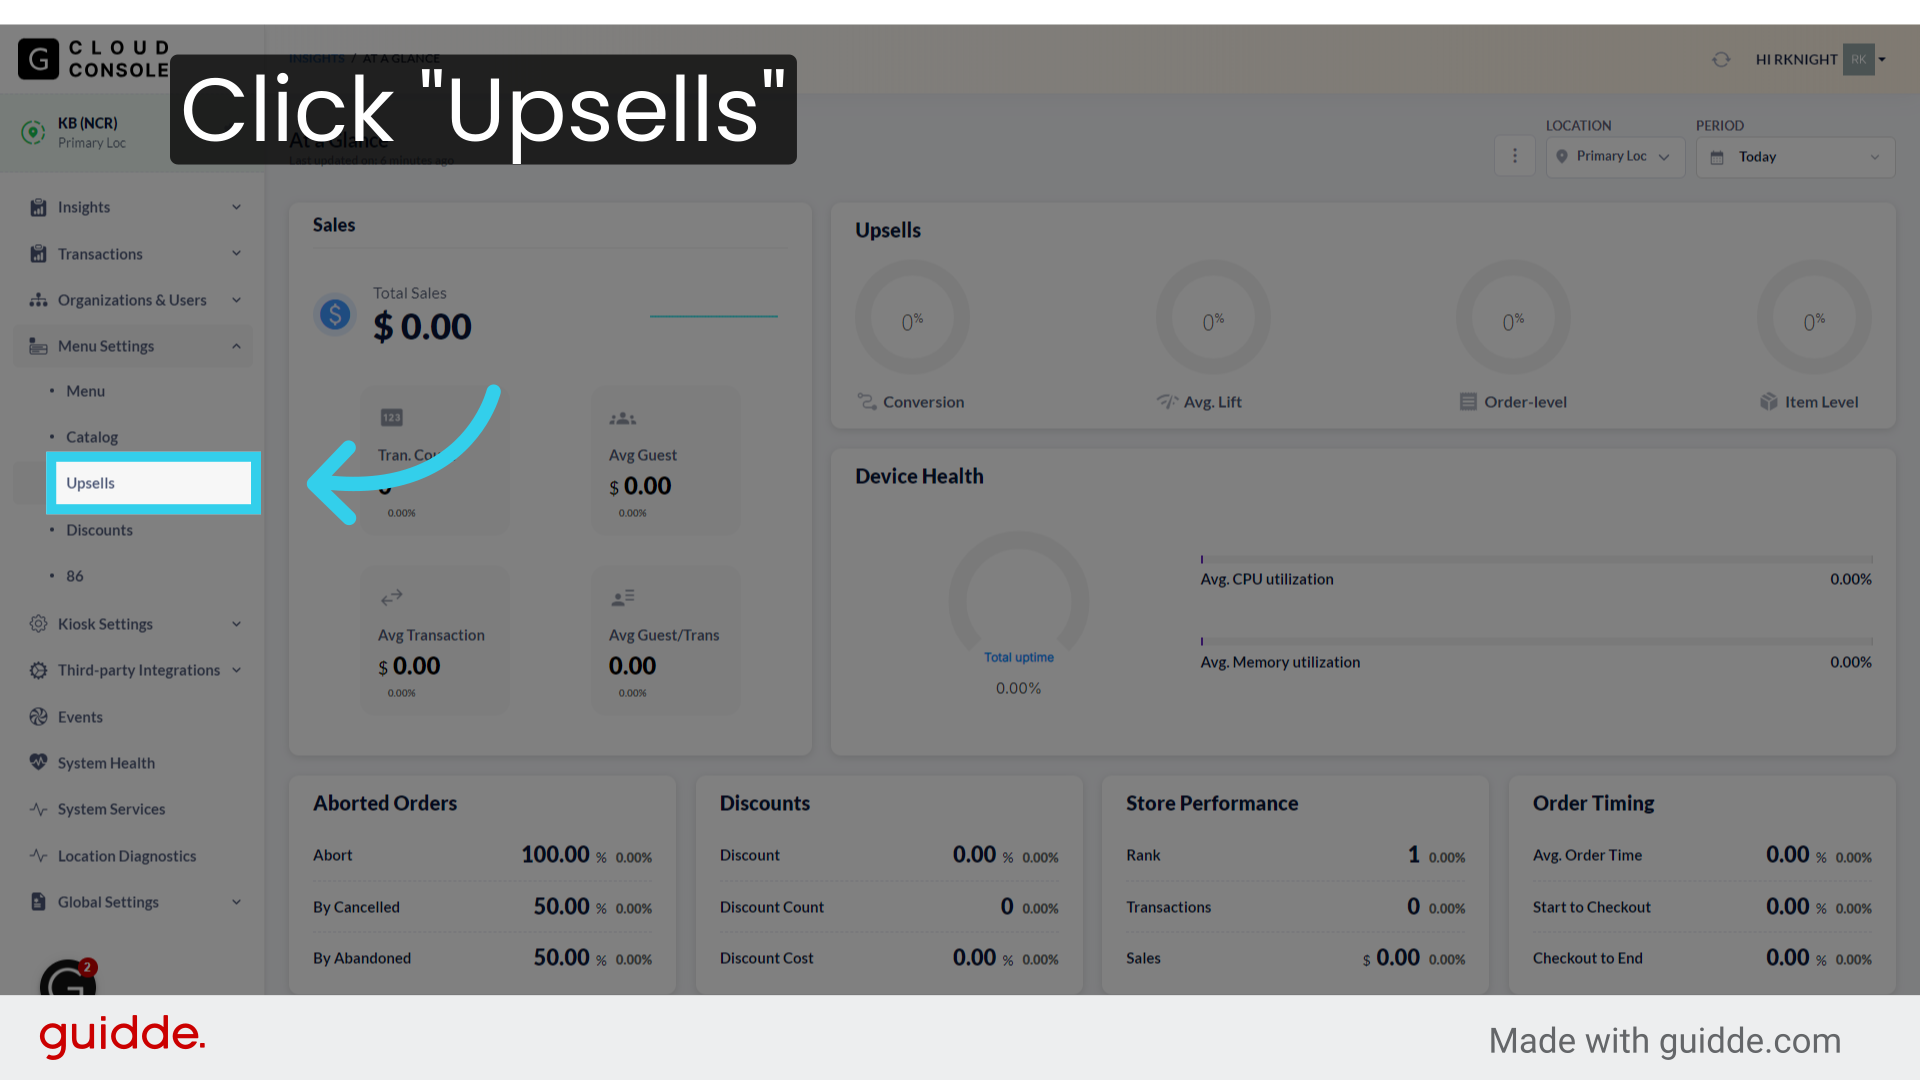
Click "Upsells"
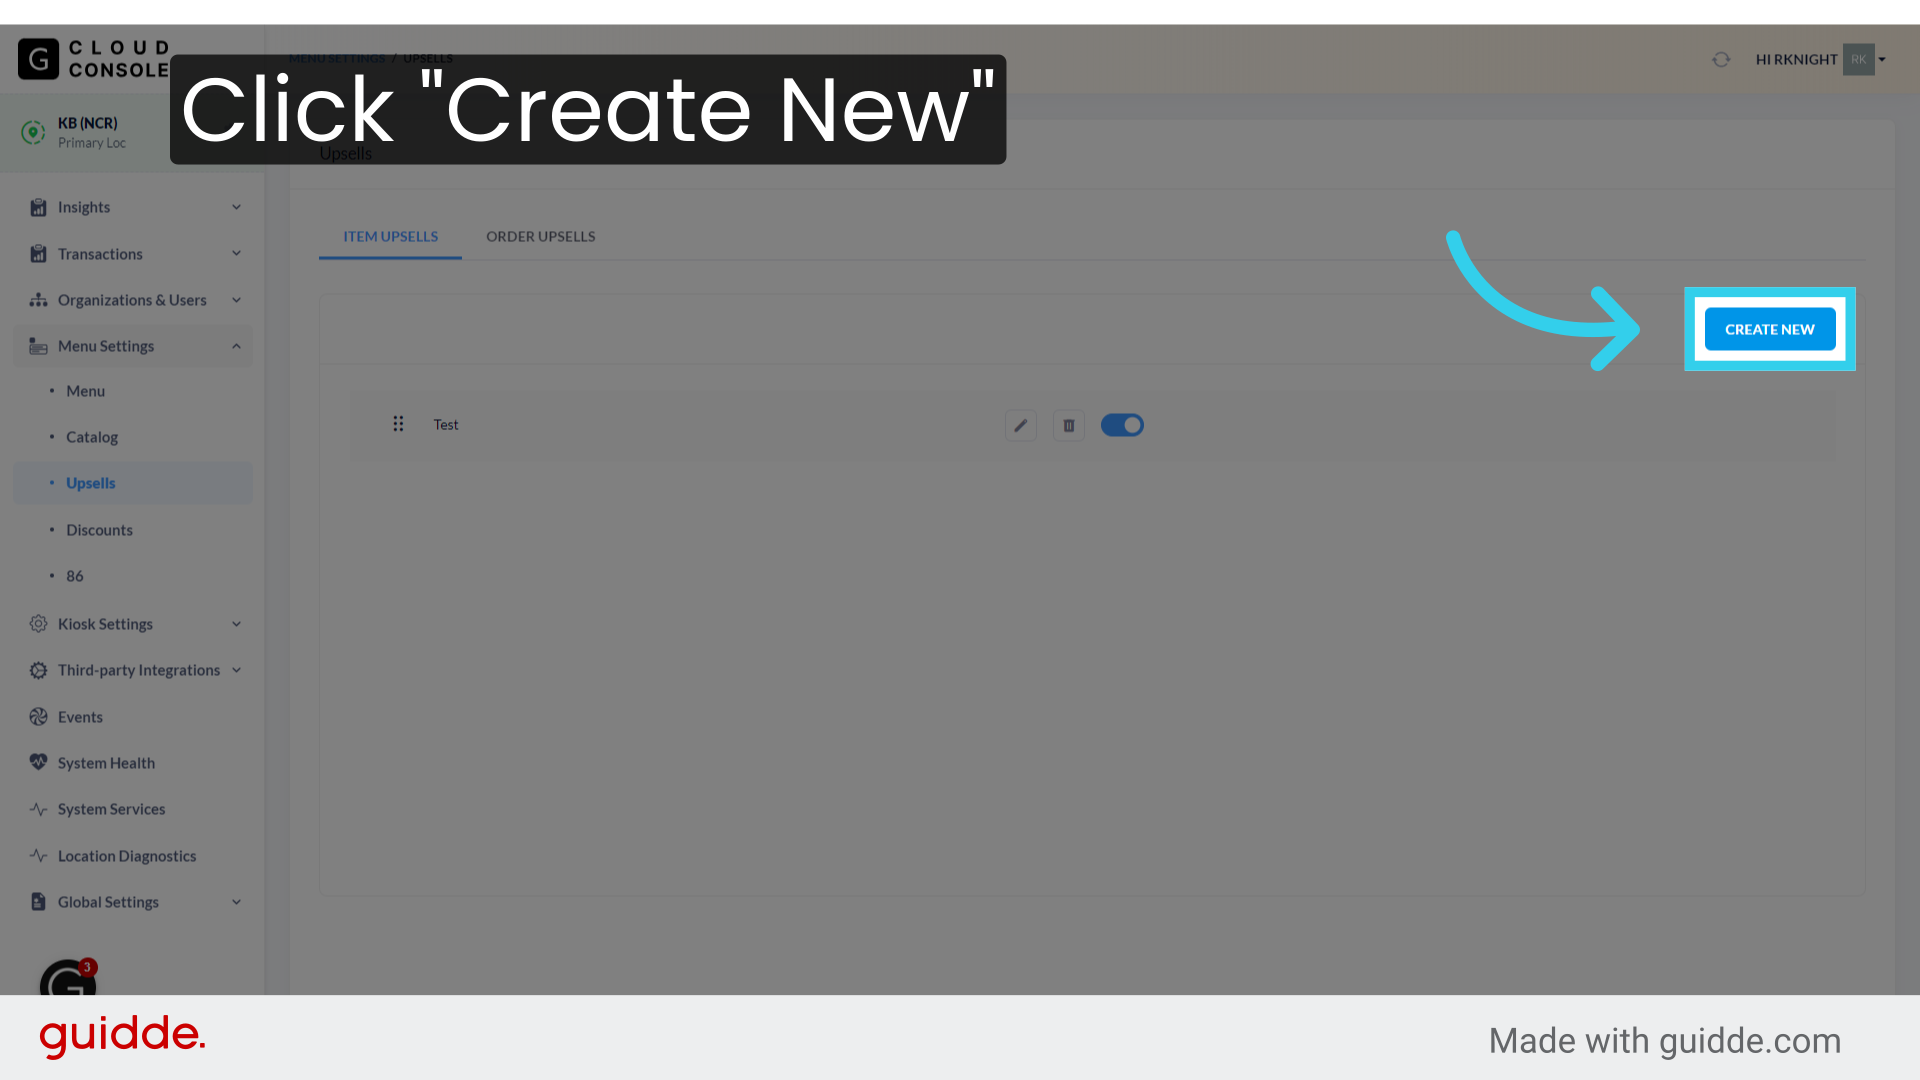
Click "Create New"
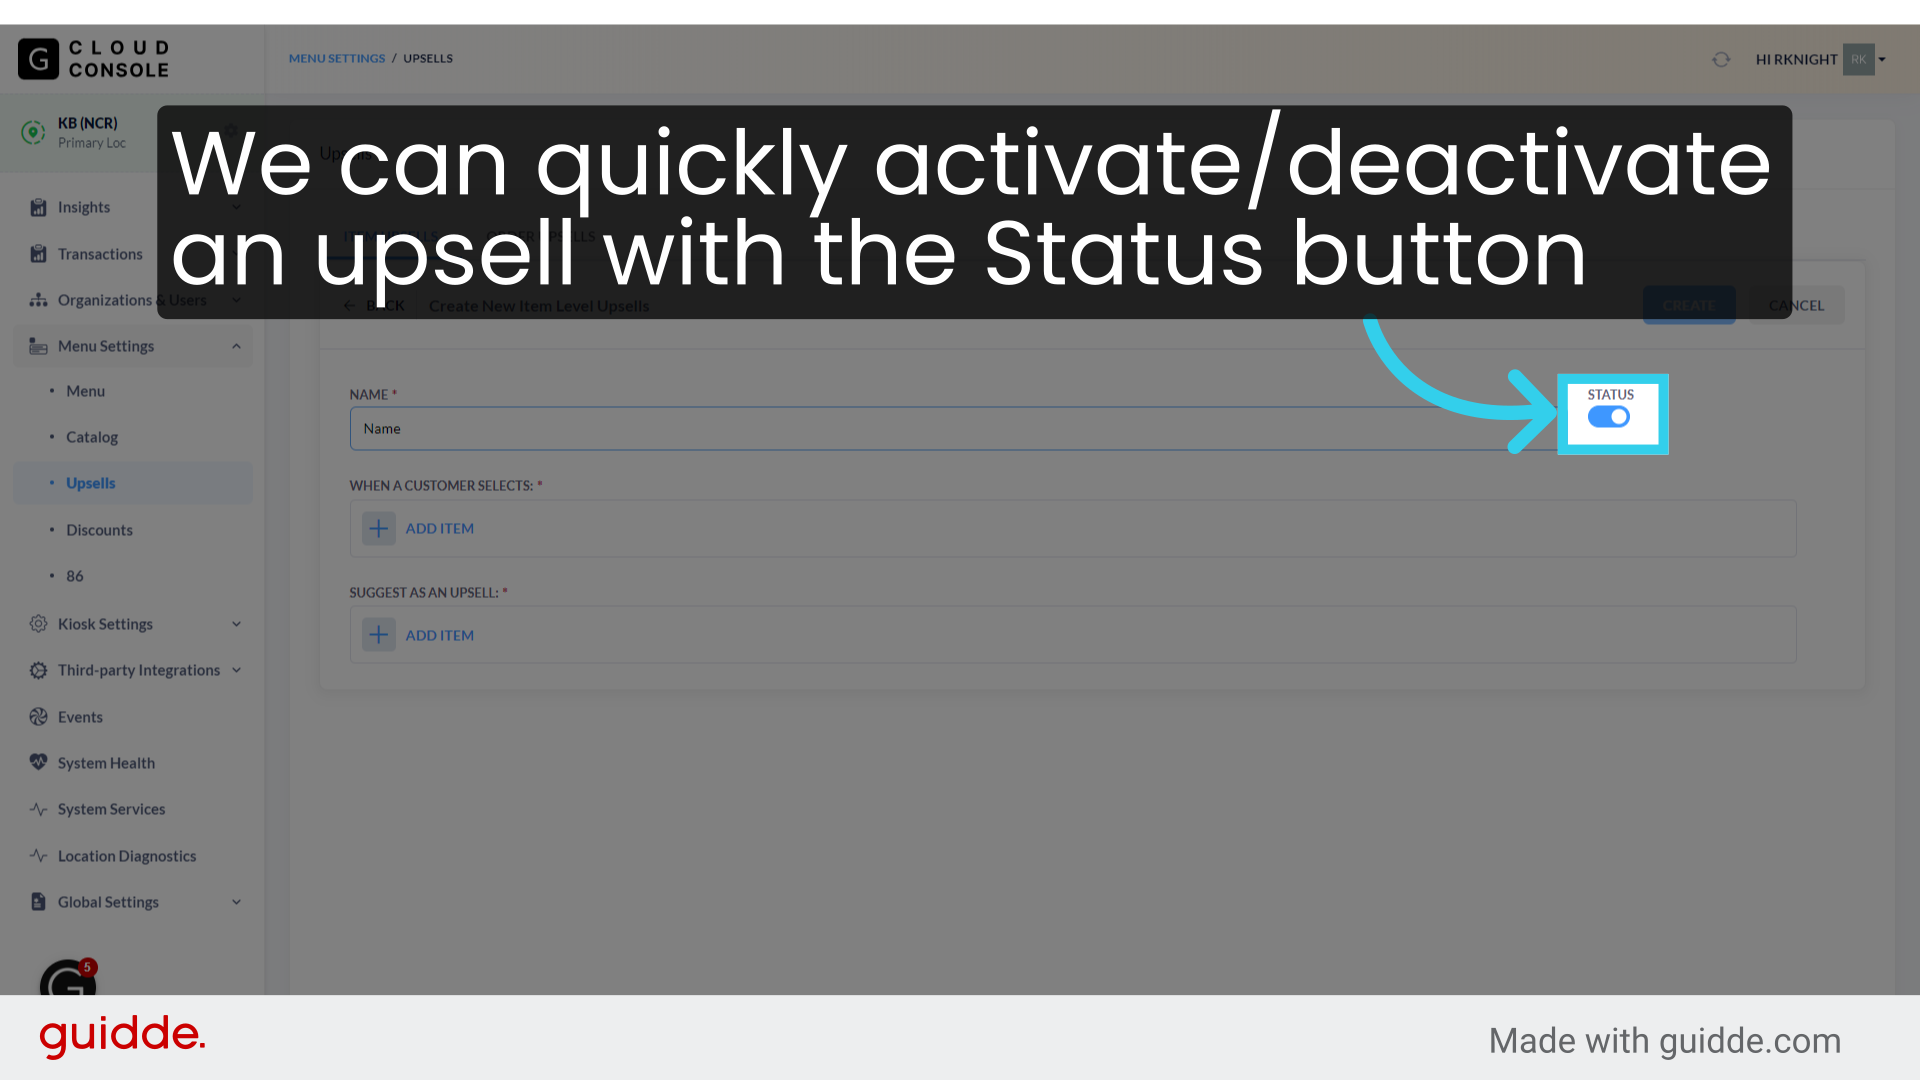
Give the upsell an easily recognizable name
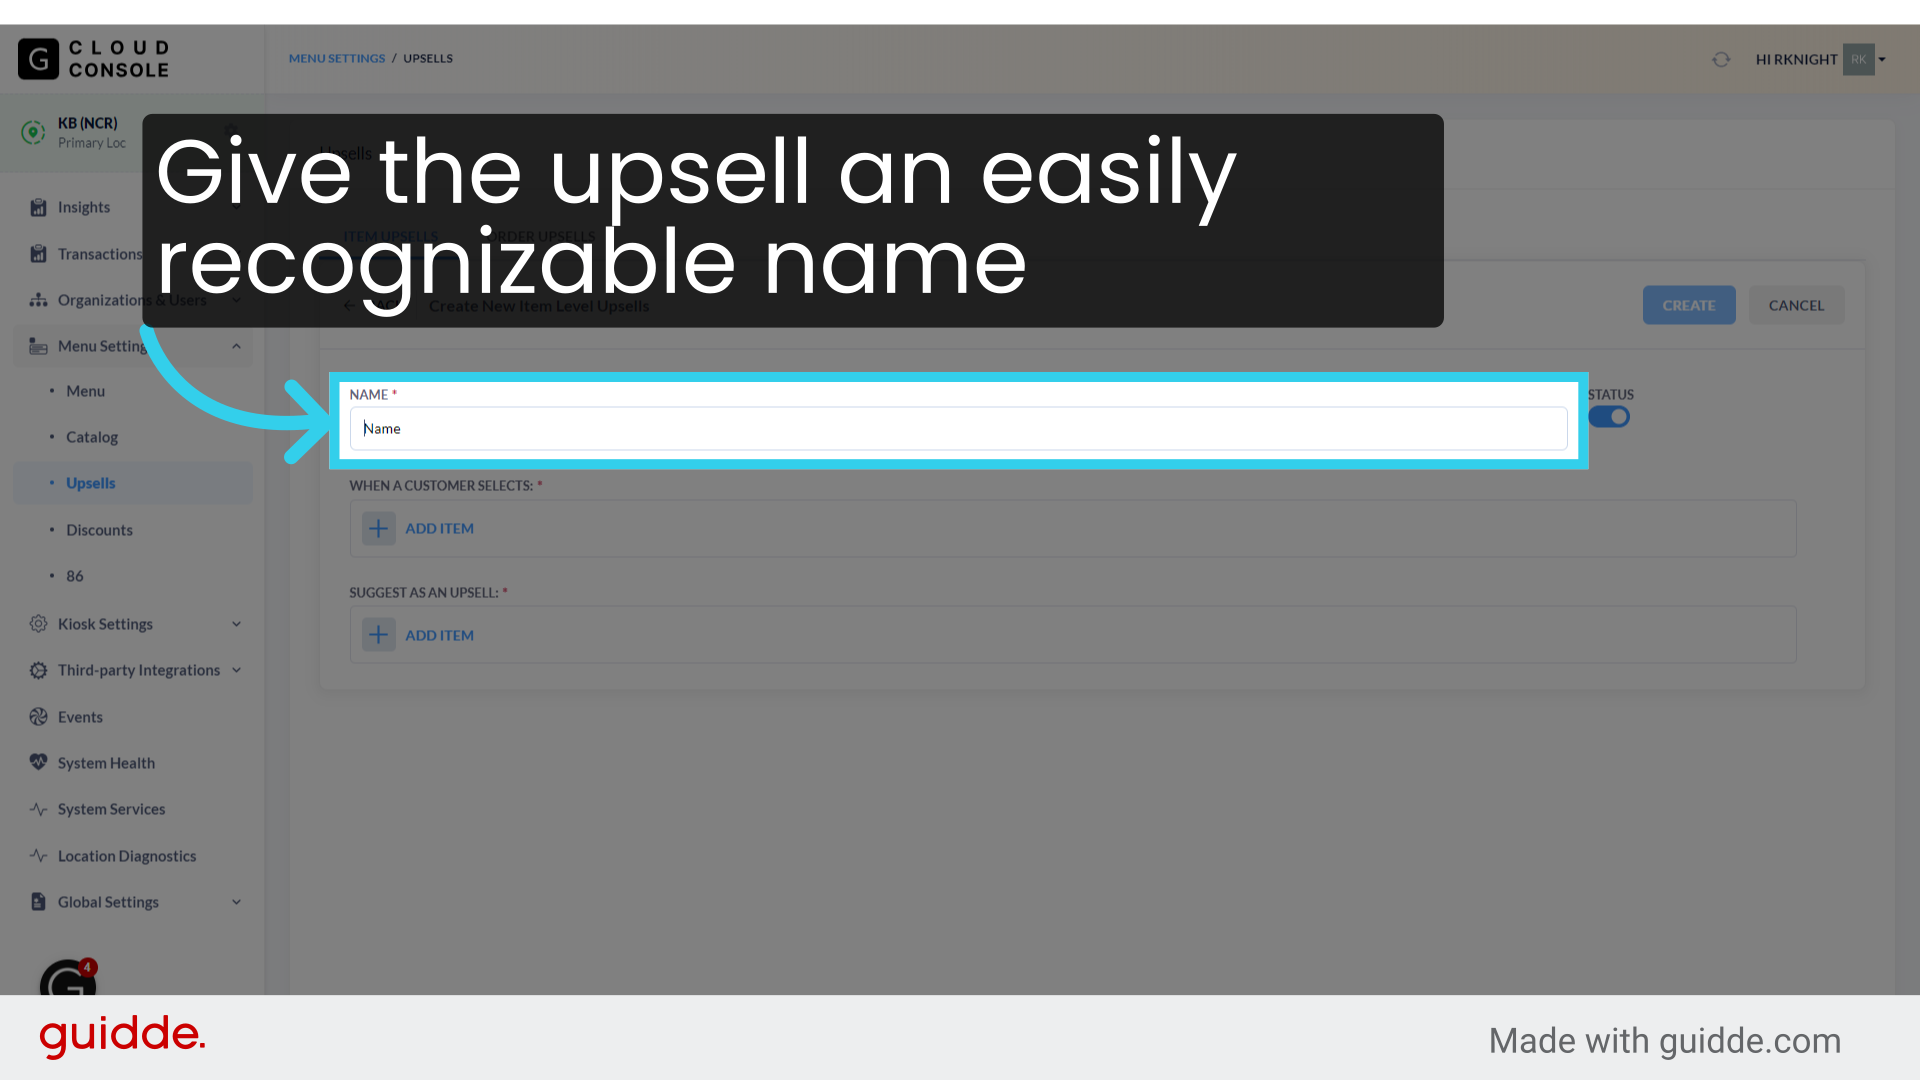
We can quickly activate/deactivate an upsell with the Status button
First, we need to add at least one trigger item...
If the client wants to use "standard" upsells, we can map multiple trigger items on this page
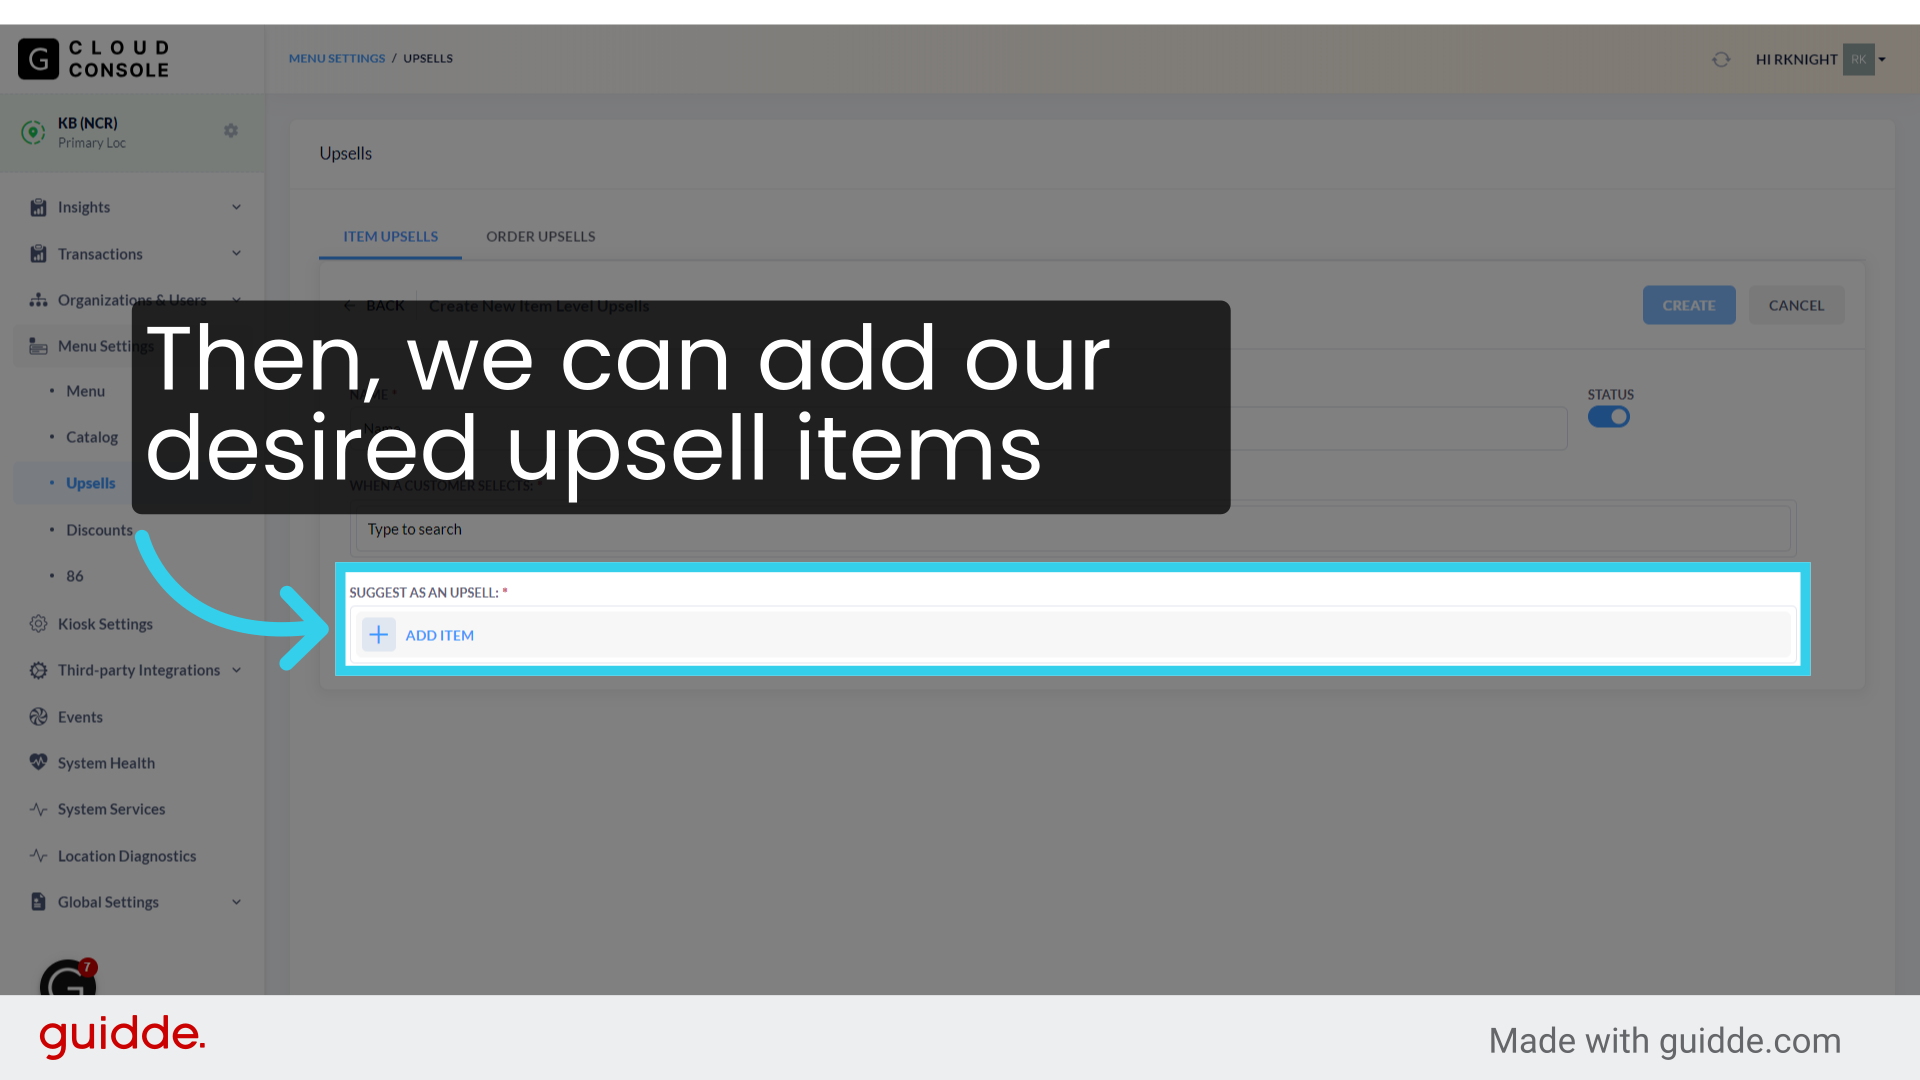
Then, we can add our desired upsell items
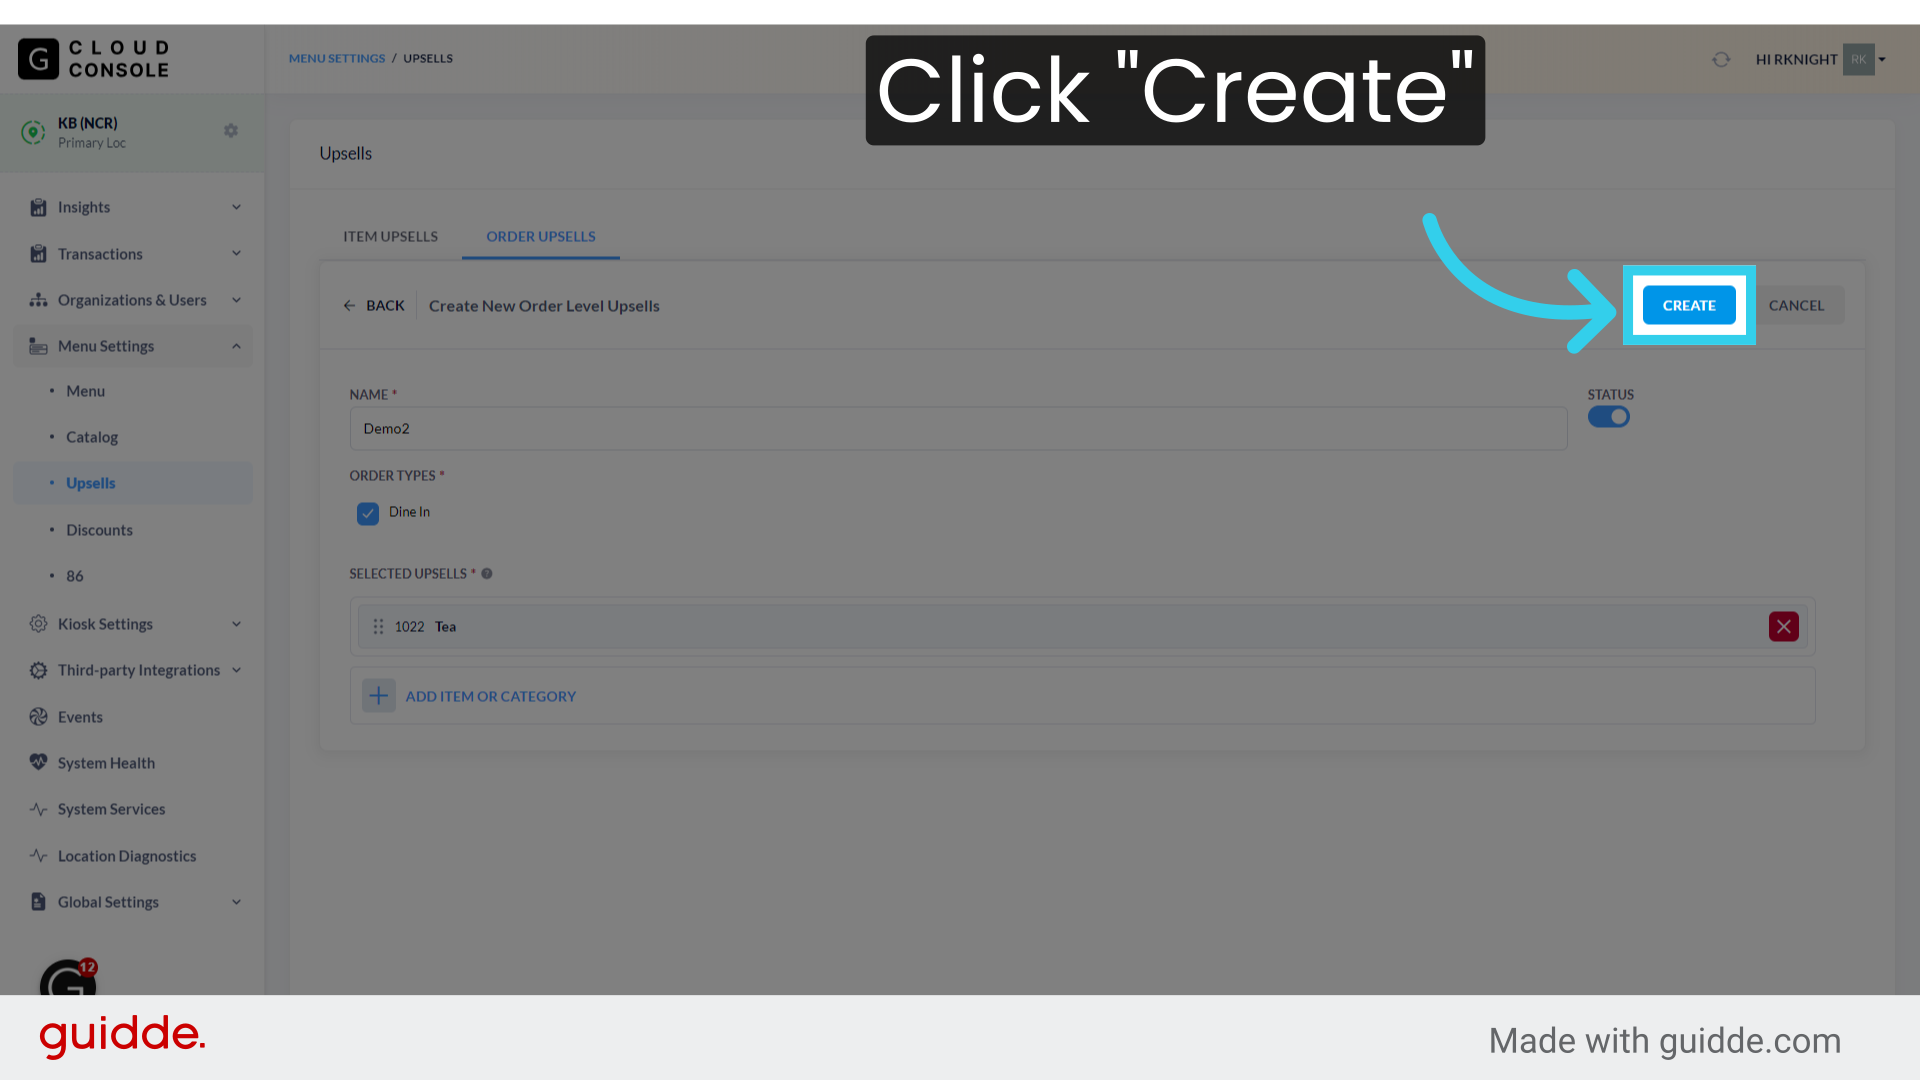
Click "Create" to finalize your changes

How to Create an Item Replacement Upsell
In addition to traditional item-level upsells, we can offer "Item Replacement" upsells. When selected, these upsells will swap an item from the customer's cart for a different menu item- i.e., replacing a small combo with a large, or replacing a standard menu item for a featured item. Item replacement upsells are configured similarly to standard item upsells, following the process below.
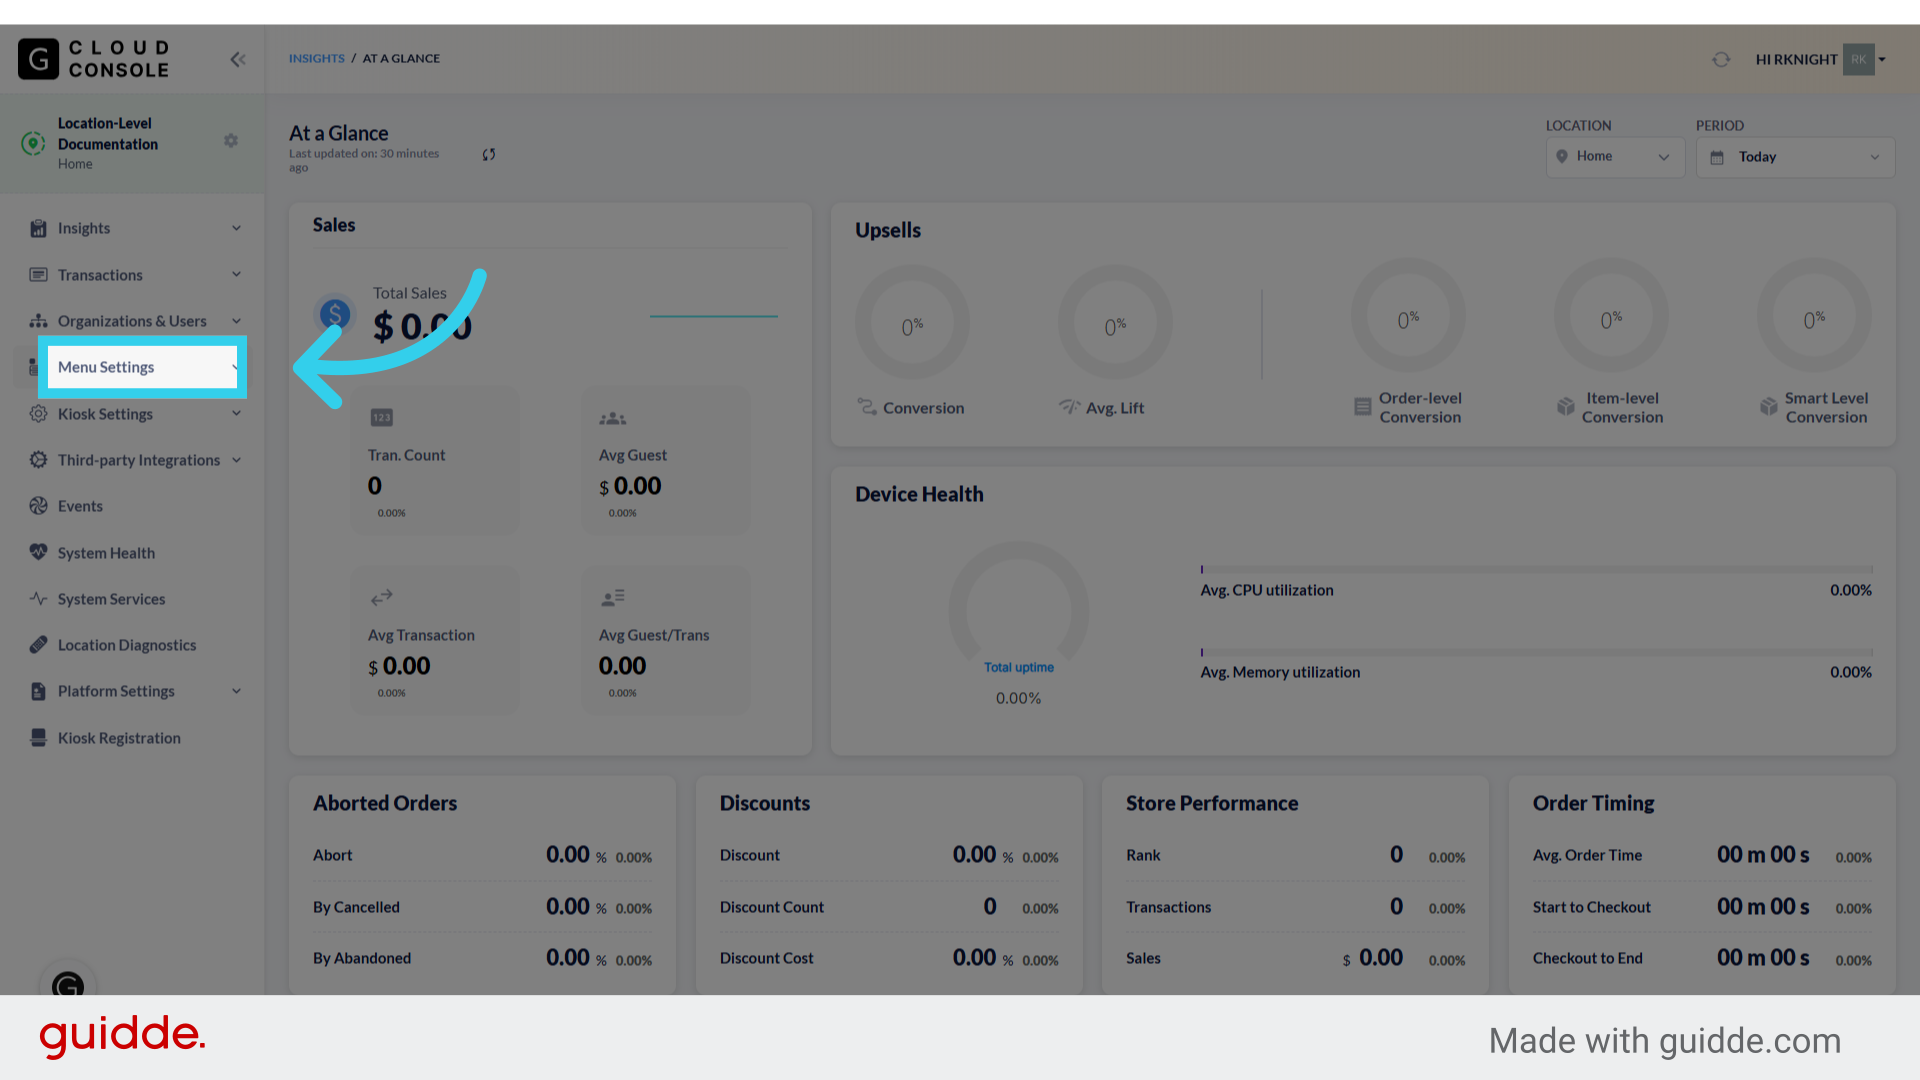
Click "Menu Settings"
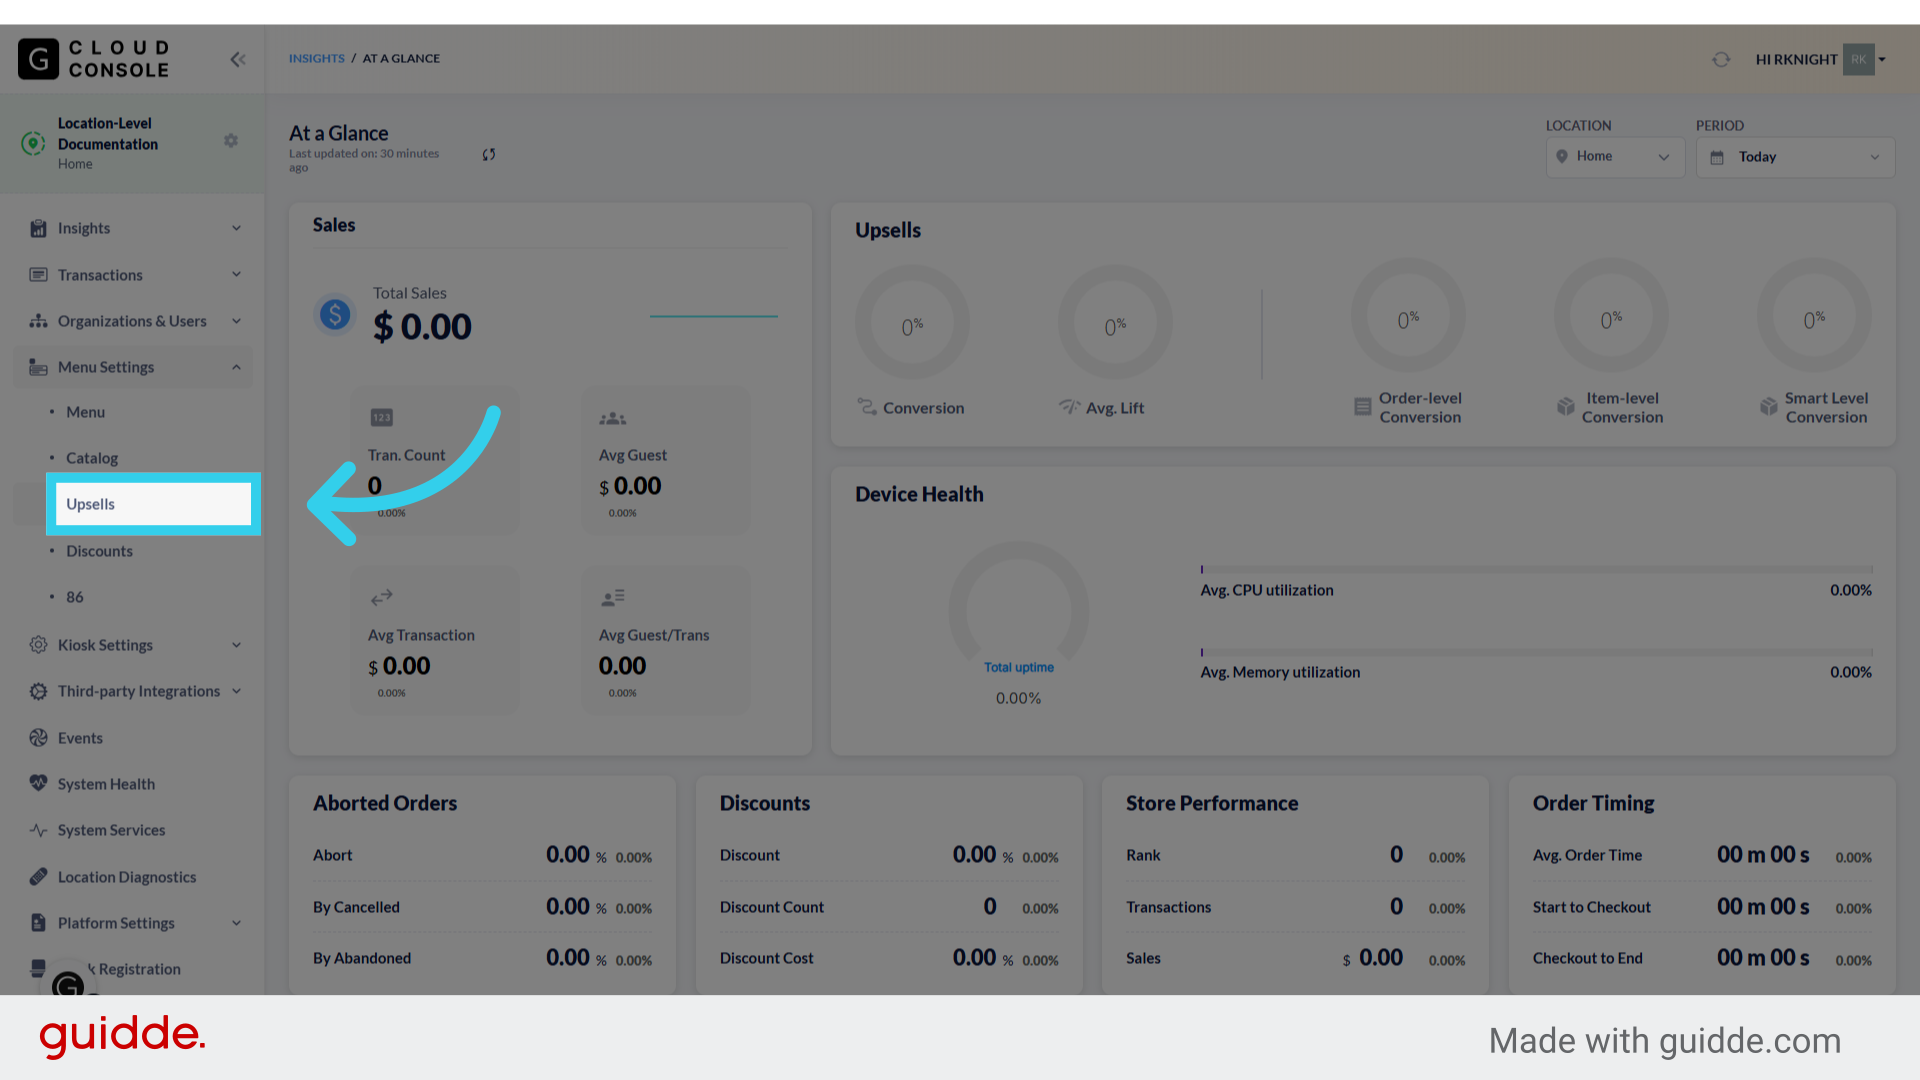
Click "Upsells"
Click "Create New"

Give the Upsell a recognizable name

Use the search bar to add the desired trigger item

Use the second search bar to find the desired upsell item

Click here to change to a Replacement Item Upsell
Note: It's important to select this at the end of the configuration process, as the Console can sometimes revert to a standard upsell when you're filling out the other configurations on this page.

Click "Create"
How to Create an Order-Level Upsell
Finally, let's look at how to create Order-level upsells. These items are offered as a "last chance" buy when a customer is about to finalize their order.
Click "Order Upsells"
Click "Create New"
Remember to give the upsell a recognizable name

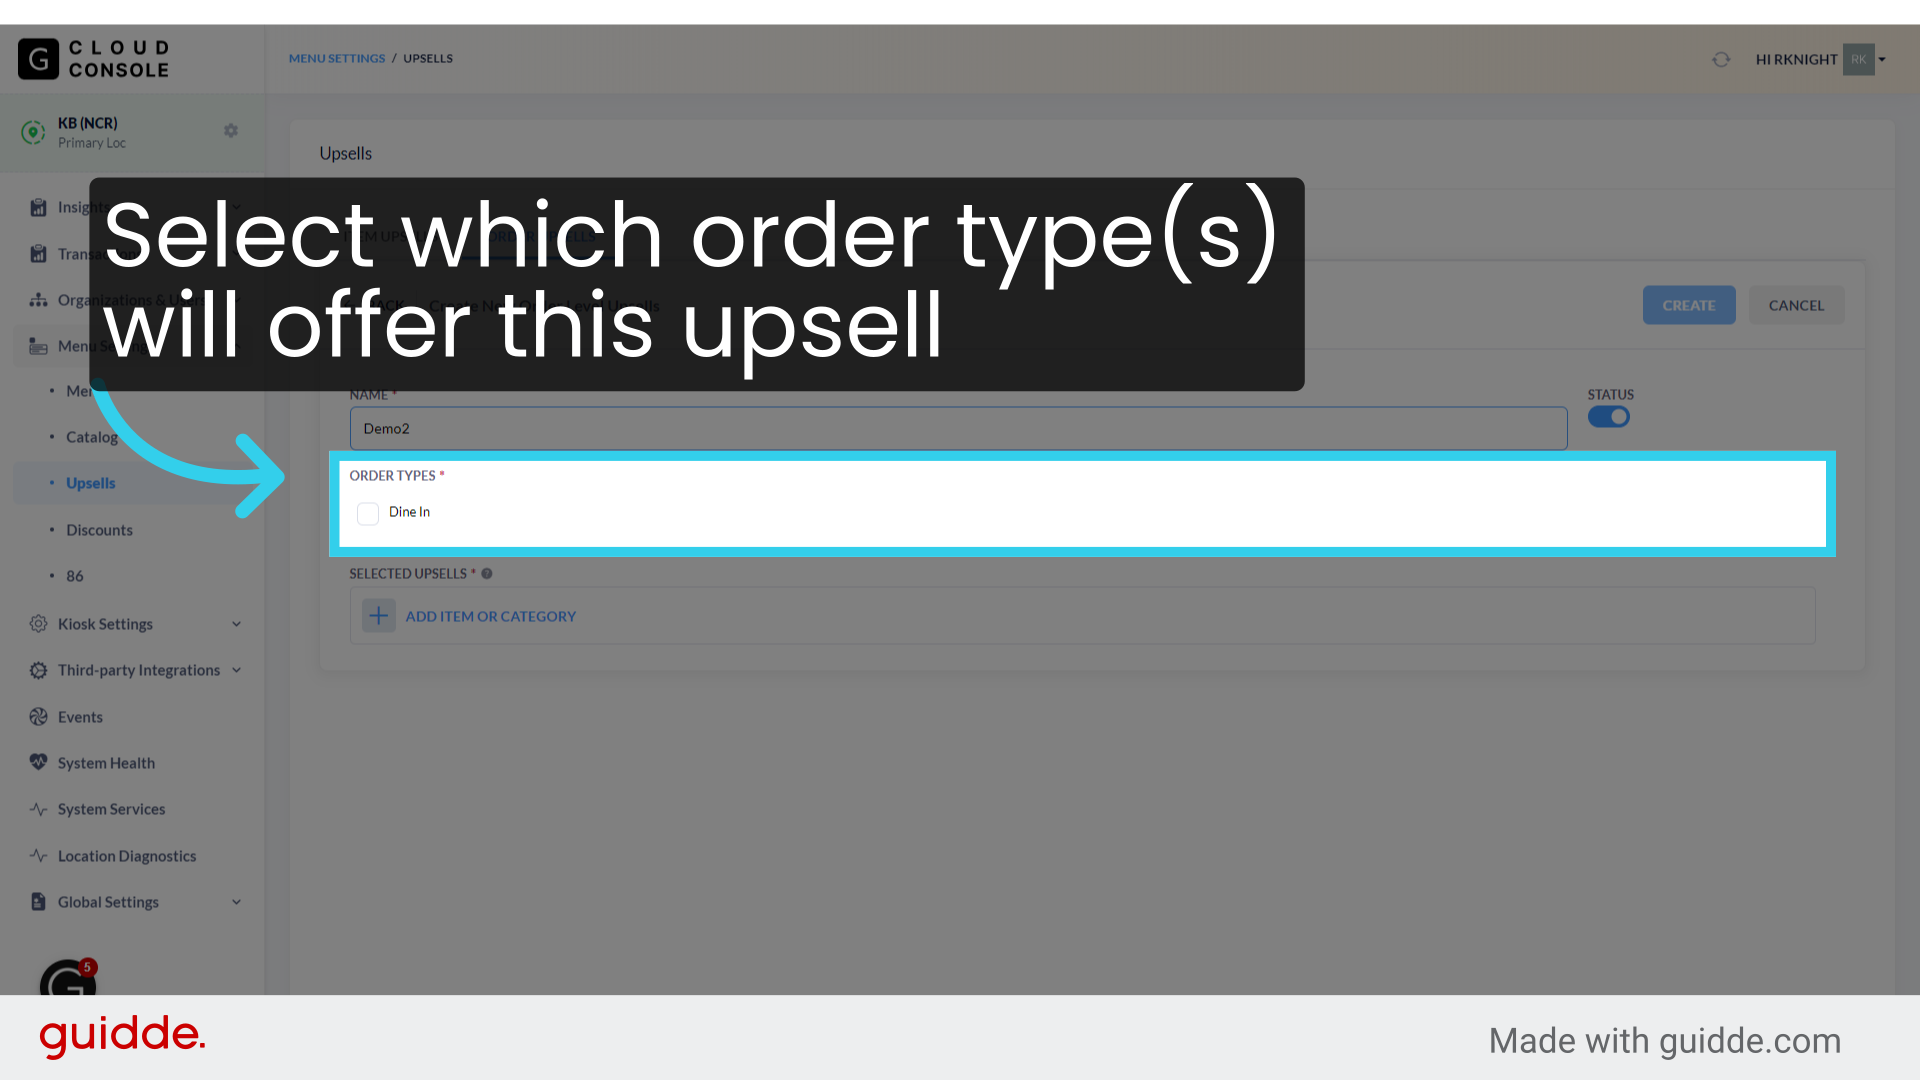
Select which order type(s) will offer this upsell
Select the item(s) or category that you want to offer as an upsell
Unlike item-level upsells, we can offer customers the option to visit a specific category (i.e., desserts) before they finish their order. Any item(s) the guest selects are added straight to their cart; if they select a category, the system will take you to the category view page instead.

Click "Create"
Remember to sync your changes to the Kiosk when you're done!