How to Upload Custom Category Headers in the GRUBBRR Console
Last updated: August 21, 2026
If desired, you can have a custom header image or style for specific menu categories- i.e., current featured items or items that are closely tied to their brand's identity. We can configure these custom headers through the Console's Menu Manager, both at the location level and through ECM. In this guide, we'll walk through the process of adding new images at the location level.
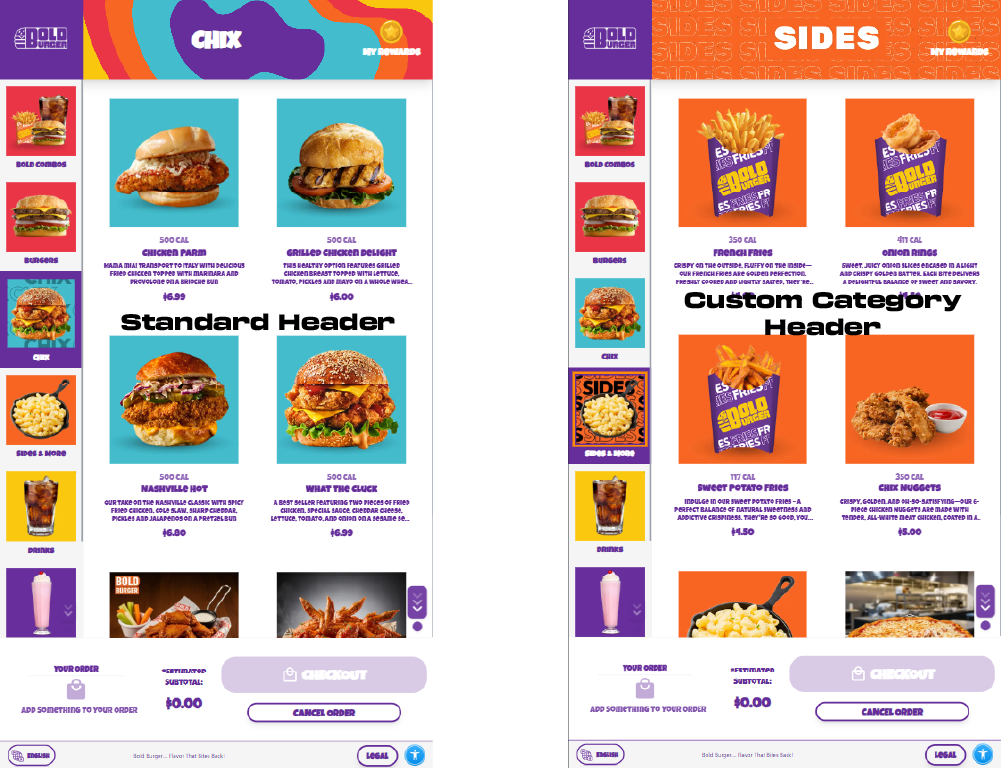
1. Click "Menu Settings"

2. Click "Menu"
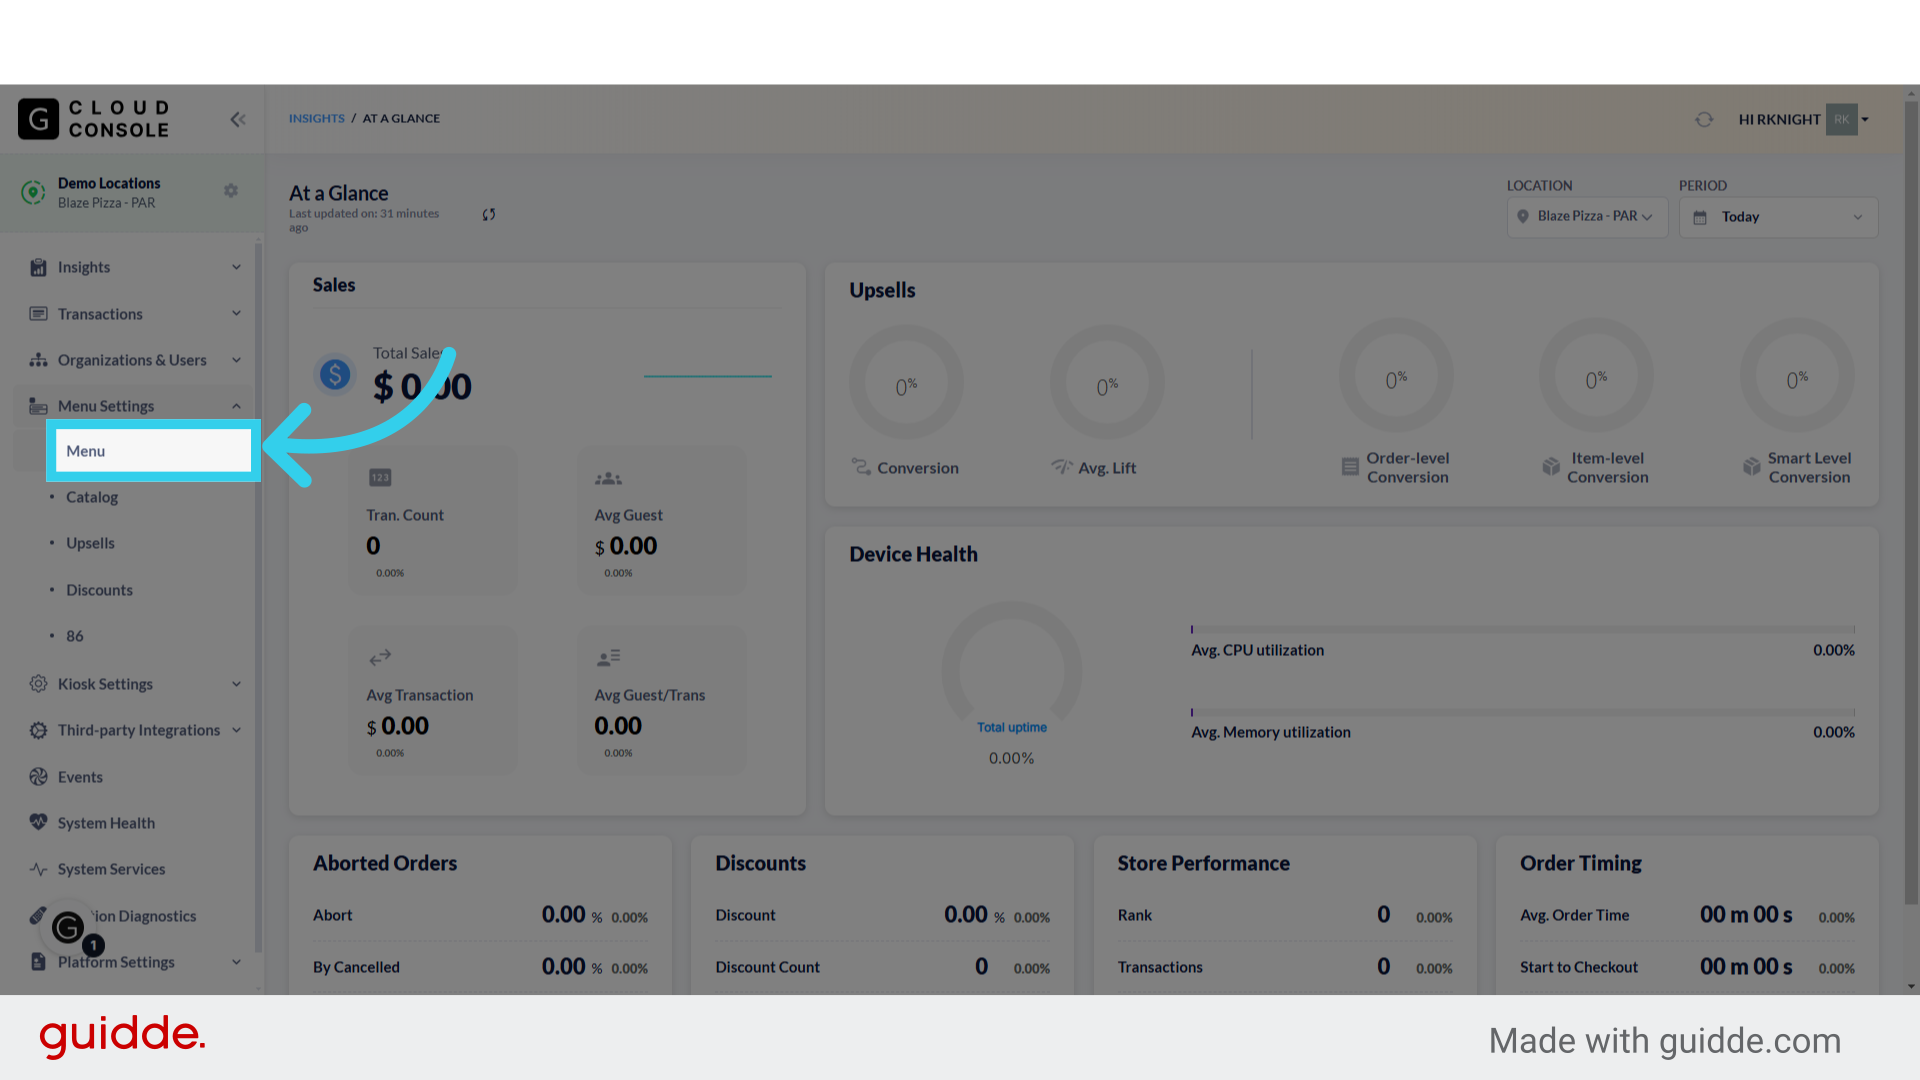
3. Click "Categories"

4. Click "Edit"

5. This toggle allows us to configure whether the category's name is displayed in the header or under it
This setting overwrites any configurations made on the "Kiosk Appearance" page under Kiosk Settings

6. We can click here to upload a custom image for the category header
The Kiosk supports .webp, .png, .jpg, and .gif files; all files must be 1080x200px and smaller than 2 Mb.

7. Click "Save" to apply your changes
